Connecting your email accounts with Survey Booker
In this guide we show you how to connect your email accounts with Survey Booker. This allows you to:
- Set the email address that your automated emails are sent from
- Set the reply method for customers
- Set if users can email from their own email or not
- Enable users to connect their own email address
Benefits of connecting an email
By connecting an email and setting up rules, you can ensure all automated templates are sent from your own email for better branding and also emails and their replies are logged to the job record for compliance purposes and ease of managing customer service queries.
You can also then send emails manually to customers from the job record and log any replies automatically. Again, this helps with automating compliance and the storage of email correspondence but also helps your team see what has been discussed with customers if a team member is off work, without emails stuck in someones inbox.
Connect an email for sending automated email templates
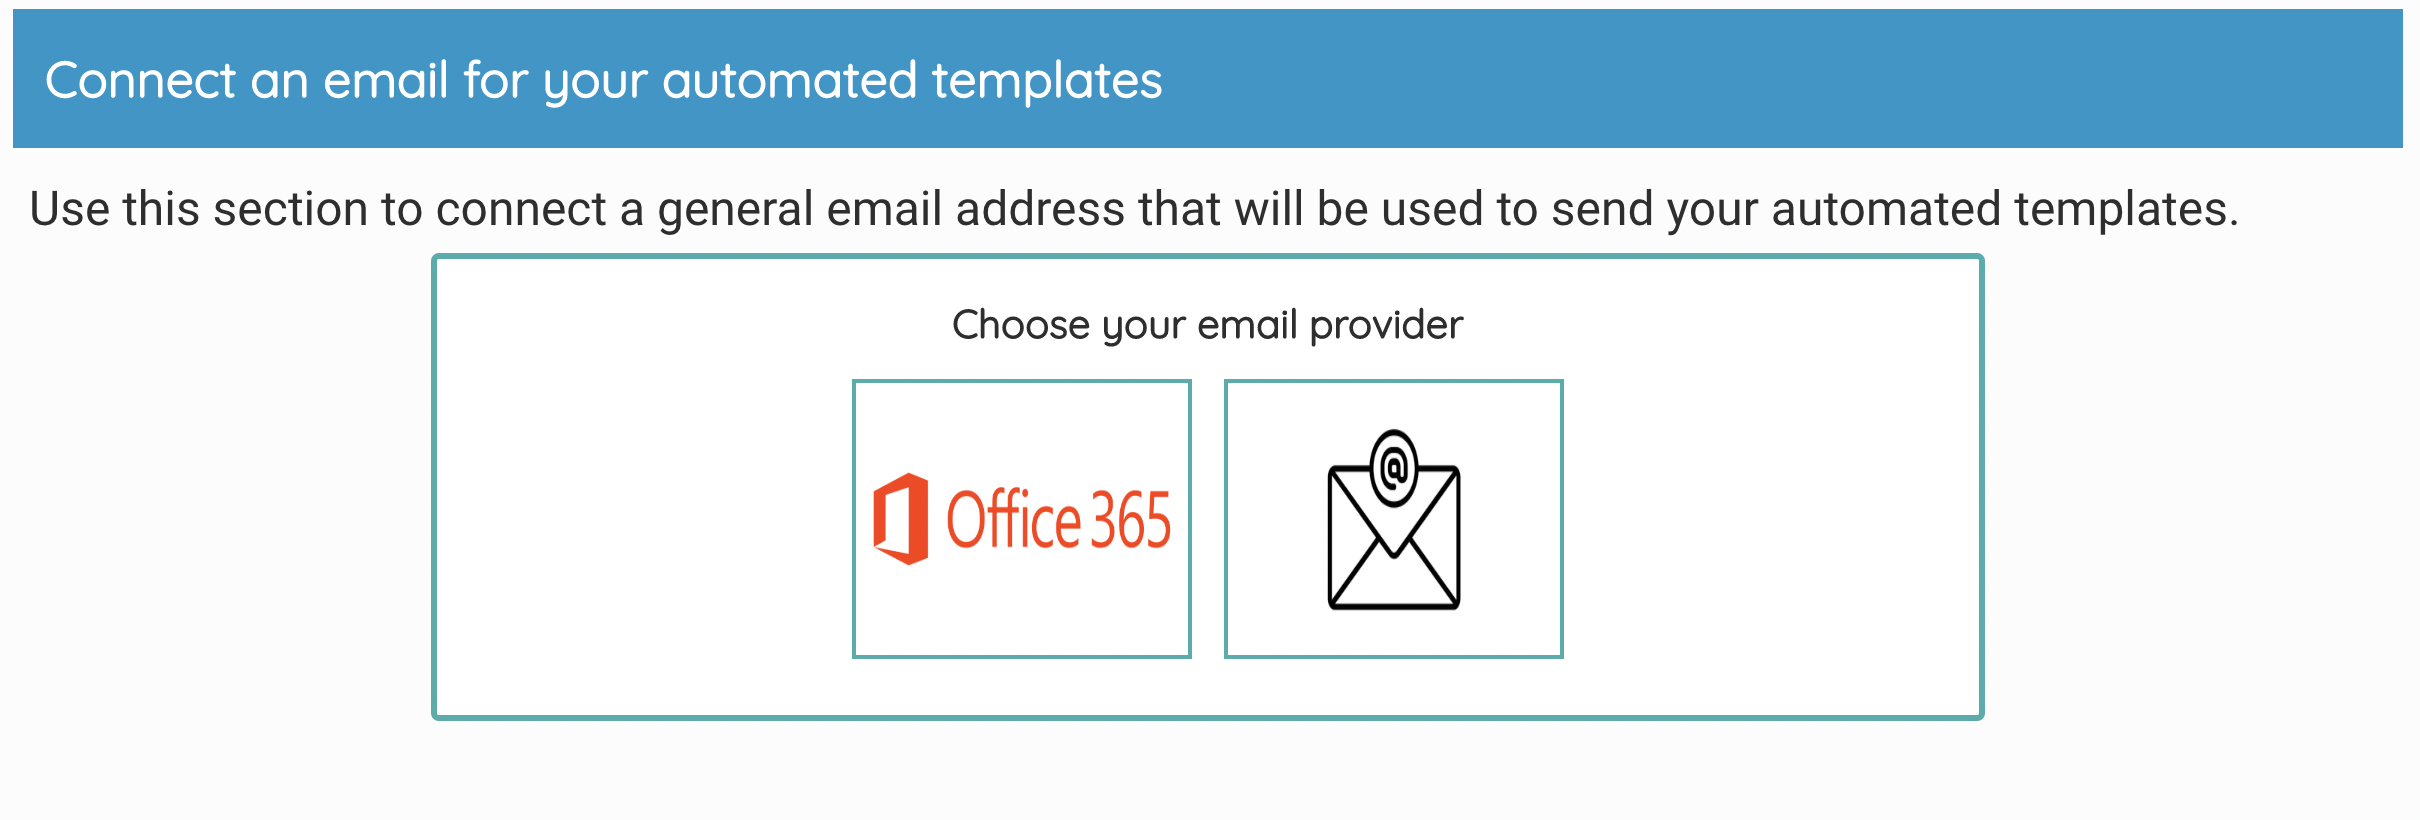
You have two options to choose from:
- Office 365 via OAuth2.0 connection
- Select this option and you’ll be redirected to the Office 365 integration settings
- Google via OAuth2.0 connection
- Select this option and you’ll be redirected to the GMail integration settings
- All email providers via SMTP / IMAP
- Select this option and you’ll be asked to enter your SMTP/IMAP settings.
- You can also use this option for Office 365 and GMail.
- SendGrid
- Select this option and your emails will be sent via your SendGrid account.
Note: if you have 2-factor authentication / multi factor authentication enabled on your email account, you cannot use your password in the password field. You will need to go to your email settings and create an app-specifc password. This allows you to connect your email and keep 2FA in place.
SMTP/IMAP settings for various providers
Your IT team should be able to provide your mail server’s IMAP and SMTP information. If not, you can take the steps below to find them in your email client:
| Field | Outgoing Mail (SMTP) | Incoming Mail (IMAP) |
| Username | Your email address | Your email address |
| Password | Create app password | Create app password |
| Server | smtp.gmail.com | imap.gmail.com |
| Port | 587 (With TLS) or 465 (With SSL) | 993 |
| Sending Limits | A registered G Suite user can’t relay messages to more than 10,000 recipients per day. | |
The app password only needs to be created once and should be entered in both the SMTP and IMAP password fields. If you change your email account password it will invalidate your app password and you’ll need to create a new one.
Office 365 (Microsoft)
| Field | Outgoing Mail (SMTP) | Incoming Mail (IMAP) |
| Username | Your email address | Your email address |
| Password | Create app password | Create app password |
| Server | smtp-mail.outlook.com | outlook.office365.com |
| Port | 587 | 993 |
| Sending Limits | A registered Office 365 user can’t relay messages to more than 5,000 recipients per day. | |
The app password only needs to be created once and should be entered in both the SMTP and IMAP password fields. If you change your email account password it will invalidate your app password and you’ll need to create a new one.
Email sending settings
There are a number of settings options available to help you personalise how emails can be sent out and how replies are handled.
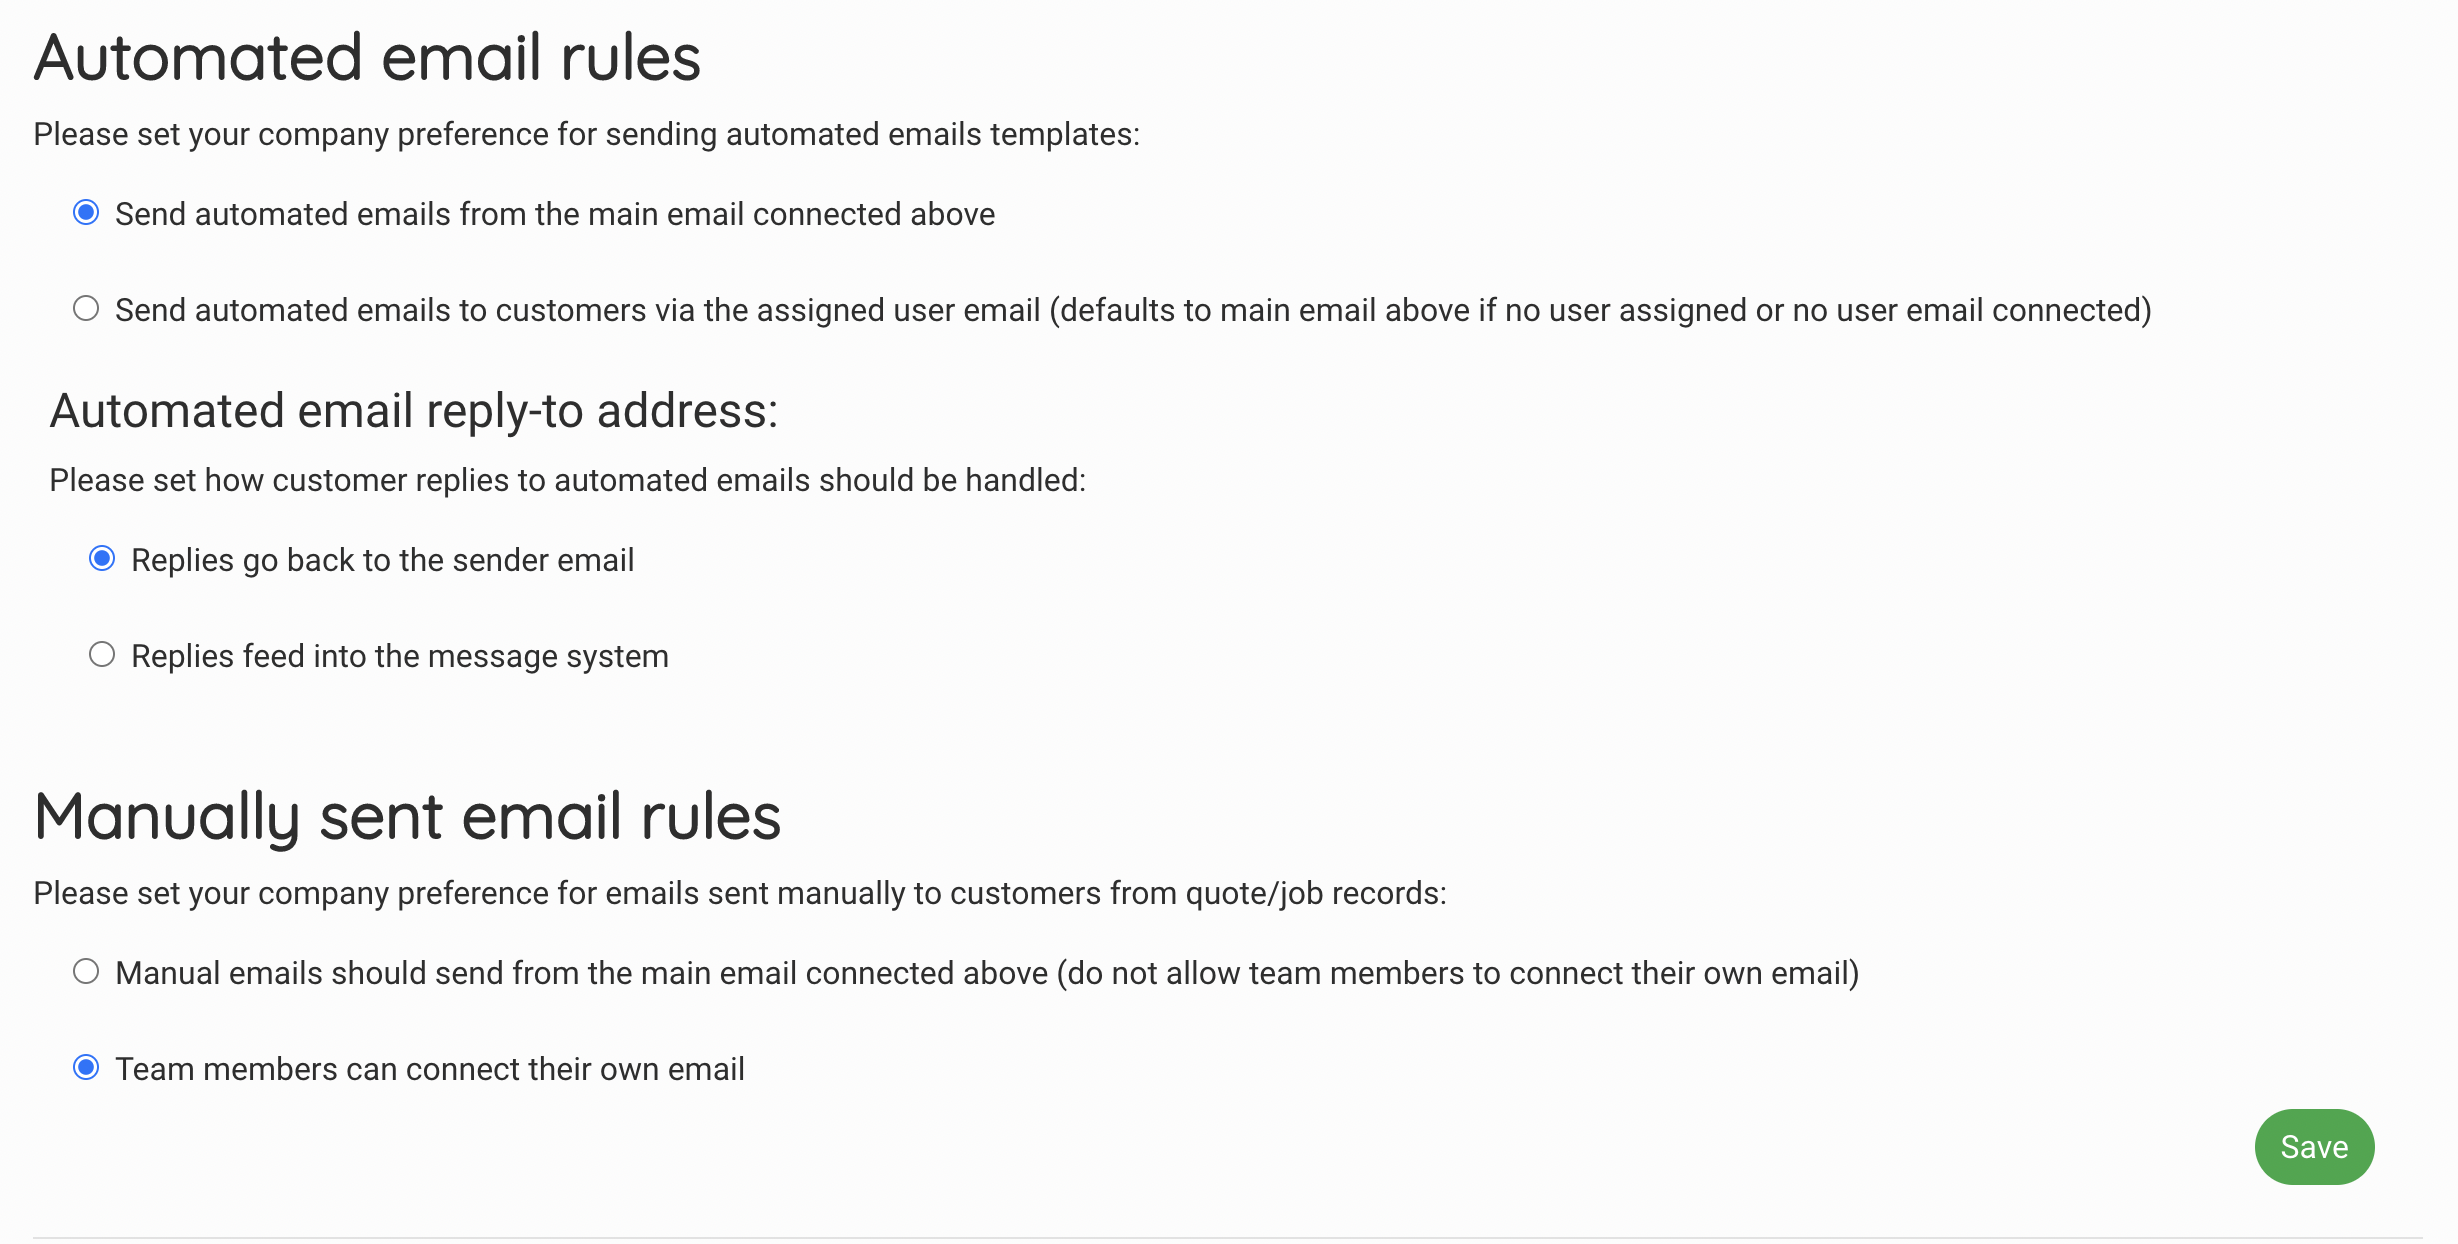
Automated email rules
This setting sets if automated emails should send from your main email connected at the top of the page or sent from the primary user assigned to a job.
Automated email reply-to address:
This sets if replies to your emails should go straight back to your email address or if they should feed into the message system and send you a new message notification.
Manually sent email rules
This sets if emails sent manually from the job record must be sent from the central email used for sending your automated emails or if users can send emails out from their own email address.
Users connecting their own emails for manually sent emails
Depending on your settings above, users can connect their email accounts to send manual emails from job records. Your users have two options to choose from:
- Office 365 via OAuth2.0 connection
- Select this option and you’ll be redirected to the Office 365 integration settings (for Super Admin users)
- Settings > Office 365 (for Regional and Regular users)
- GMail via OAuth2.0 connection
- Select this option and you’ll be redirected to the Gmail integration settings (for Super Admin users)
- Settings > Google OAuth (for Regional and Regular users)
- All email providers via SMTP / IMAP
- Select this option and you’ll be asked to enter your SMTP/IMAP settings (for Super Admin users)
- Settings > Email settings (for Regional and Regular users)
For the settings to use, please see the guides above.


