Connecting your Google Emails and Calendars
In this guide, we show you how to connect your Google emails and calendars. For both, there are two options:
- Connecting a central email and calendar for the account
- Connecting emails and calendars for individual users
To get started navigate to Settings > Integrations > Google / Office 365 > Google OAuth
Connecting Emails
There are two ways you can connect a Google email depending on what you are trying to connect.
- Central email for the whole company
- Individual user emails
Please note: if you have set that users can’t connect their own email in the email settings, users will not be able to send emails from their own email address on job records. You can check the email settings guide for more information or visit Settings > Survey settings > Email and SMS settings.
Connecting a central email for the whole company
Under Settings > Survey settings > Email templates > Connect email tab, you can click the Google option to connect via OAuth2.0 or use the Other option to connect using SMTP/IMAP.
If connecting via the SMTP route, please visit our other connecting emails guide for further details.
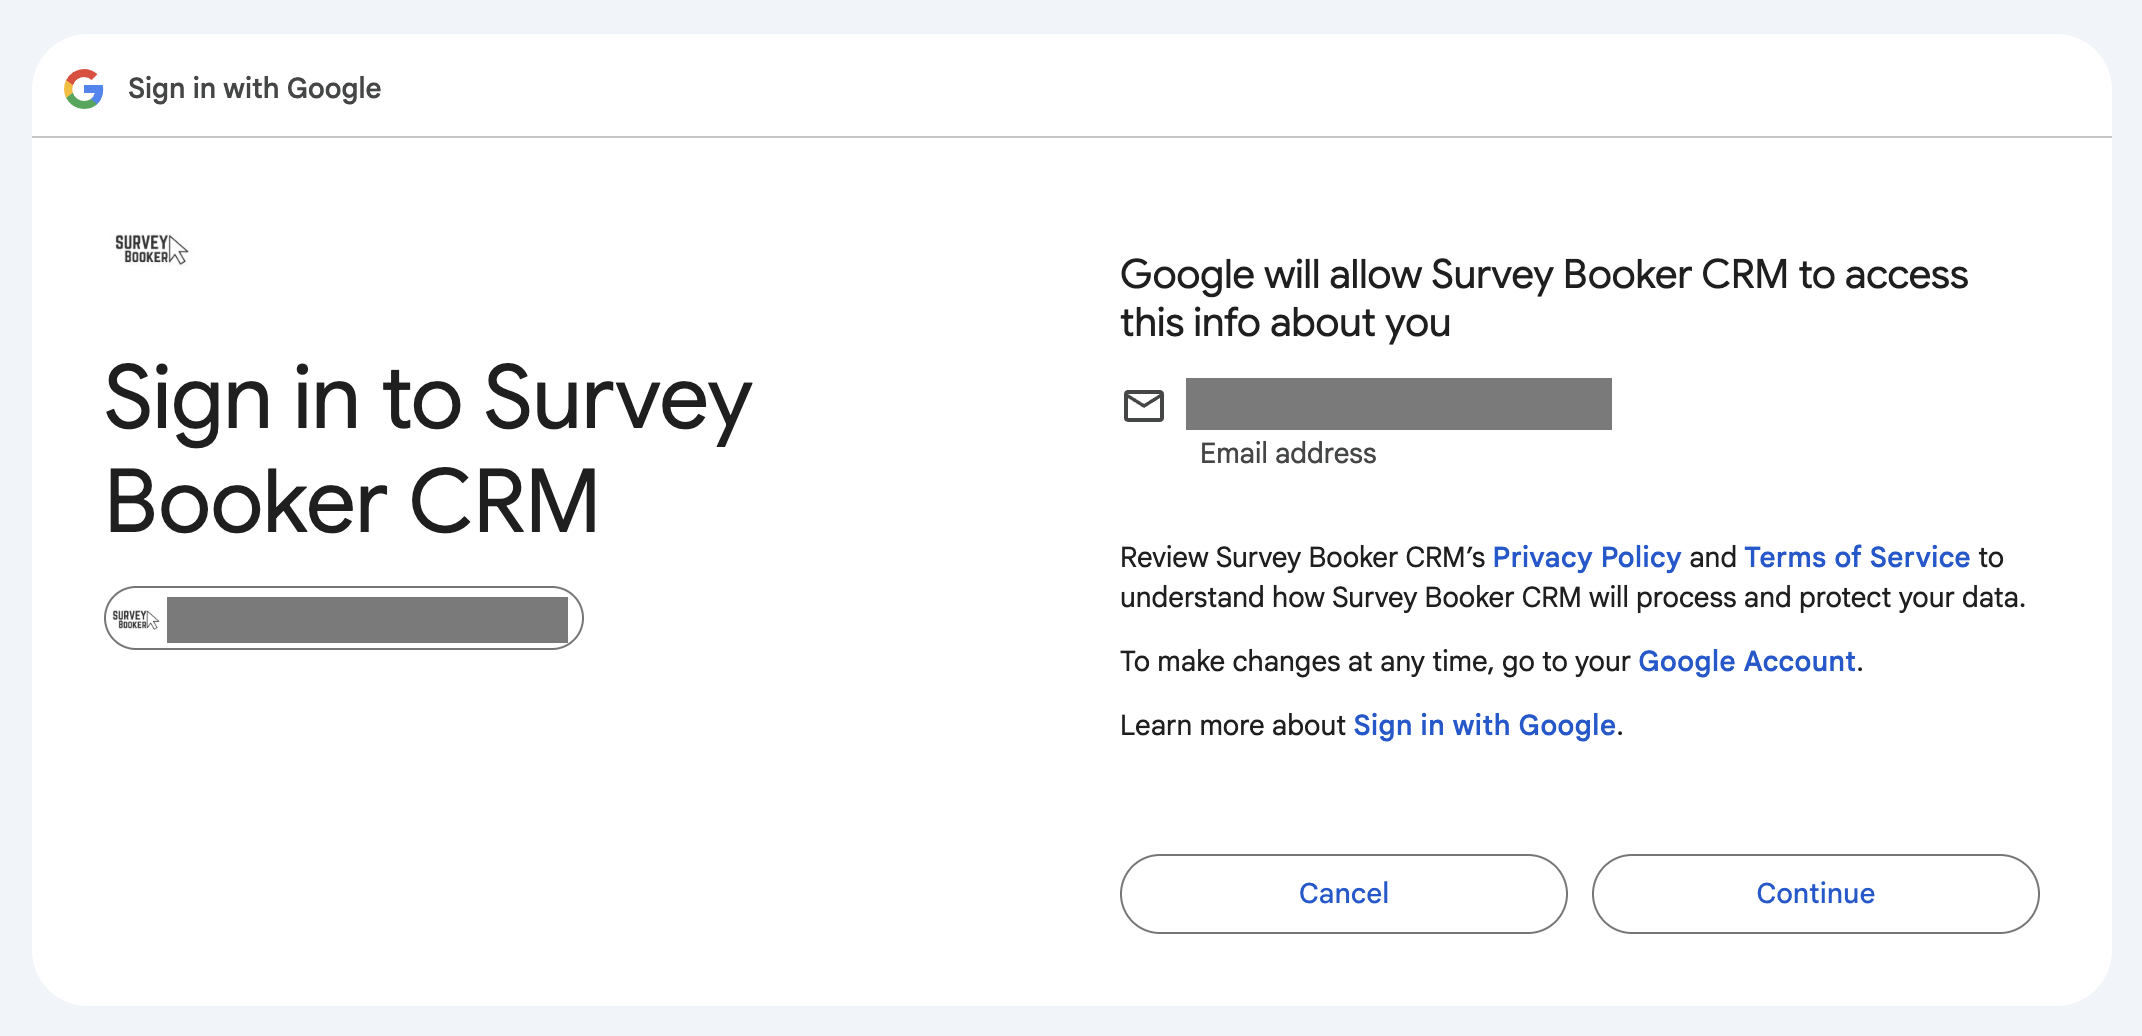
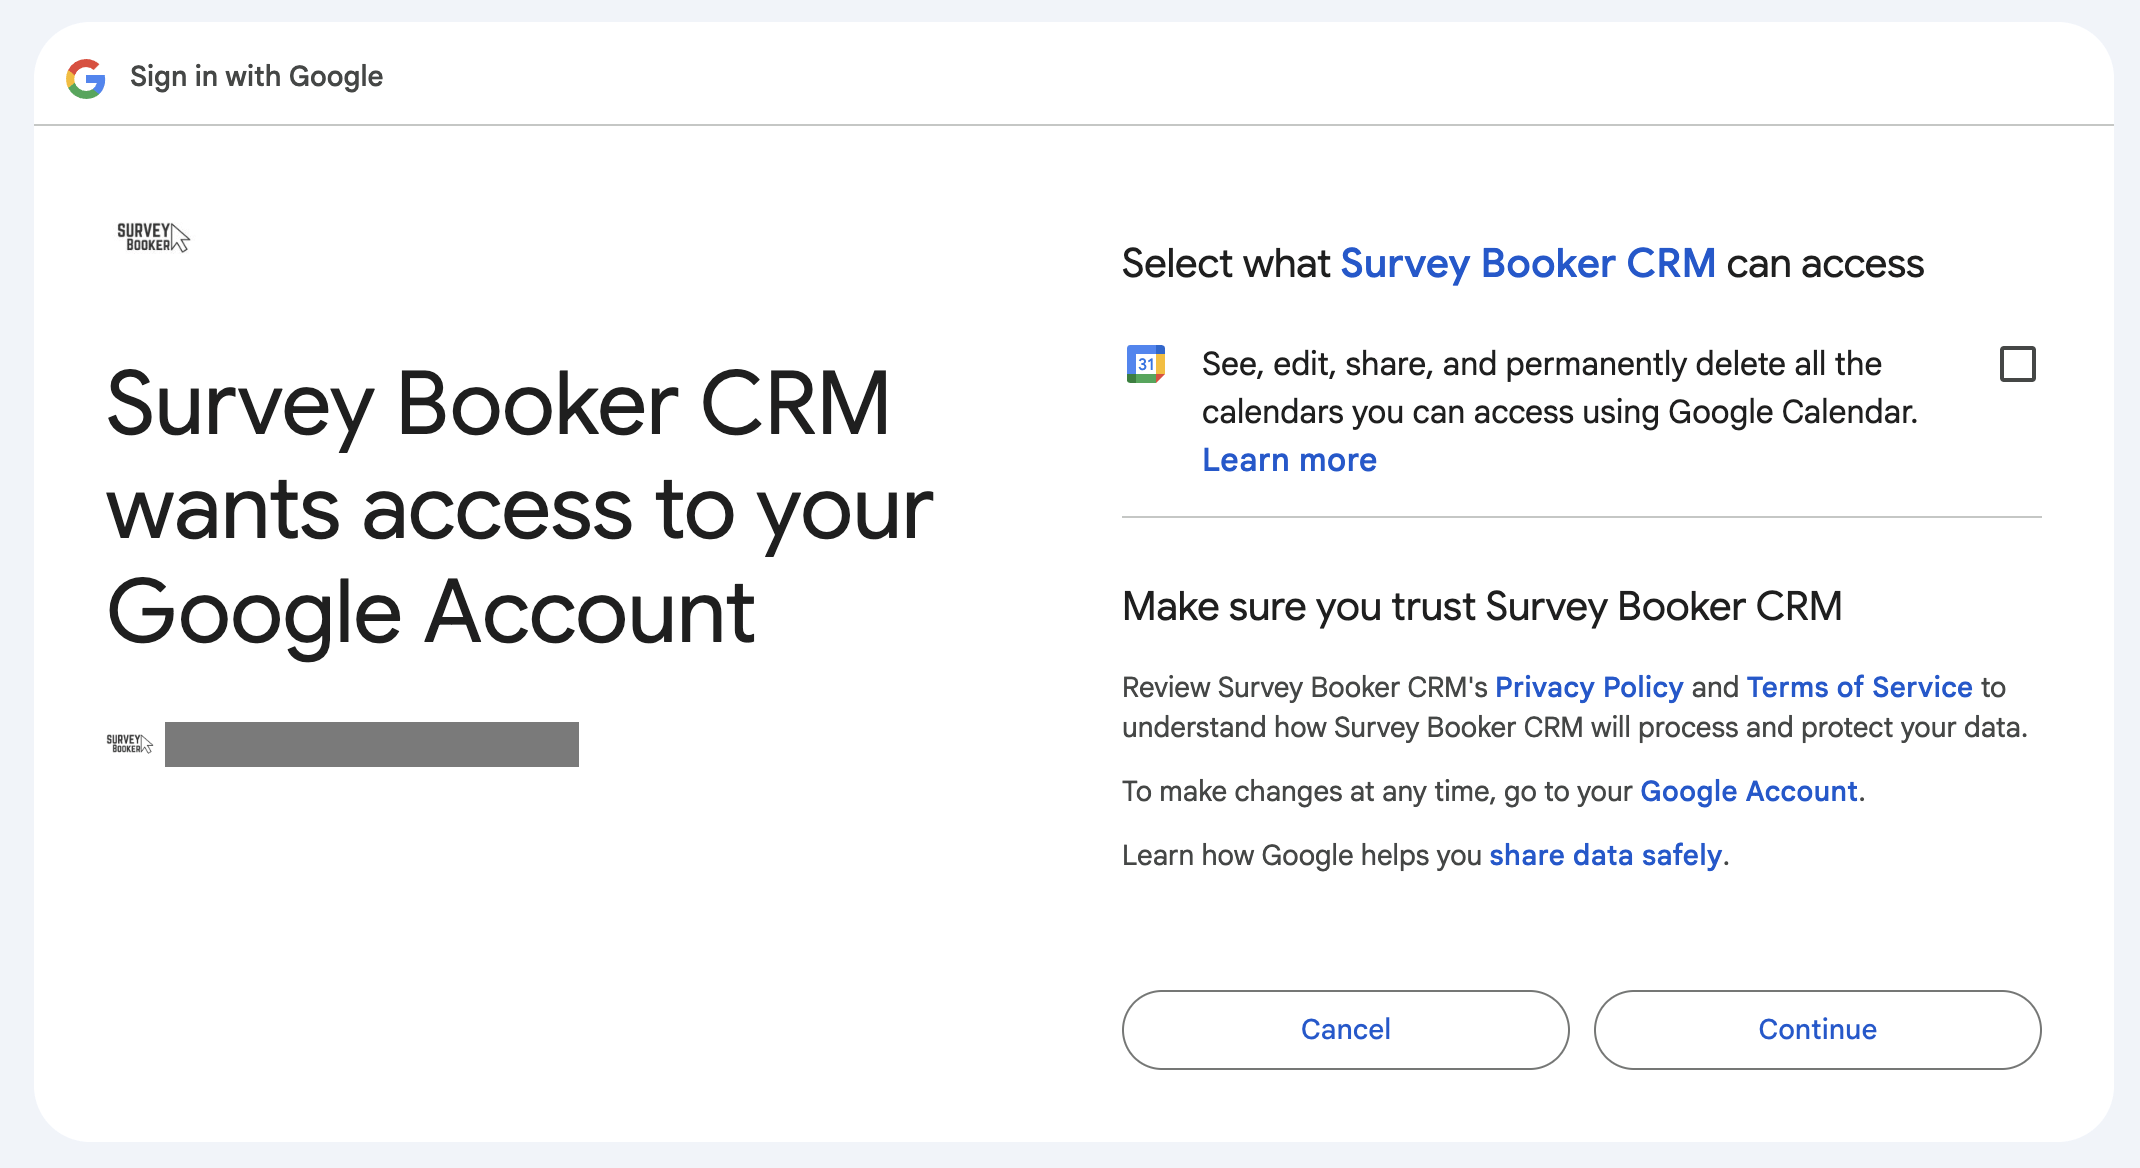
Using the 0Auth2.0 route, you’ll be taken to the Google integrations page. Using the “Account settings” tab you’ll be able to connect a central email address. The email connected here is used to send your automated emails. Press the connect button and follow the on-screen prompts.
Connecting an email for your own user
Following the same process above, you can then navigate to the “Your settings” tab. On this tab a user connects their own email address. The email connected here can be used to send emails from the ‘Email’ tab on the quote/job timeline.
Troubleshooting
The wrong email is automatically connecting when I press “Connect email”
If Microsoft picks up that your browser is logged into one account already, they will automatically connect your logged in account to Survey Booker. To prevent this and choose which email you want to connect you can:
- Open a browser in “Incognito mode” on Google Chrome or “Private mode” on Edge. This won’t be logged into any systems.
- To do this, click the 3 vertical dots in the top right of your browser.
- Around the 3rd option down is “New Incognito window” or “New Private Window”.
- In this new browser window, log in to Survey Booker and connect your email.
- Microsoft will ask you which account you want to connect to as you will not be logged into Office 365 in this private/incognito browser.


Connecting Calendars
There are two ways you can connect a Google calendar depending on what you are trying to connect.
- Central email for the whole company
- Individual user emails
Connecting a central calendar for the whole company
Navigate to Settings > Integrations > Google OAuth
Under the “Account settings” tab you can connect a central company calendar for posting calendar events to. For example, jobs that aren’t assigned to any one.
Connecting individual user calendars
Following the same process above, you can then navigate to the “Your settings” tab. On this tab a user connects their own calendar. When settings appointment dates, report due dates and tasks, these events can be posted through to individual user calendars if connected.
Calendar settings
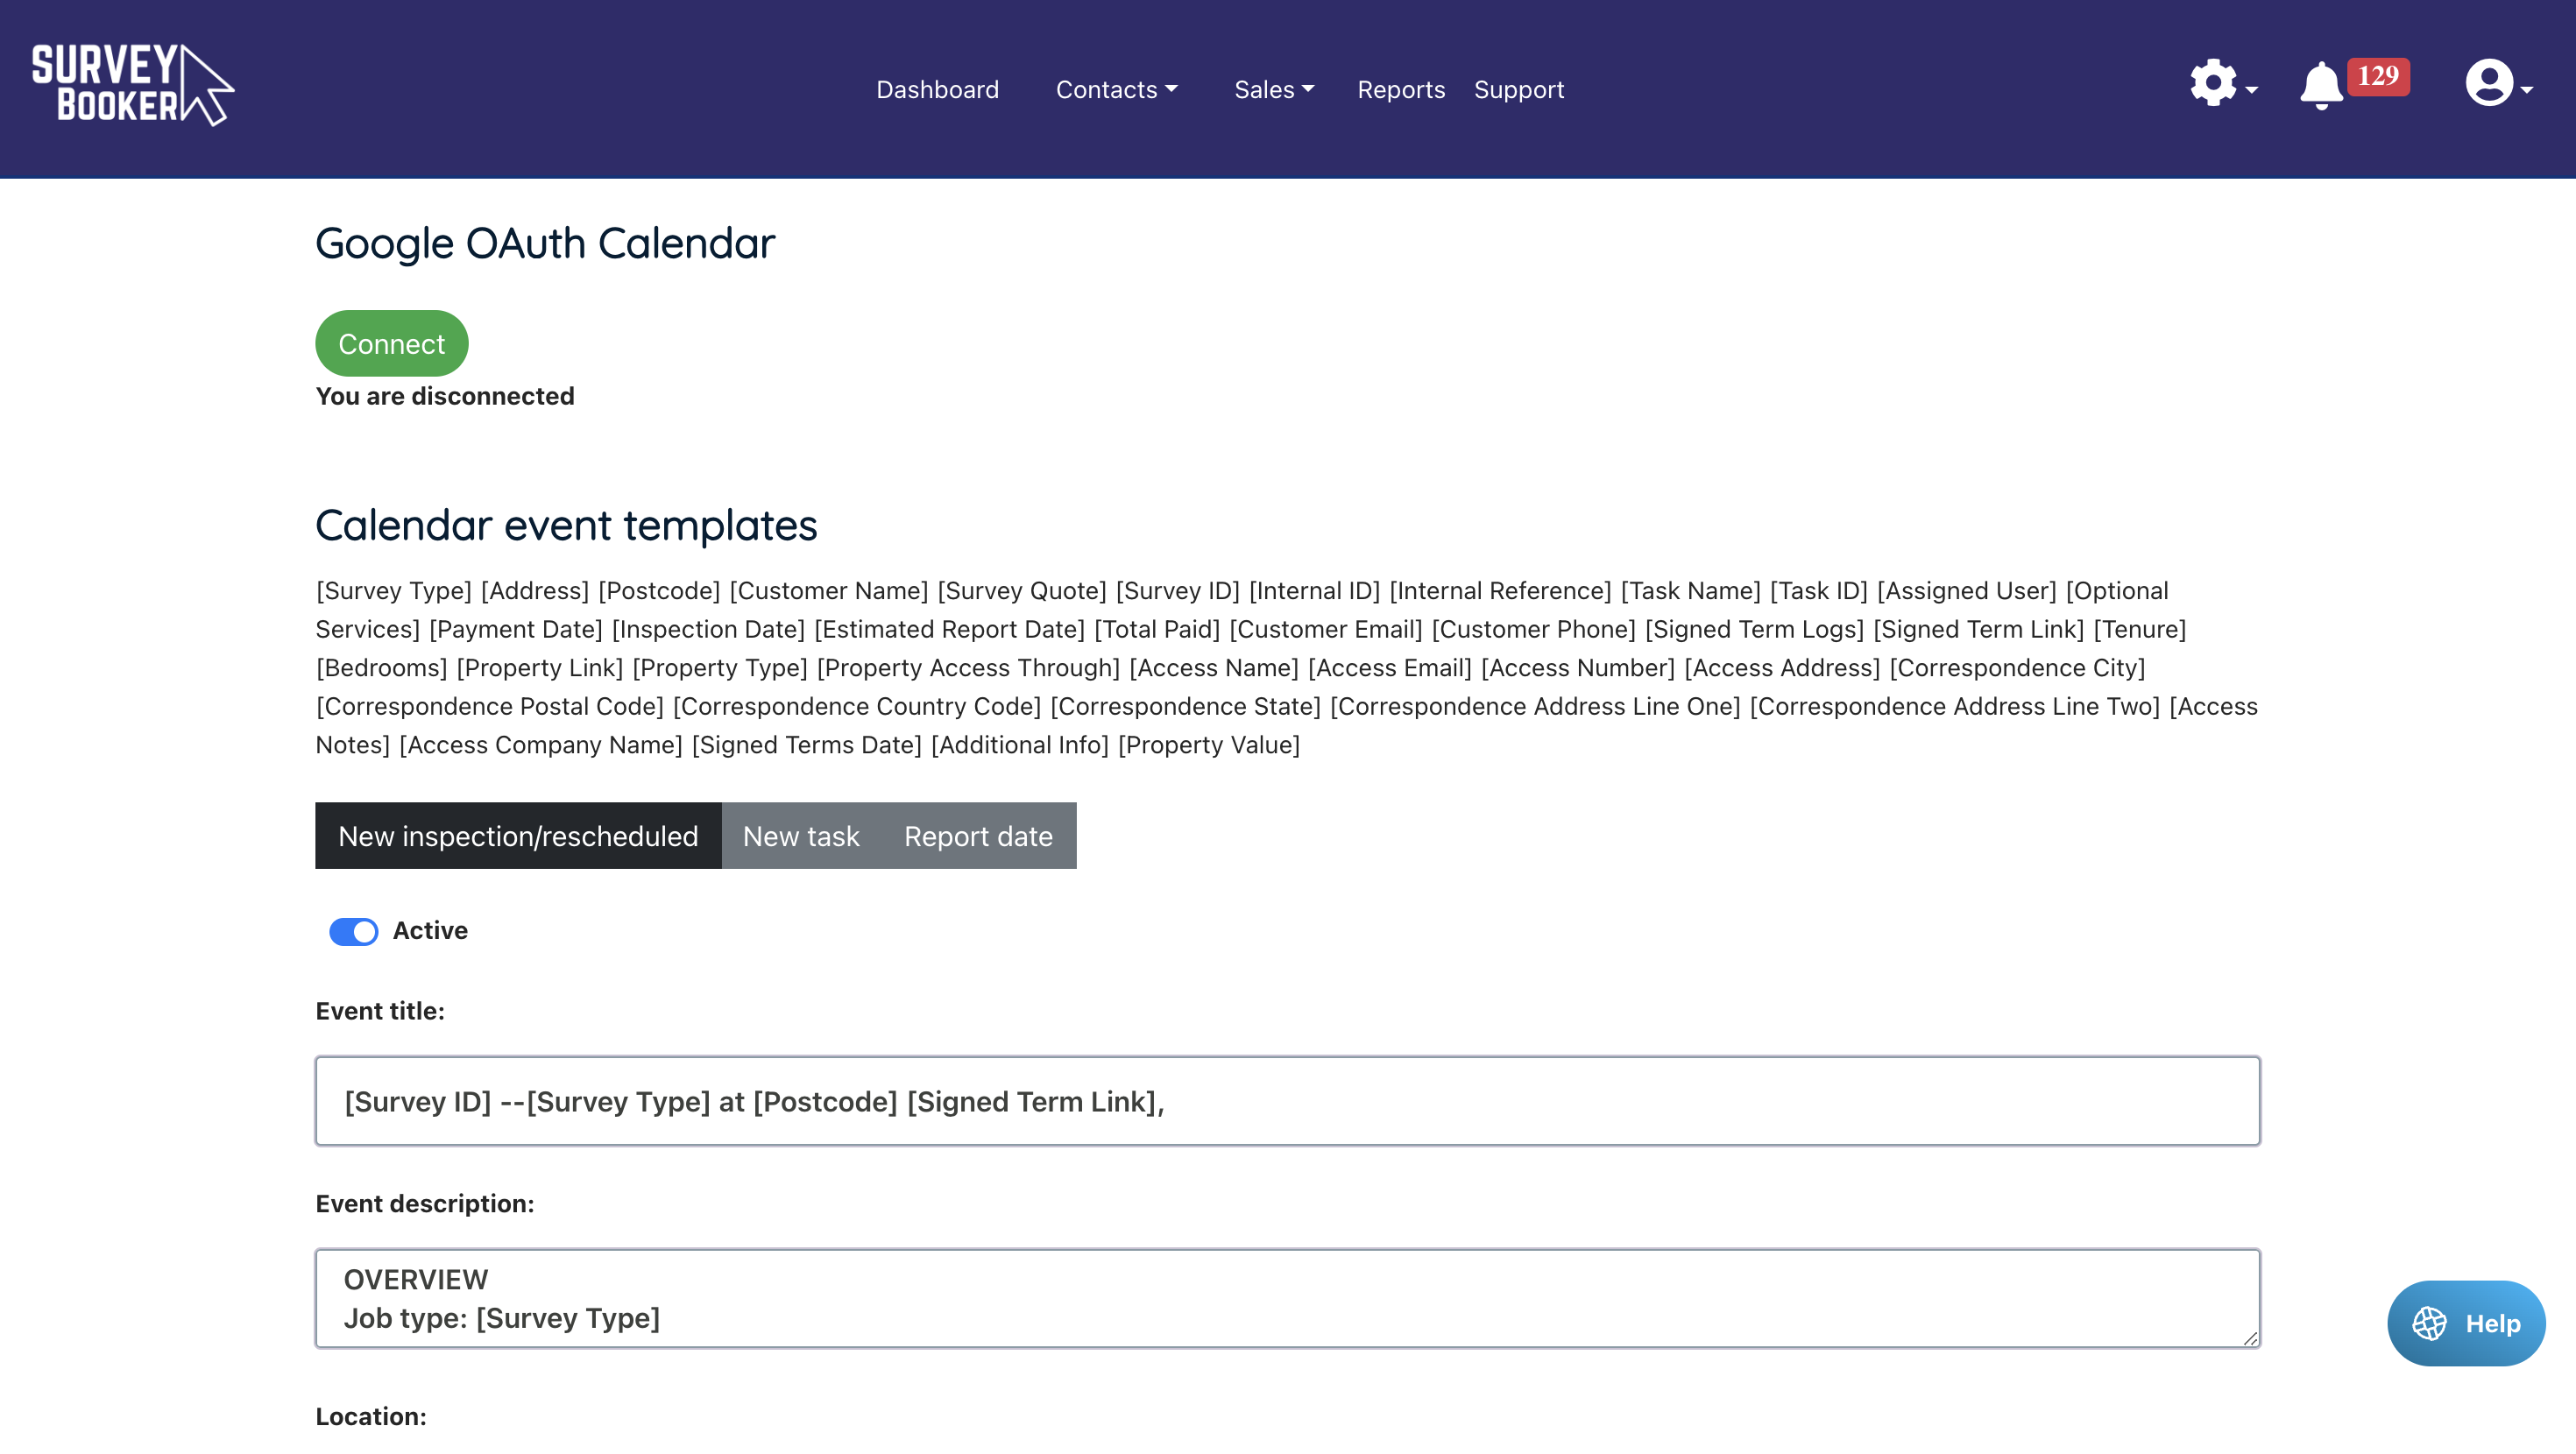
There are three tabs:
- Inspection due
- Report due
- Tasks
Under each tab you have a separate activation slider to set if that event type should be sent to your calendar or not. Turn it on to allow that event type to add to your calendar.
You can also set a different event title, description, location and attendees using the shortcodes listed. How you set up your template here will set how your calendar event is created.
Frequently asked questions
Which calendar will events be added to?
Individual user calendar: When setting an inspection date, report due date or task, the event will be added to the assigned user calendar provided:
- The user has connected their calendar in the settings
- The event type is set as active in your Google OAuth calendar settings
Central calendar: If no user is assigned or the assigned user hasn’t connected a calendar, the event will add to your central calendar connected under the Account settings tab. Tasks will not add to a central calendar – they will only be added directly to a users calendar if connected.
What happens if I make changes to an appointment date:
- Rescheduled appointments: the event will be rescheduled in the user’s calendar.
- Reassigned appointments: the event will be removed from the original user’s calendar and added to the new user’s calendar.
- Cancelled appointments: when a job is cancelled, the event will be automatically removed from the user’s calendar.
- Manually moving the job status back: if you move the job back from inspected to booked, we’ll remove the report due event. Likewise, if you move the status back from booked to accepted, we’ll remove the appointment from the calendar.
What happens if my calendar disconnects?
We’ll send the user an email to let them know their calendar has disconnected advising that they need to login and reconnect it. If you’ve booked an appointments and it’s defaulted to the central calendar due to the calendar disconnection, you can move the job back to accepted and rebook it to send it to their calendar once rebooked.
Example description
OVERVIEW
Job type: [Survey Type]
CUSTOMER
Customer name: [Customer Name] – main customer name, not the report name.
Customer email: [Customer Email]
Customer phone: [Customer Phone]
Correspondence Line 1: [Correspondence Address Line One]
Correspondence Line 2: [Correspondence Address Line Two]
Correspondence City: [Correspondence City]
Correspondence county: [Correspondence Country Code]
Correspondence postcode: [Correspondence Postal Code]
JOB DETAILS
Survey quote: £[Survey Quote]
SB ID: [Survey ID]
Internal ID: [Internal ID]
Internal ref: [Internal Reference]
Additional info: [Additional Info]
Assigned user: [Assigned User]
Extras: [Optional Services]
Payment date: [Payment Date]
Total paid: £[Total Paid]
TERMS
Signed term logs: [Signed Term Logs]
Signed terms: [Signed Term Link]
Signed terms date: [Signed Terms Date]
PROPERTY
Address: [Address]
Postcode: [Postcode]
Property value: £[Property Value]
Tenure: [Tenure]
Bedrooms: [Bedrooms]
Property link: [Property Link]
Property type: [Property Type]
ACCESS
Property access through: [Property Access Through]
Access company: [Access Company Name]
Access name: [Access Name]
Access email: [Access Email]
Access number: [Access Number]
Access address: [Access Address]
Access notes: [Access Notes]
Composing an email and setting a signature
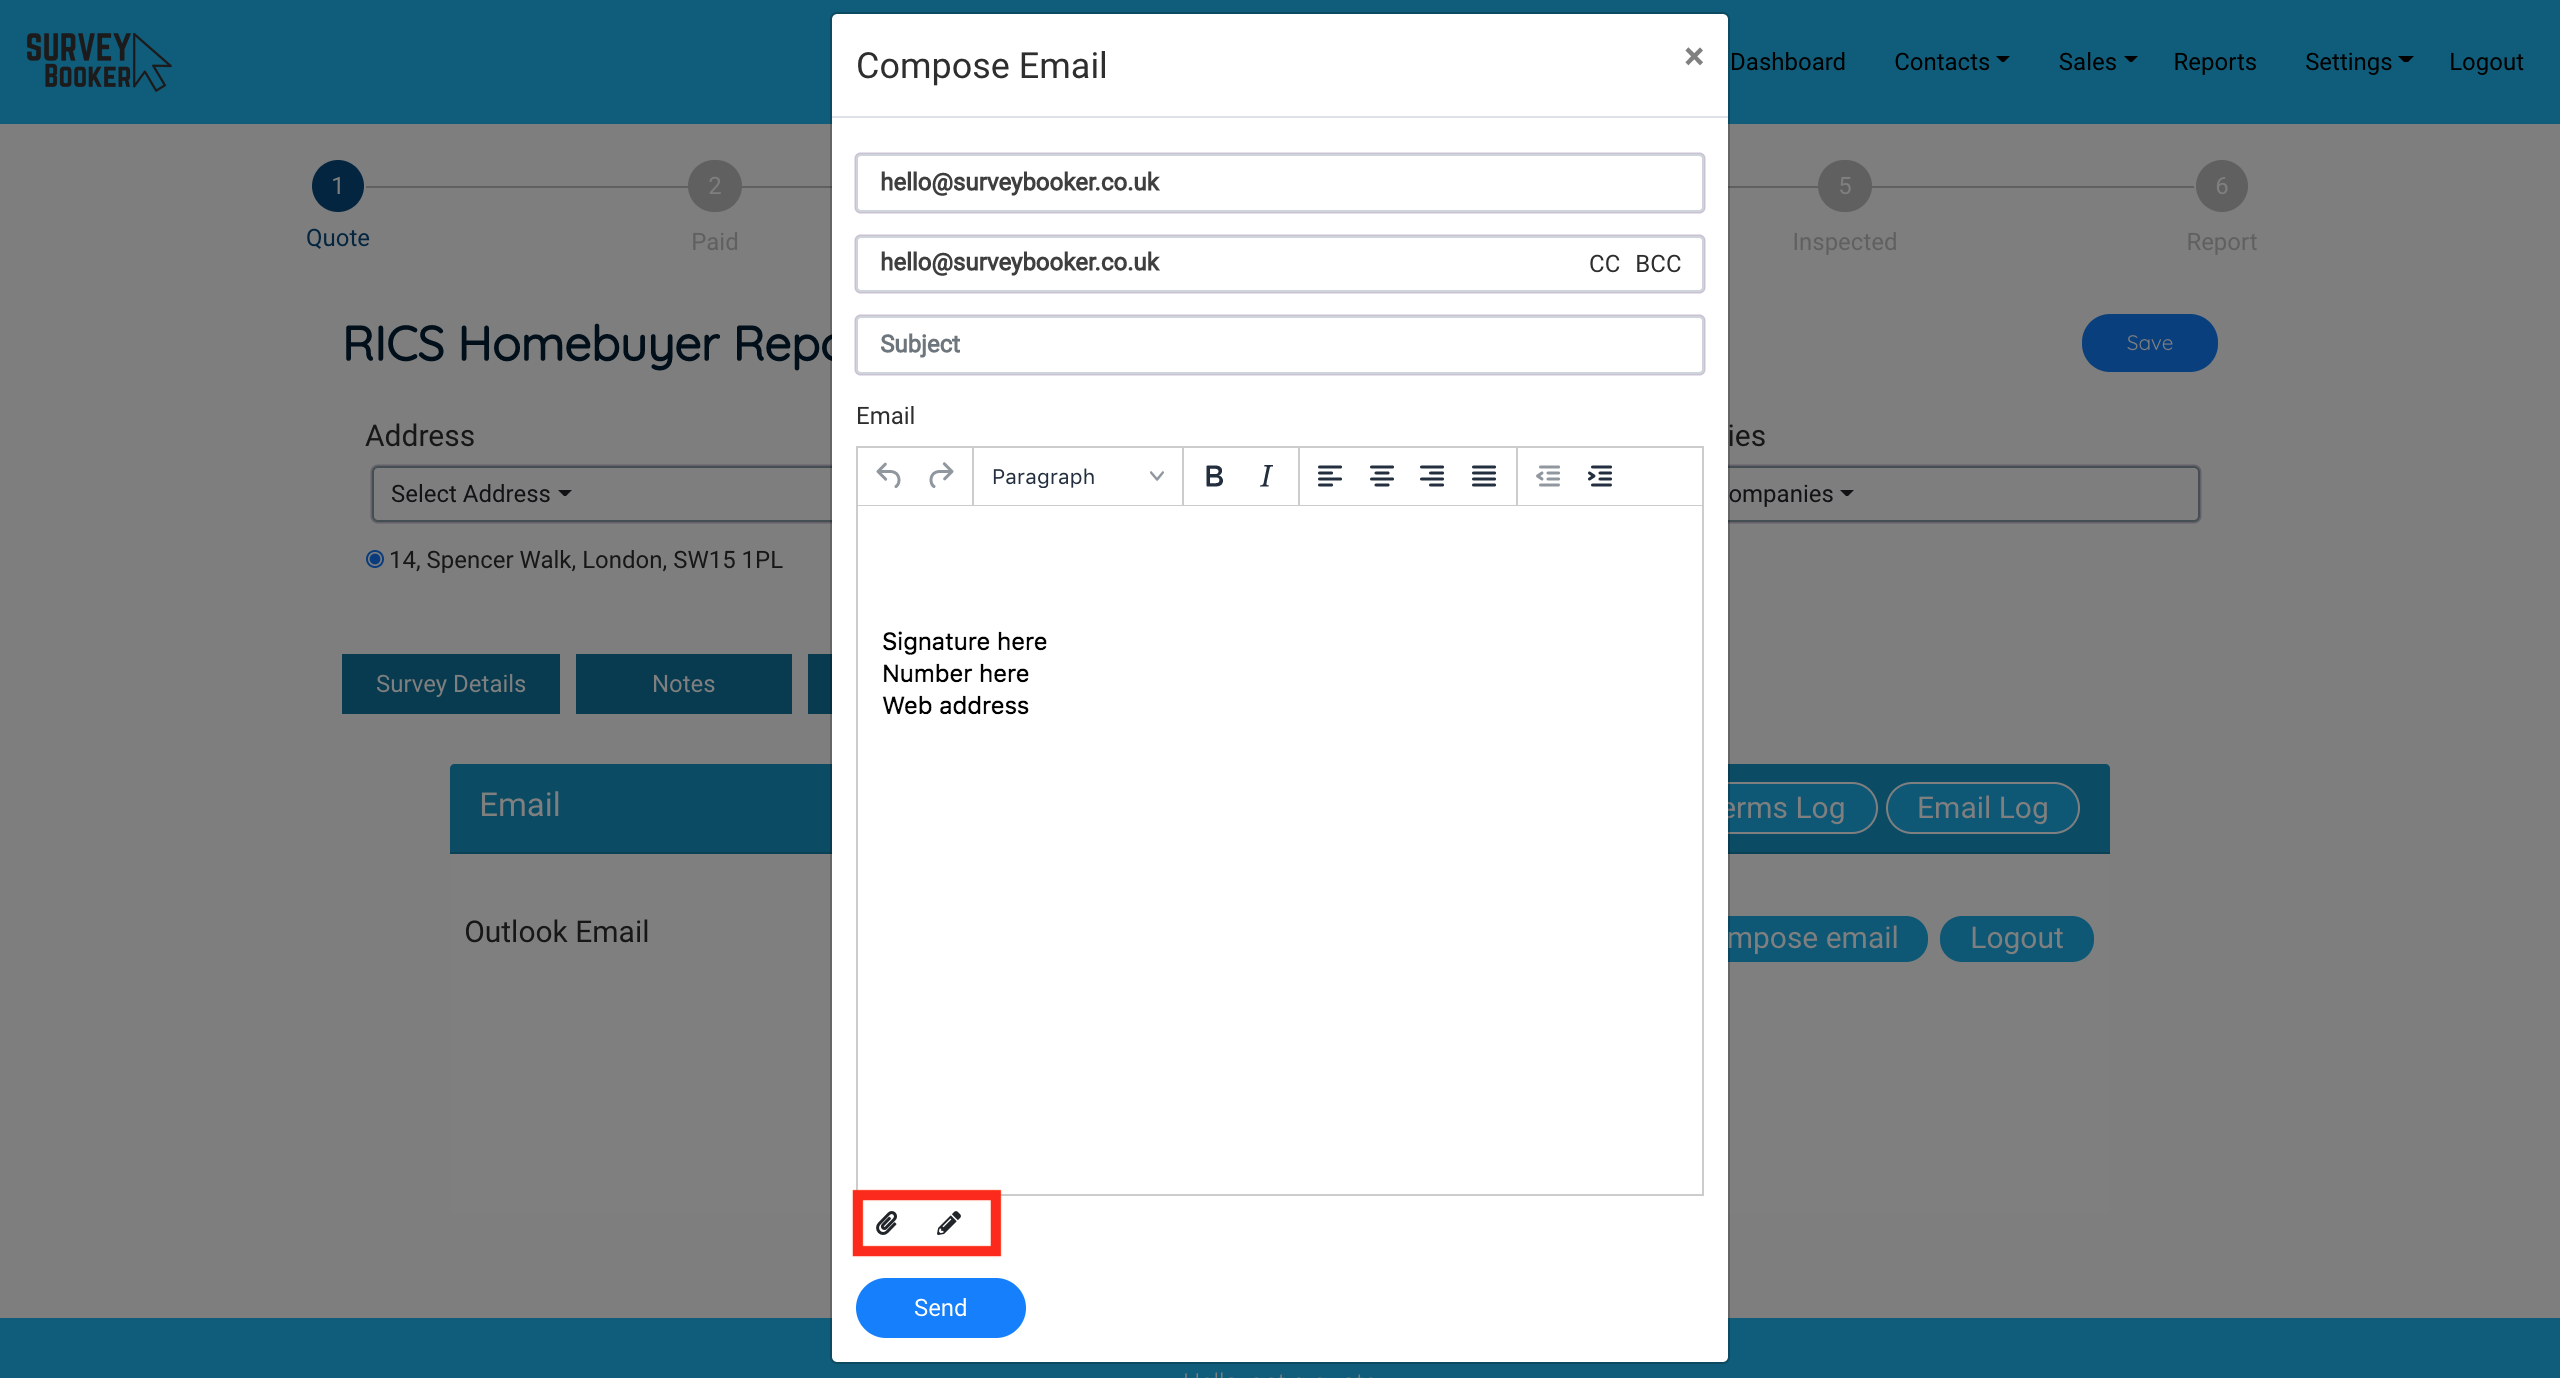
Click on ‘Compose email’.
The pop up will then appear allowing you to write an email. You can write in the message you want to send to your customer.
Setting a signature
Press the pencil icon at the bottom of the page. Press the ‘add new sign’ button. If you want a signature to appear by default when writing an email, please select the ‘Set this signature as a primary signature’ tick box.
Enter your signature. We are working on the ability to add HTML-formatted signatures. You can set up a manual template in the meantime to select on the composer.
Adding attachments
Click on the paper click icon.
Select the attachment(s) you’d like to add.
You will then see them on the message ready to send.
Custom templates and standard attachments
To create pre-set templates that can be selected for use on the timeline page please see this guide: Personalising your email templates and standard attachments


