
There are two places you may create an email signature. In the email templates or on the email composer by pressing the pencil icon to create a signature that adds into your manually sent emails. In this guide, we’ll look at how you can use HTML to format the signature.
Adding formatting and colours
Using the formatting bar, you can set text formatting including custom colours, links and more. This allows you to set up your signature exactly as you need it. You can also use shortcodes to personalise your template. These allow you to quickly change key details across all your templates with one settings change instead of having to edit each template separately.
[Company Name] – inputs the Company name under Settings > Account settings
[Account Email] – inputs the email address shown under Settings > Account settings
[Account Phone Number] – inputs the phone number shown under Settings > Account settings
[Allocated User First Name] – inputs the first name of the user assigned to the job. If more than one user is assigned, it uses the user marked as the ‘Primary’ user. If no user is assigned in inputs the Company Name. For emails to referrers please use: [Introducer Owner First Name]
[Allocated User Last Name] – inputs the first name of the user assigned to the job. If more than one user is assigned, it uses the user marked as the ‘Primary’ user. If no user is assigned, no information is added (it enters blank). For emails to referrers please use: [Introducer Owner Last Name]
[Allocated User Number] – inputs the phone number of the user assigned to the job. If more than one user is assigned, it uses the user marked as the ‘Primary’ user. If no user is assigned it inputs the Company Phone number from the account settings. For emails to referrers please use: [Introducer Owner Phone Number]

Adding images / logos
You can also add in images such as logos to your templates.
Note: you cannot paste in an image. Although it will display in the editor, it will not be sent out in emails as it won’t have been added in a suitable manner.
If you are pasting in images from a footer or email template created on another system such as MailChimp, the images will be sent. It is only images pasted in directly that will not work.
To add in an image or logo, you can upload an image to your website Media folder (speak to your web developer if you do not know how to do this) and they can provide you with the public media URL. You can then add this into the HTML code below and add it to your template.
Press the “Show code editor” button and paste the code below into the template. Switch back to the text editor using the “Show text editor” button to view how it will look when sent out.
HTML CODE:
<img src=”https://yourimageurl.com” width=”300px”>
You can adjust the width value to suit your image so it looks the right size.
Adding media to your website
- Wordpress: https://wordpress.com/support/media/
- Wix: https://support.wix.com/en/article/studio-editor-adding-media-to-a-site#uploading-your-own-media
- Squarespace: https://support.squarespace.com/hc/en-us/articles/206542377-Managing-and-reusing-images-and-videos
- GoDaddy: https://www.godaddy.com/en-uk/help/upload-photos-and-files-for-my-free-starter-site-40159
Need help? JAMY Business Support, specialists in helping surveyors, now offer an Email Template Transformation service designed to make your messages clearer, on-brand and more effective. They work with surveyors every day and even run their own operations using Survey Booker, so they know exactly what your clients expect.
Exclusive Offer for Survey Booker Users: Get £50 off the Email Template Transformation service.
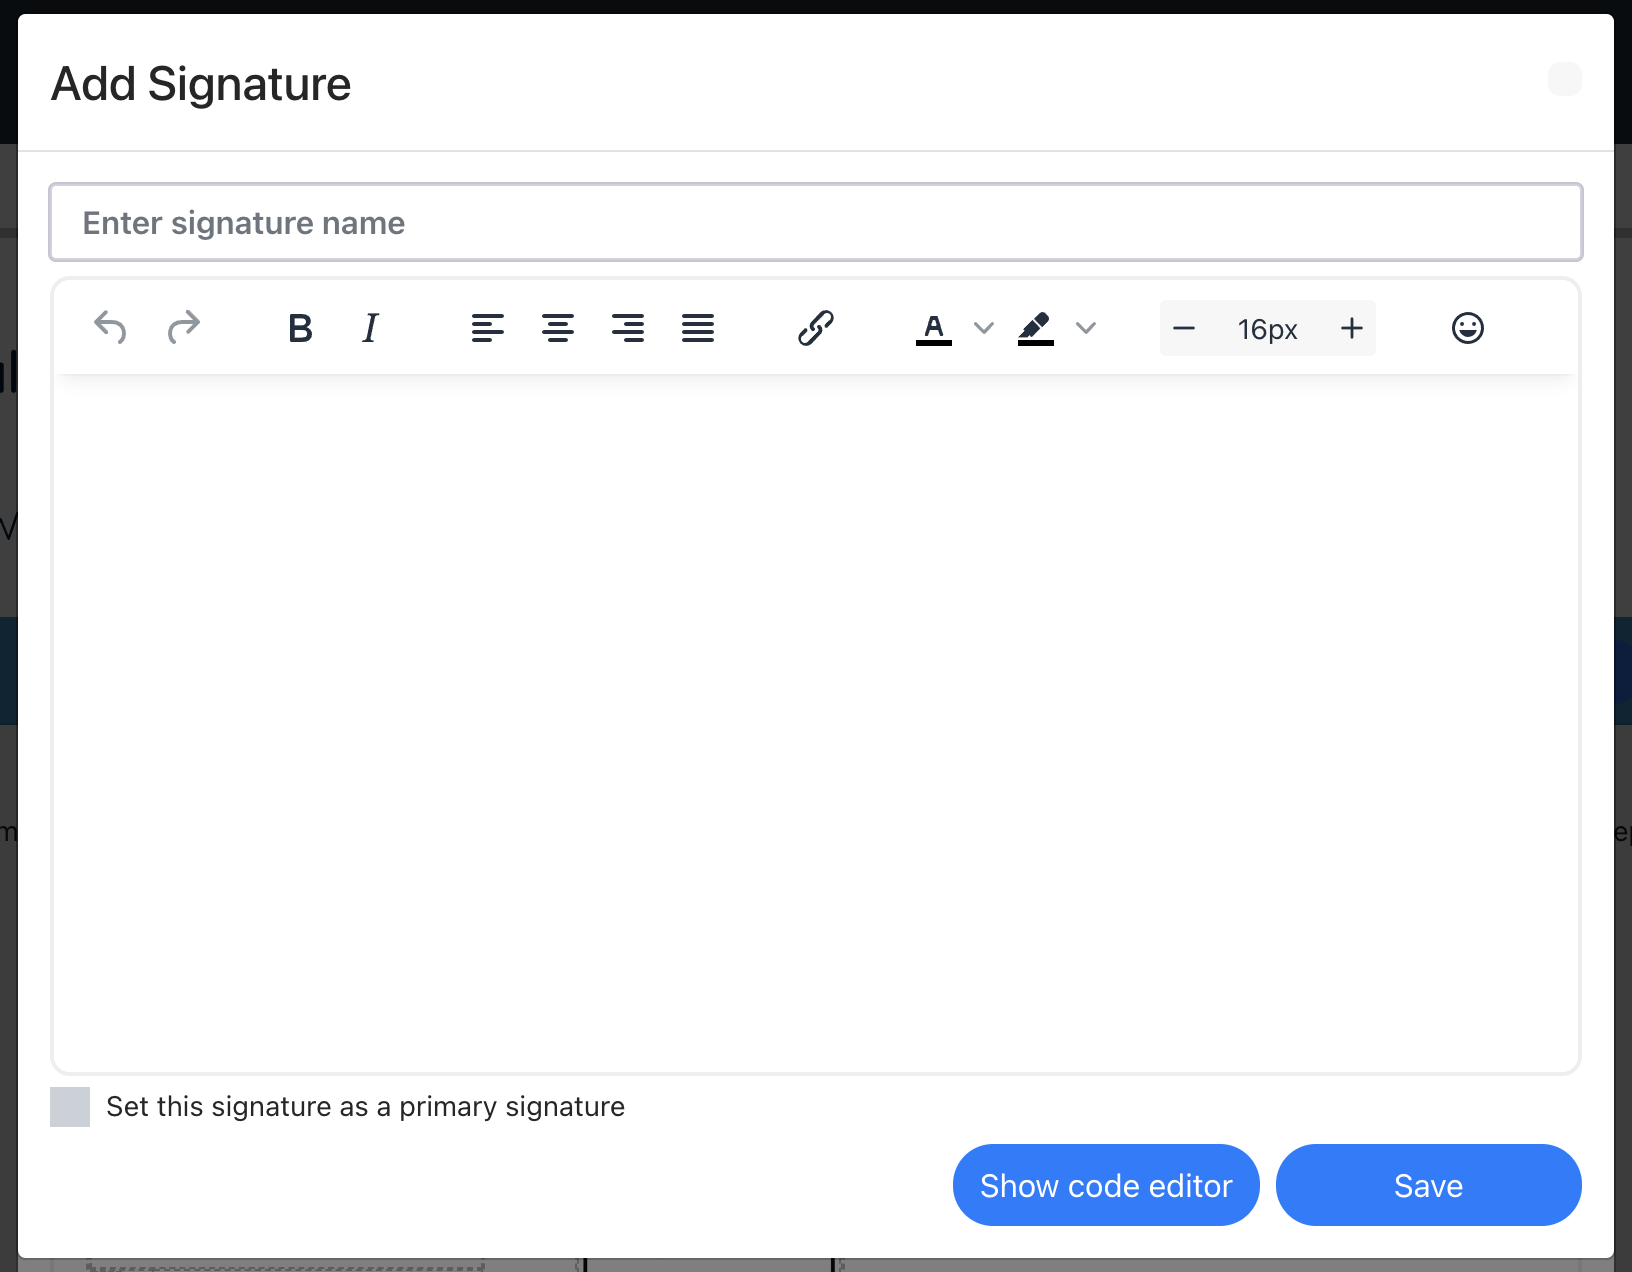
Email composer signature
On the email composer, you can switch to a code editor to add HTML and add the same general formatting (colours, sizing etc) via the formatting bar.
Open the composer, click the pencil icon and then click to add a signature. Enter the details in the pop up and press save.
Click “Save as primary signature” so that your signature automatically displays in the editor on loading.