Part 2 - Editing terms settings
There are two types of terms – e-signed (electronically signed) and general terms that don’t need signing. This guide will cover both general terms and e-signed terms settings.
General (non e-signed) terms
These terms can be set up to appear in the customer portal where you don’t need the customer to sign them.
Navigate to Settings > Survey settings > Terms documents.
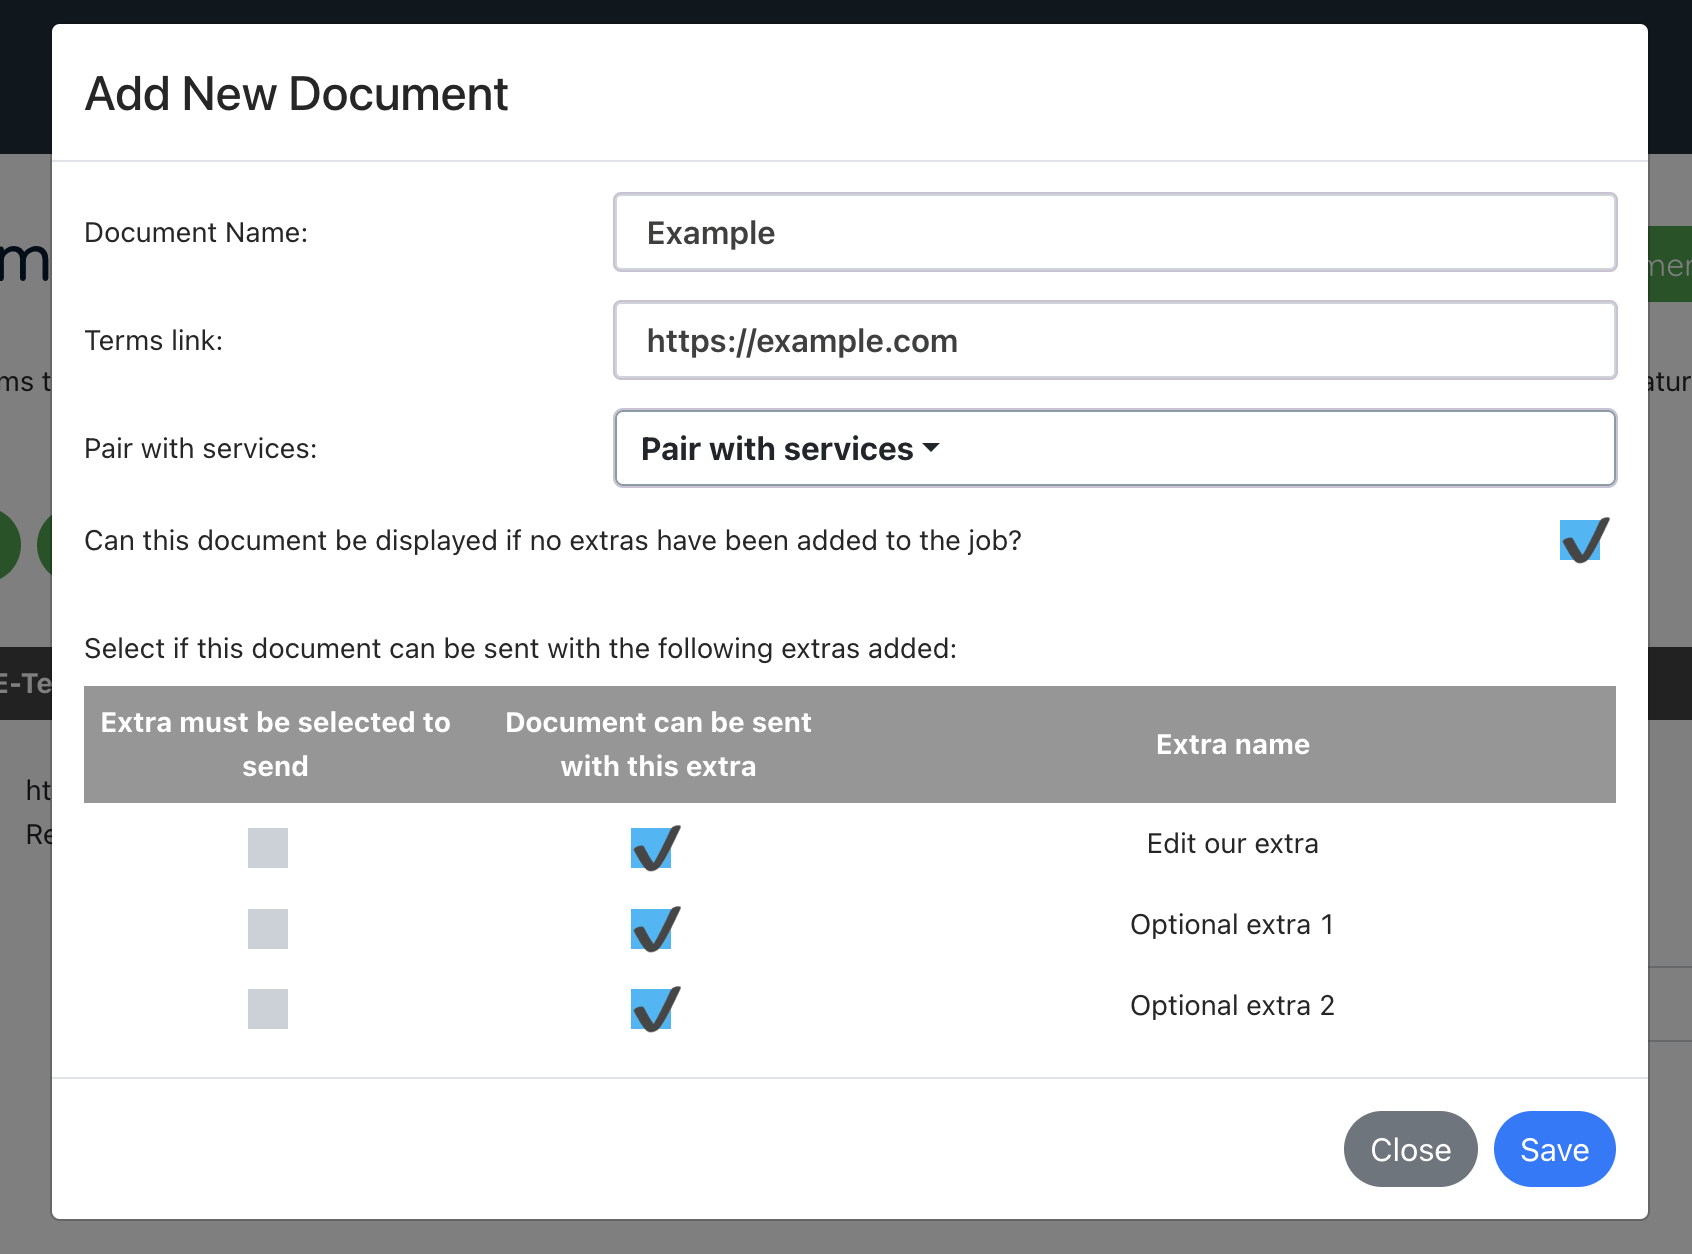
Press “Add document”.
Enter the name of the document and the document link.
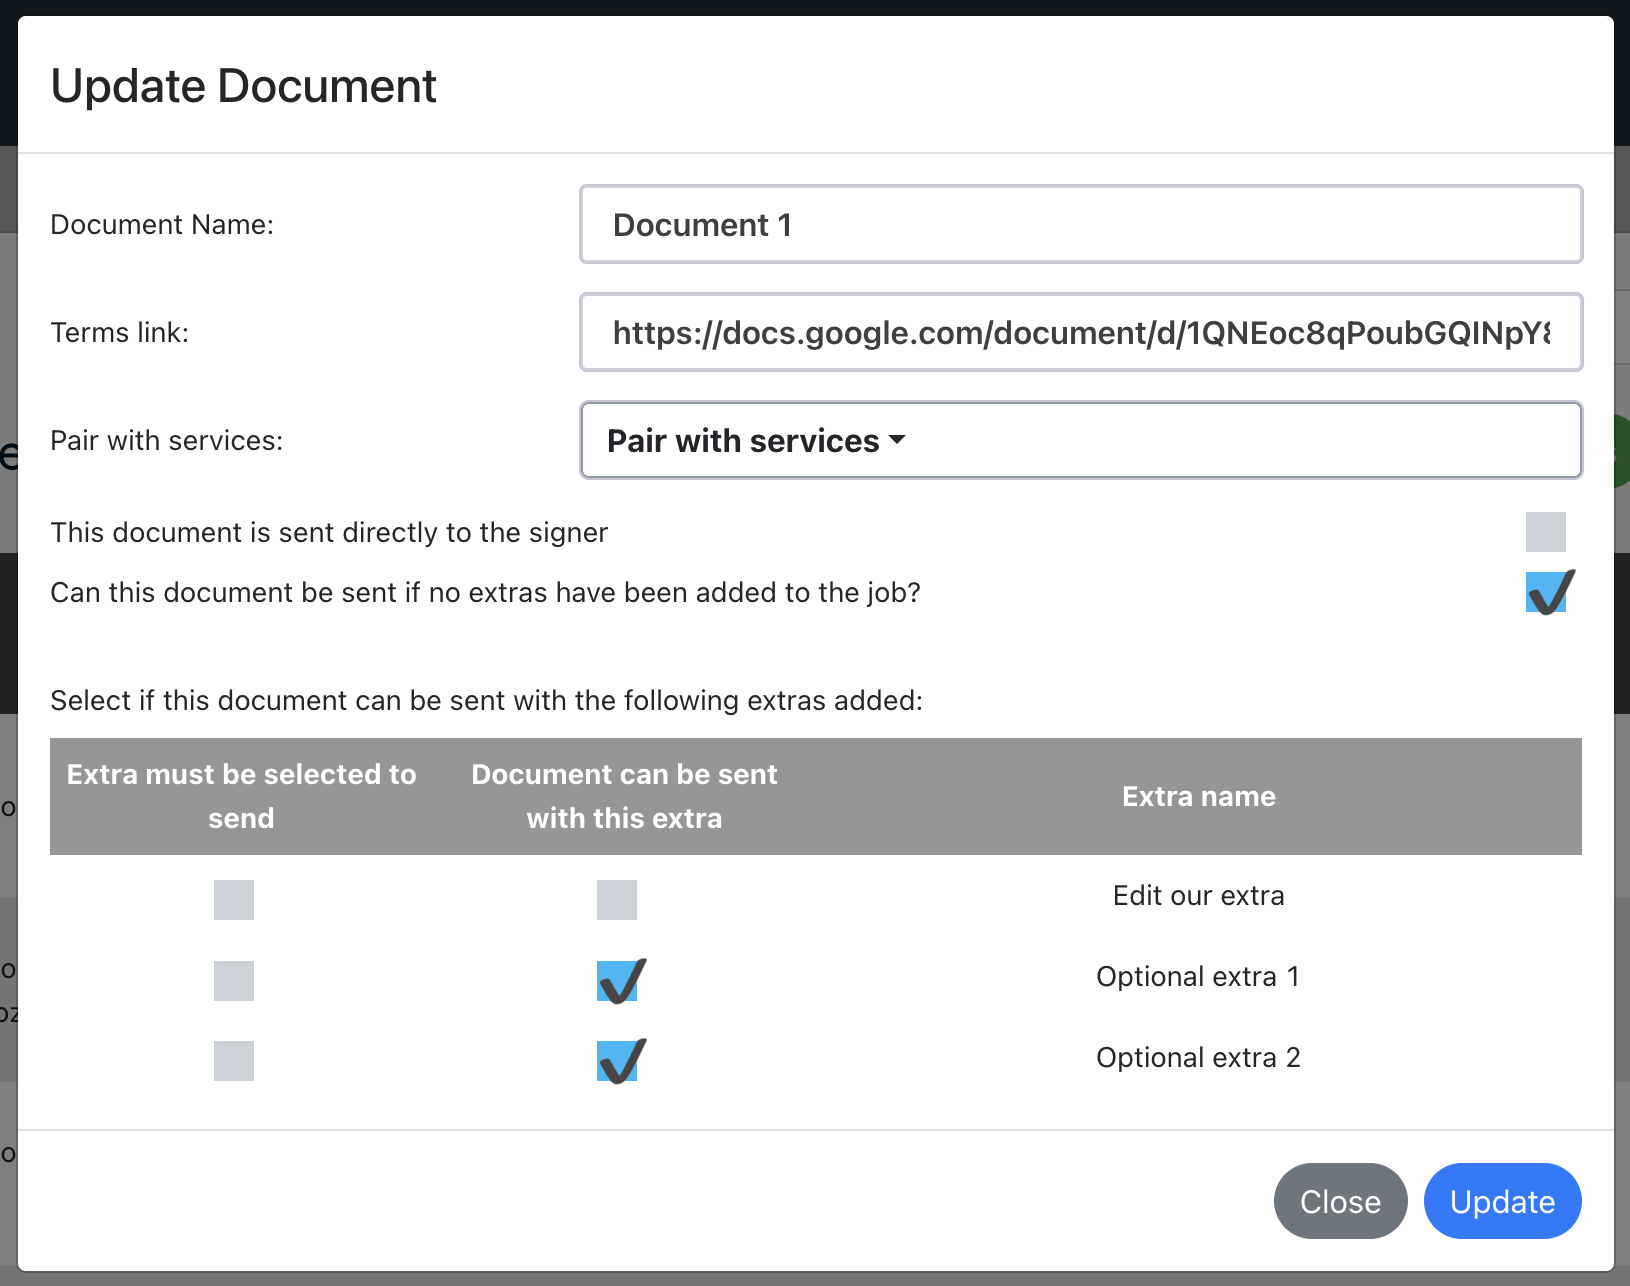
Set which services that link can appear for, if it can appear if no extras have been added to the job and if extras have been added.
Press “Save”.
Use the “Terms settings” button to set if the link should display as a clickable link or if it should embed on the page. We recommend not embedding if you are unsure if the link has security settings that block it being displayed in an iframe.

E-signed terms
These terms can be set up if you need the customer to electronically sign them.
Navigate to Settings > Integrations > E-signature integrations.
SignRequest
Press “Add document”.
Enter the name of the document and the document link.
Set which services that link can appear for, if it can appear if no extras have been added to the job and if extras have been added.
Press “Save”.
Use the “Terms settings” button to set if additional job contacts should be added to the signing process automatically or not, and for Enterprise customers, if documents can be sent automatically to customers or not.

eSignatures.io
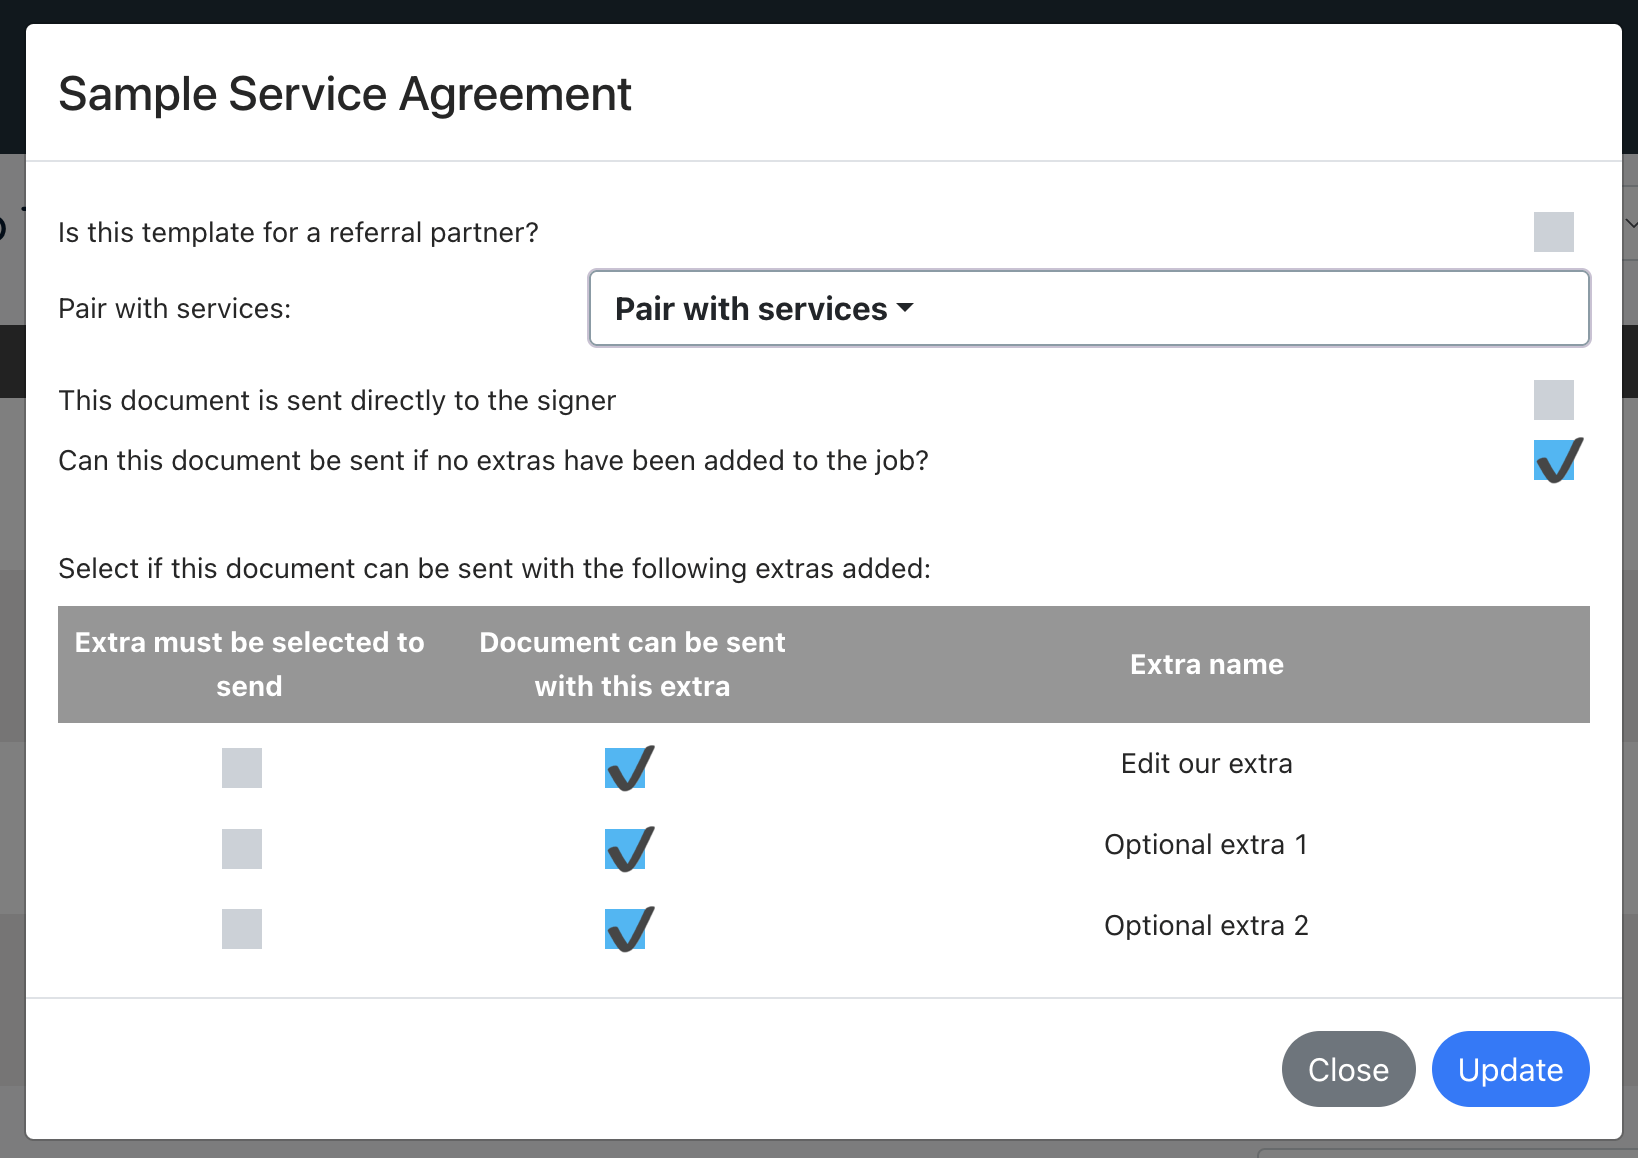
When you open the settings, the list will refresh to show any new templates that have been added in eSignatures.io.
Click on the pencil icon.
Set which services that link can appear for, if it can appear if no extras have been added to the job and if extras have been added.
Press “Save”.
Use the “Terms settings” button to set if additional job contacts should be added to the signing process automatically or not, and for Enterprise customers, if documents can be sent automatically to customers or not.


