Setting Your Quoting Preferences
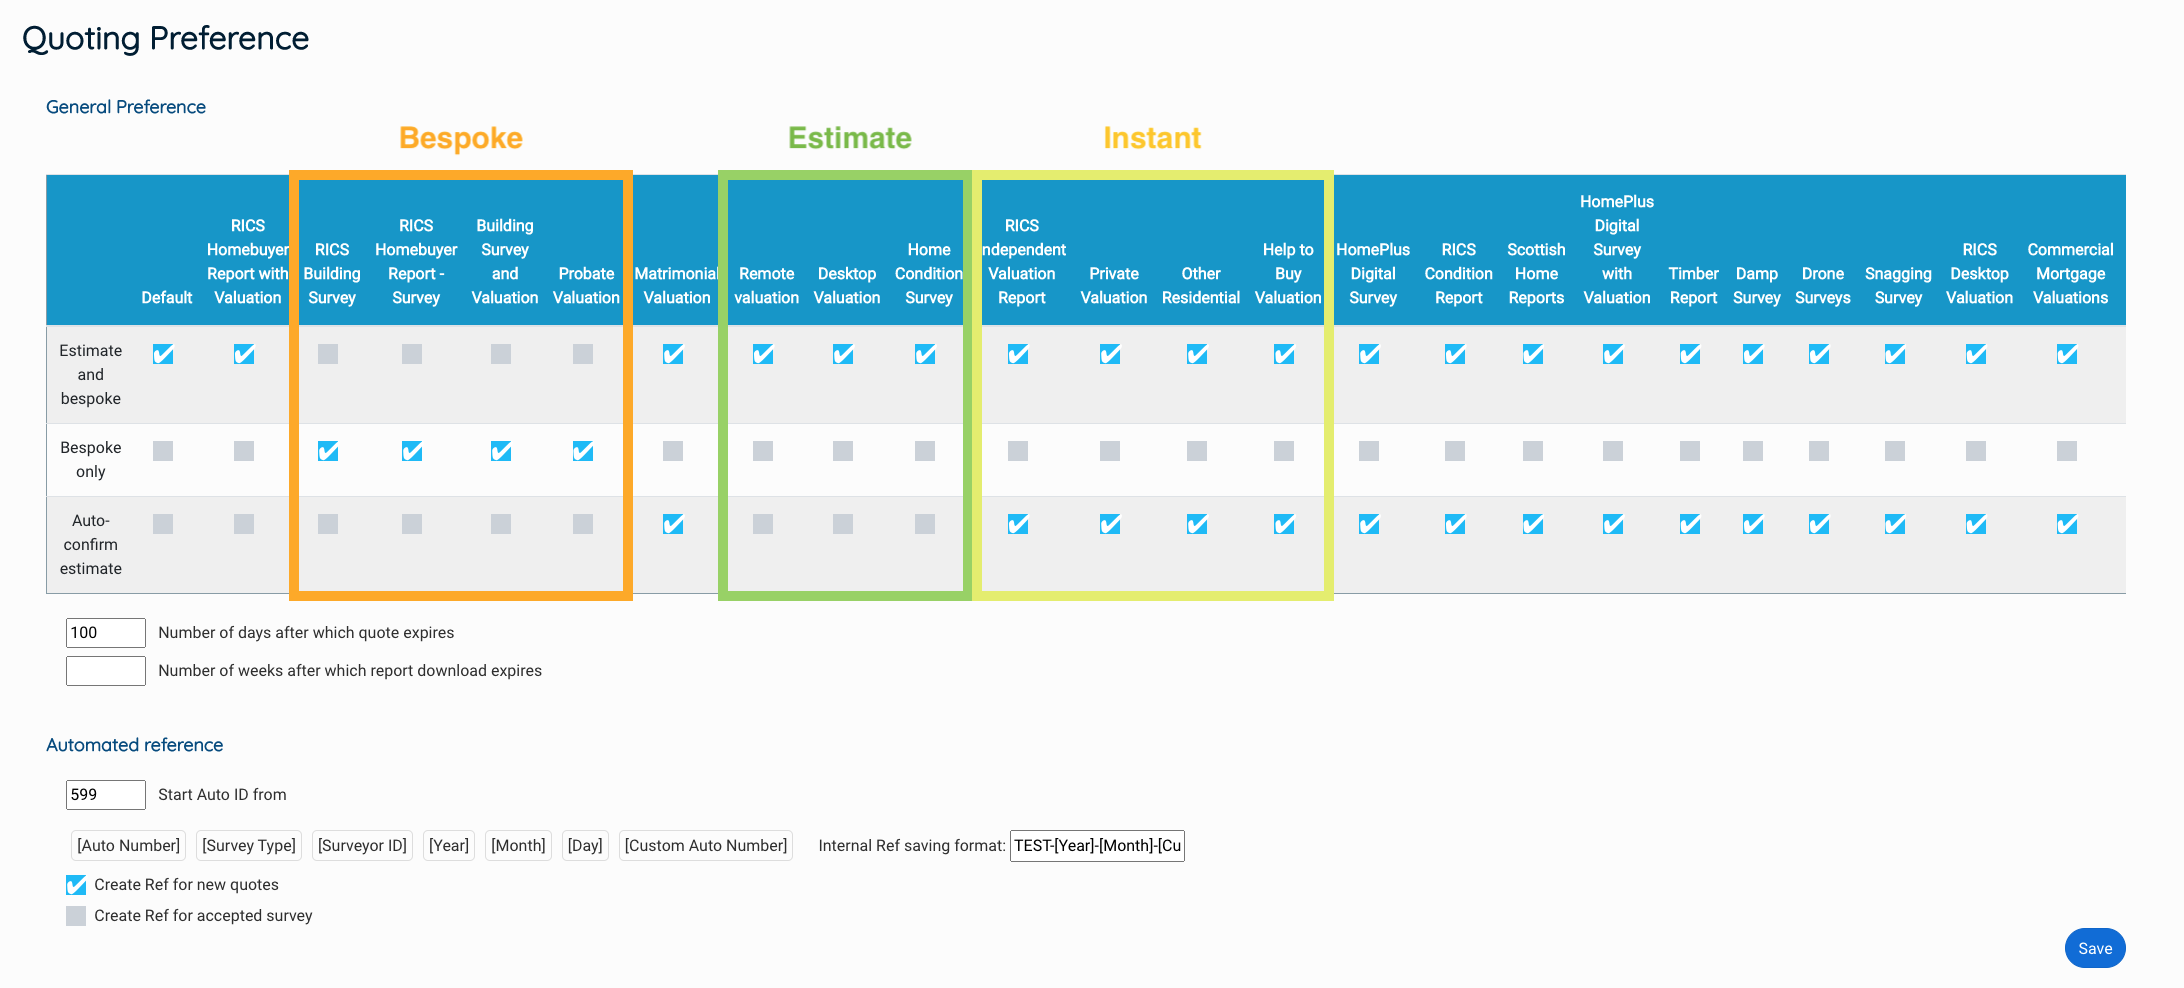
There are three ways you can provide a quote via your quote form – instant, estimate and bespoke.
Instant – we submit the price from your pricing table plus any bedroom or introducer fees. This makes up the final price. Customers can pay online straight away. You will still be required to submit a manual quote where the property is listed, the property price is above your maximum property price band entered on the system or the bedroom is equal or higher to the highest number of bedrooms set on the account before you require a bespoke quote.
Estimate – similarly to the above, we calculate and provide a quote. The customer cannot make payment until you log in to confirm or adjust the quote. Once the quote is confirmed or an adjusted fee is submitted, the customer can log in to make payment.
Bespoke – the results page says ‘Bespoke’ when the customer searches. You are alerted to submit a manual quote. Once your quote is submitted the customer can log in and make payment.
To submit an instant quote: select the two check boxes of ‘Estimate and bespoke’ and ‘auto-confirm estimate’
To submit estimates: select only ‘Estimate and bespoke’
To submit bespoke quotes: select the second option: ‘Bespoke only’
You can set a different preference for each job type you offer. The default column is used to automatically set your preference on any new jobs you activate in the Select Service settings.
Press Save once you have made your updates.
Quote expiration
After selecting your preferred quoting method, you can set the number of calendar days after which a quote expires.
Enter the number of days after which a quote should expire and press the save button.
Once a quote has expired they will see a hover note over the book now button advising the quote has expired and prompting them to search for a new quote.
Availability and setting lead times
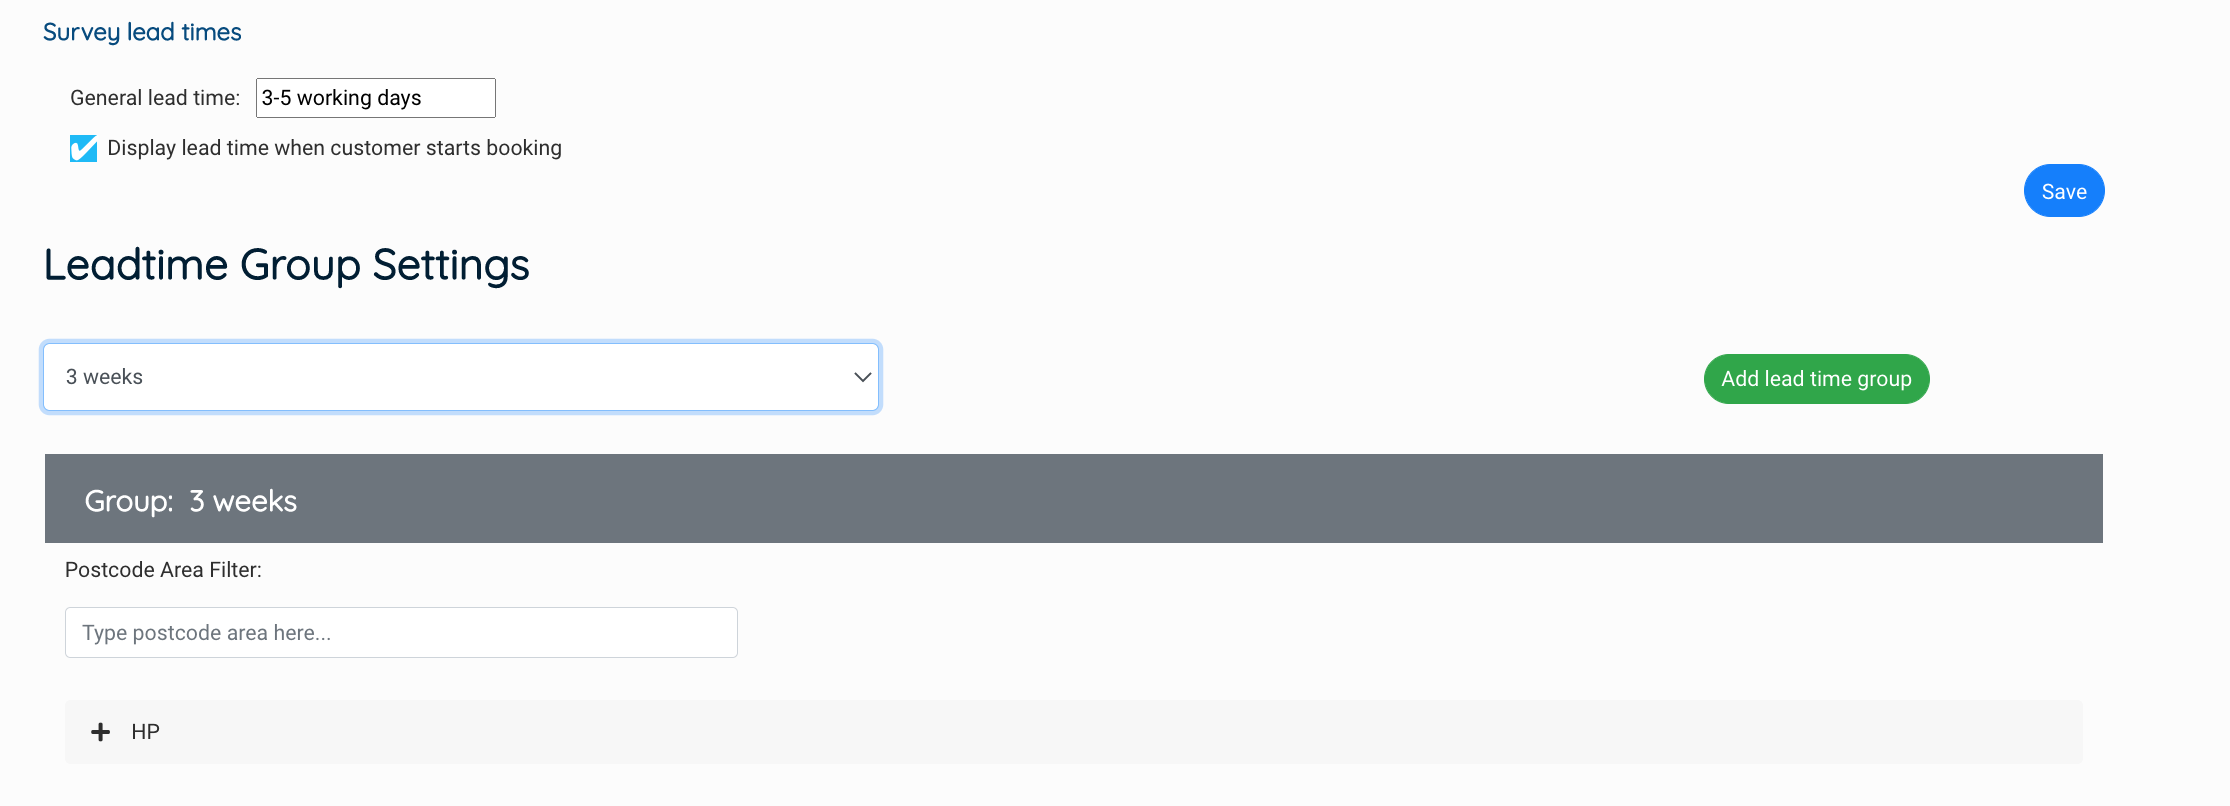
At the bottom of the page, if you have the Availability and Coverage settings feature you can set a general lead time and also lead times that vary but location and job type.
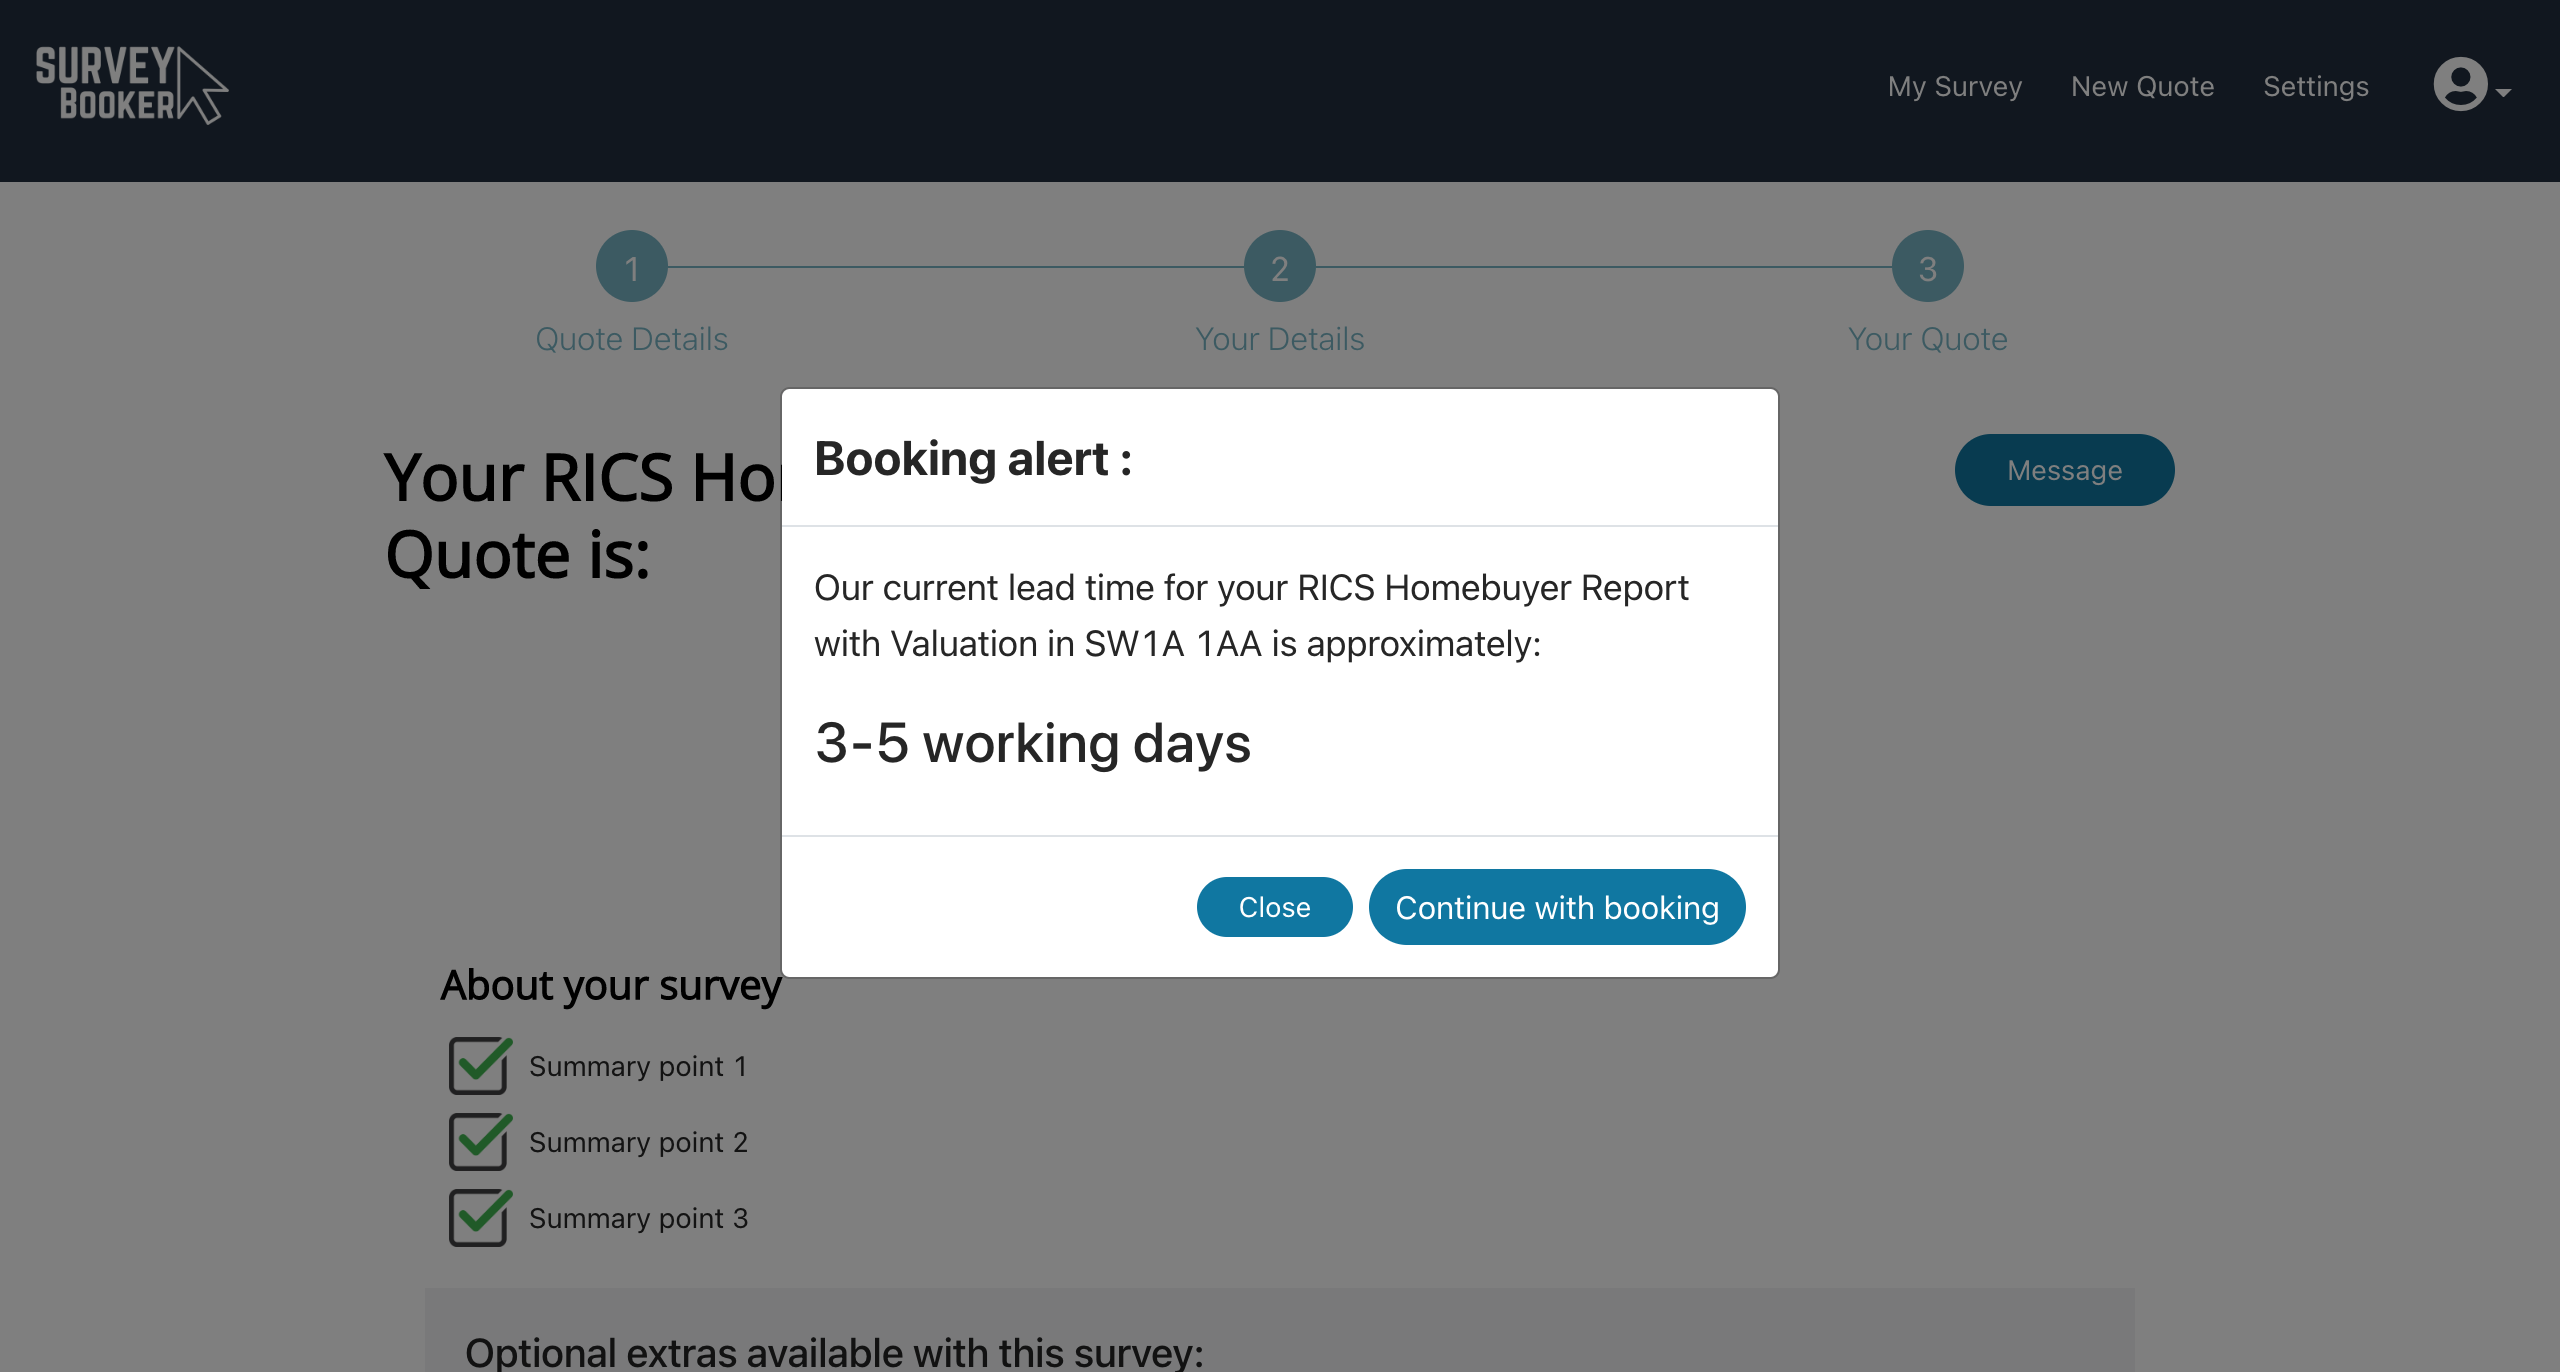
Enter the text you want to display for your general lead times, tick the checkbox to make it visible to customers and press save. E.g. enter “3-5 days” or “1 week” for your lead time.
Press “Add lead time group” to set a different lead time for certain jobs. Add a title for the group e.g. “2 weeks” which will display to the customer. You can then add locations and expand it to set which job types and locations this lead time should display for. You can set up multiple lead time groups or just have the general lead time set up.
Adding lead time to emails:
You can add your lead time to your emails by adding the shortcode [Lead Time] into your email templates. The shortcode should only be added to the following templates:
- Welcome emails
- Manual quote submitted
- Quote confirmed
- Lead nurture templates
It should not be added to any other templates or this will prevent the email from sending.


