Setting up Zapier to automate your processes
Imagine when you receive back signed terms your invoice is automatically created and submitted for your customer to make payment. Or when you update your customer about the inspection date it automatically creates as an event in your calendar.
Zapier allows you to connect Survey Booker to 6000+ apps so you can almost anything with every new customer. Unleash the full power of Survey Booker. It works by having:
- Trigger app – something causes a ‘Zap’ to start. For example, in Survey Booker we have multiple triggers like new customer, terms signed, appointments booked etc.
- Action app – an action is taken in another app when the trigger is met. For example, create an invoice in your accounting software.
Zapier offers a free plan of up to 100 tasks (correct at the time of writing this guide) where you can create Zaps on non-premium apps with a single step (i.e. take the trigger data from Survey Booker and make one action in another app).
Follow the steps below to get started:
Step 1 – Sign up for Zapier
Sign up for a free Zapier account. It’s easy!
Step 2 – Create a Zap
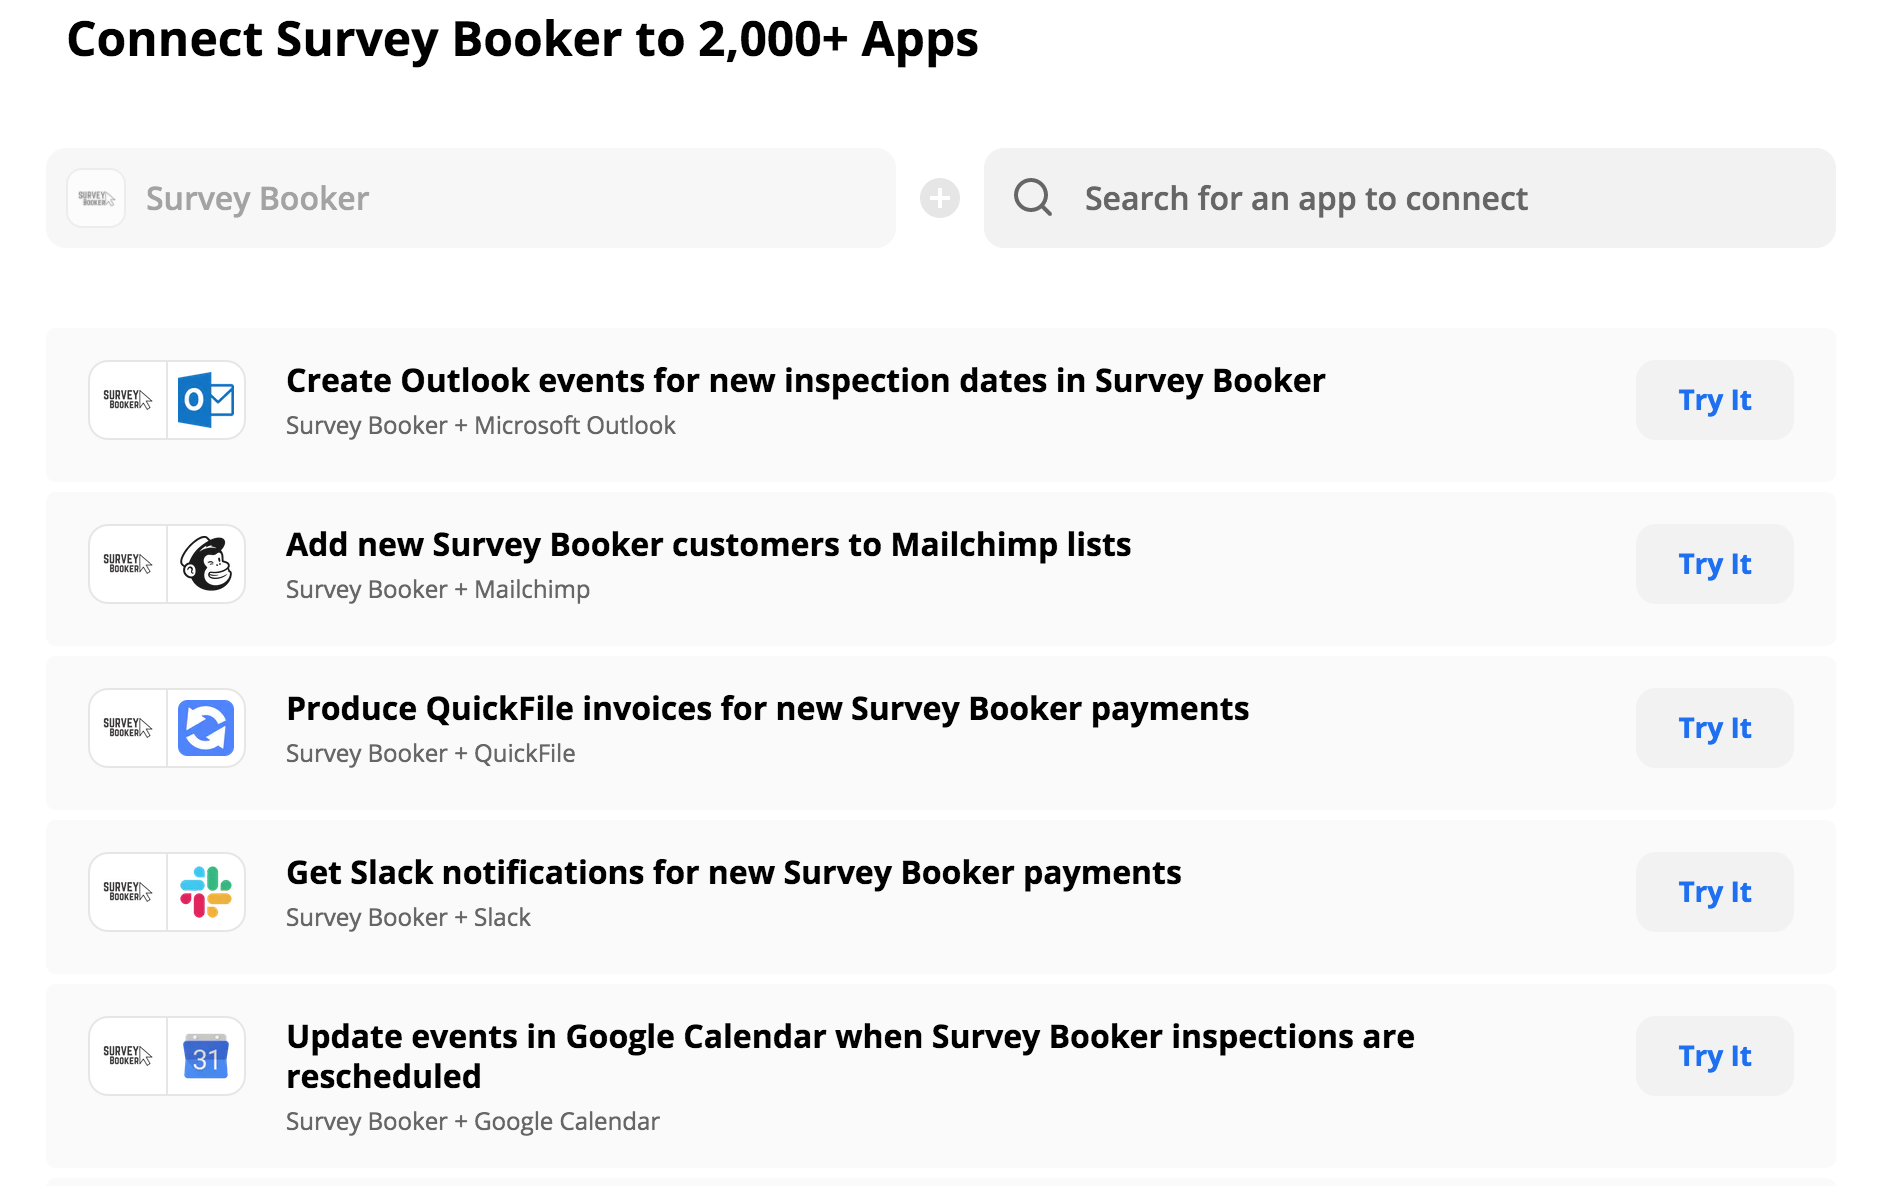
Try some of the pre-made examples below, and learn more about how Survey Booker works with Zapier. This is the easiest way to get started.
Custom Workflow
If you’re feeling adventurous you can also build a custom workflow that links to apps that we haven’t got premade zaps or where you carry out multiple tasks at the same time.
- Log in to your Zapier account and go to the Zap Editor.
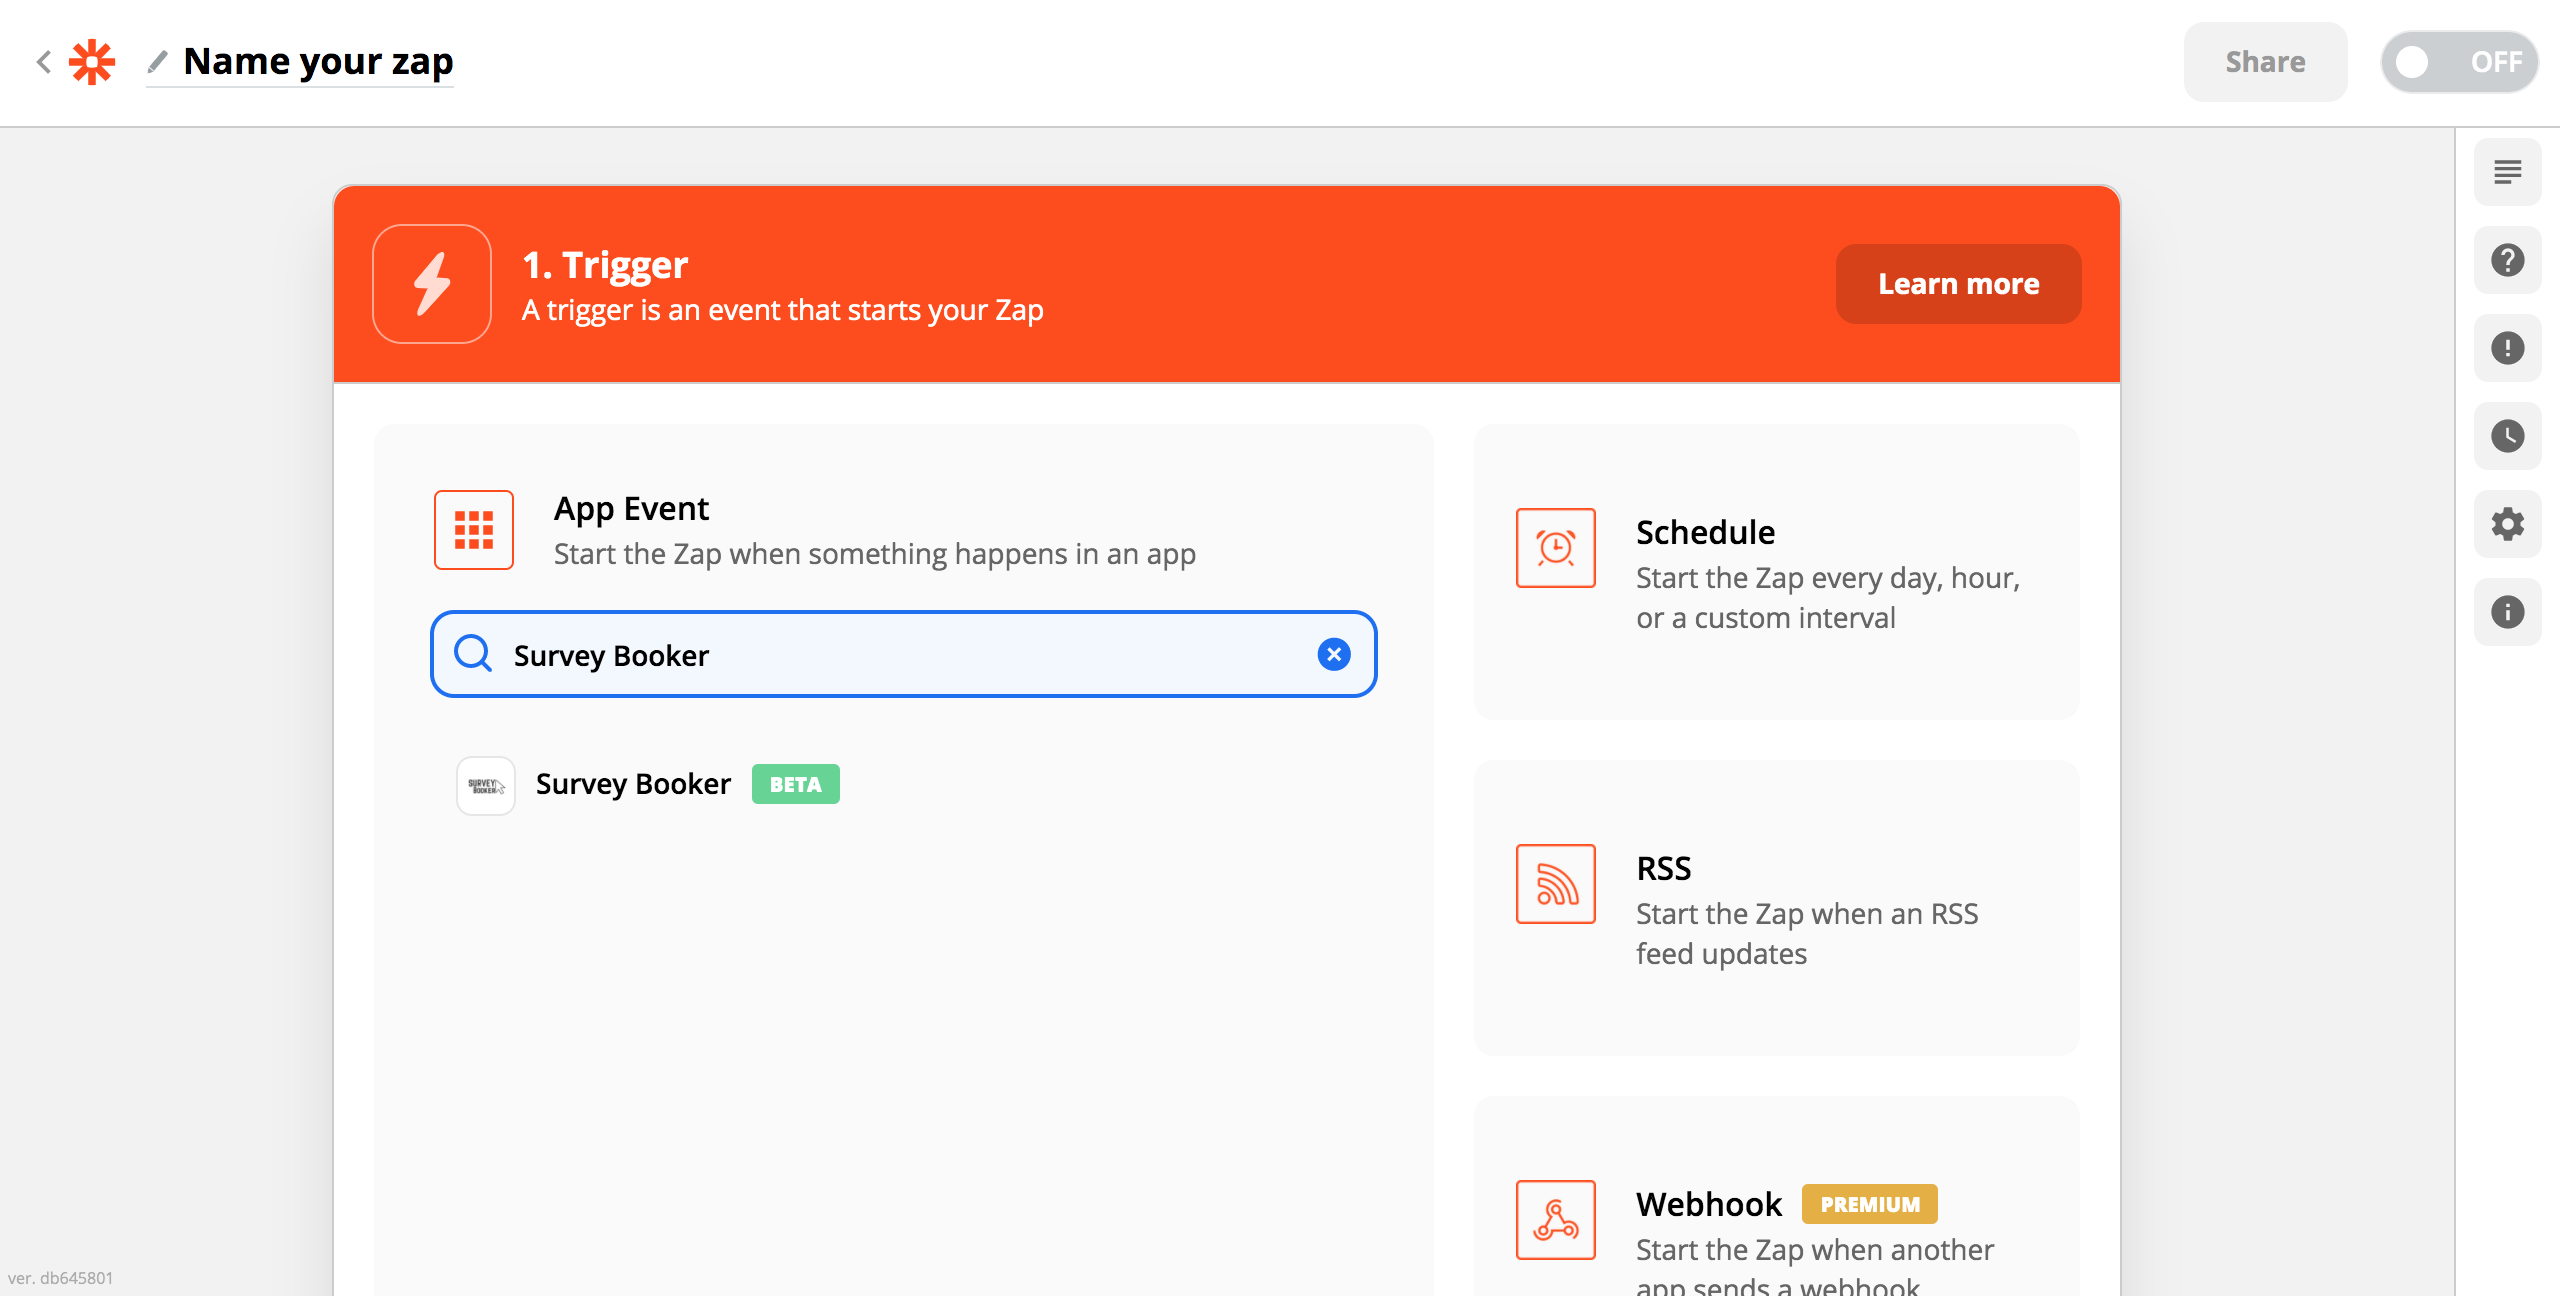
- Type “Survey Booker” in the Choose a Trigger App search box and select the Survey Booker app.
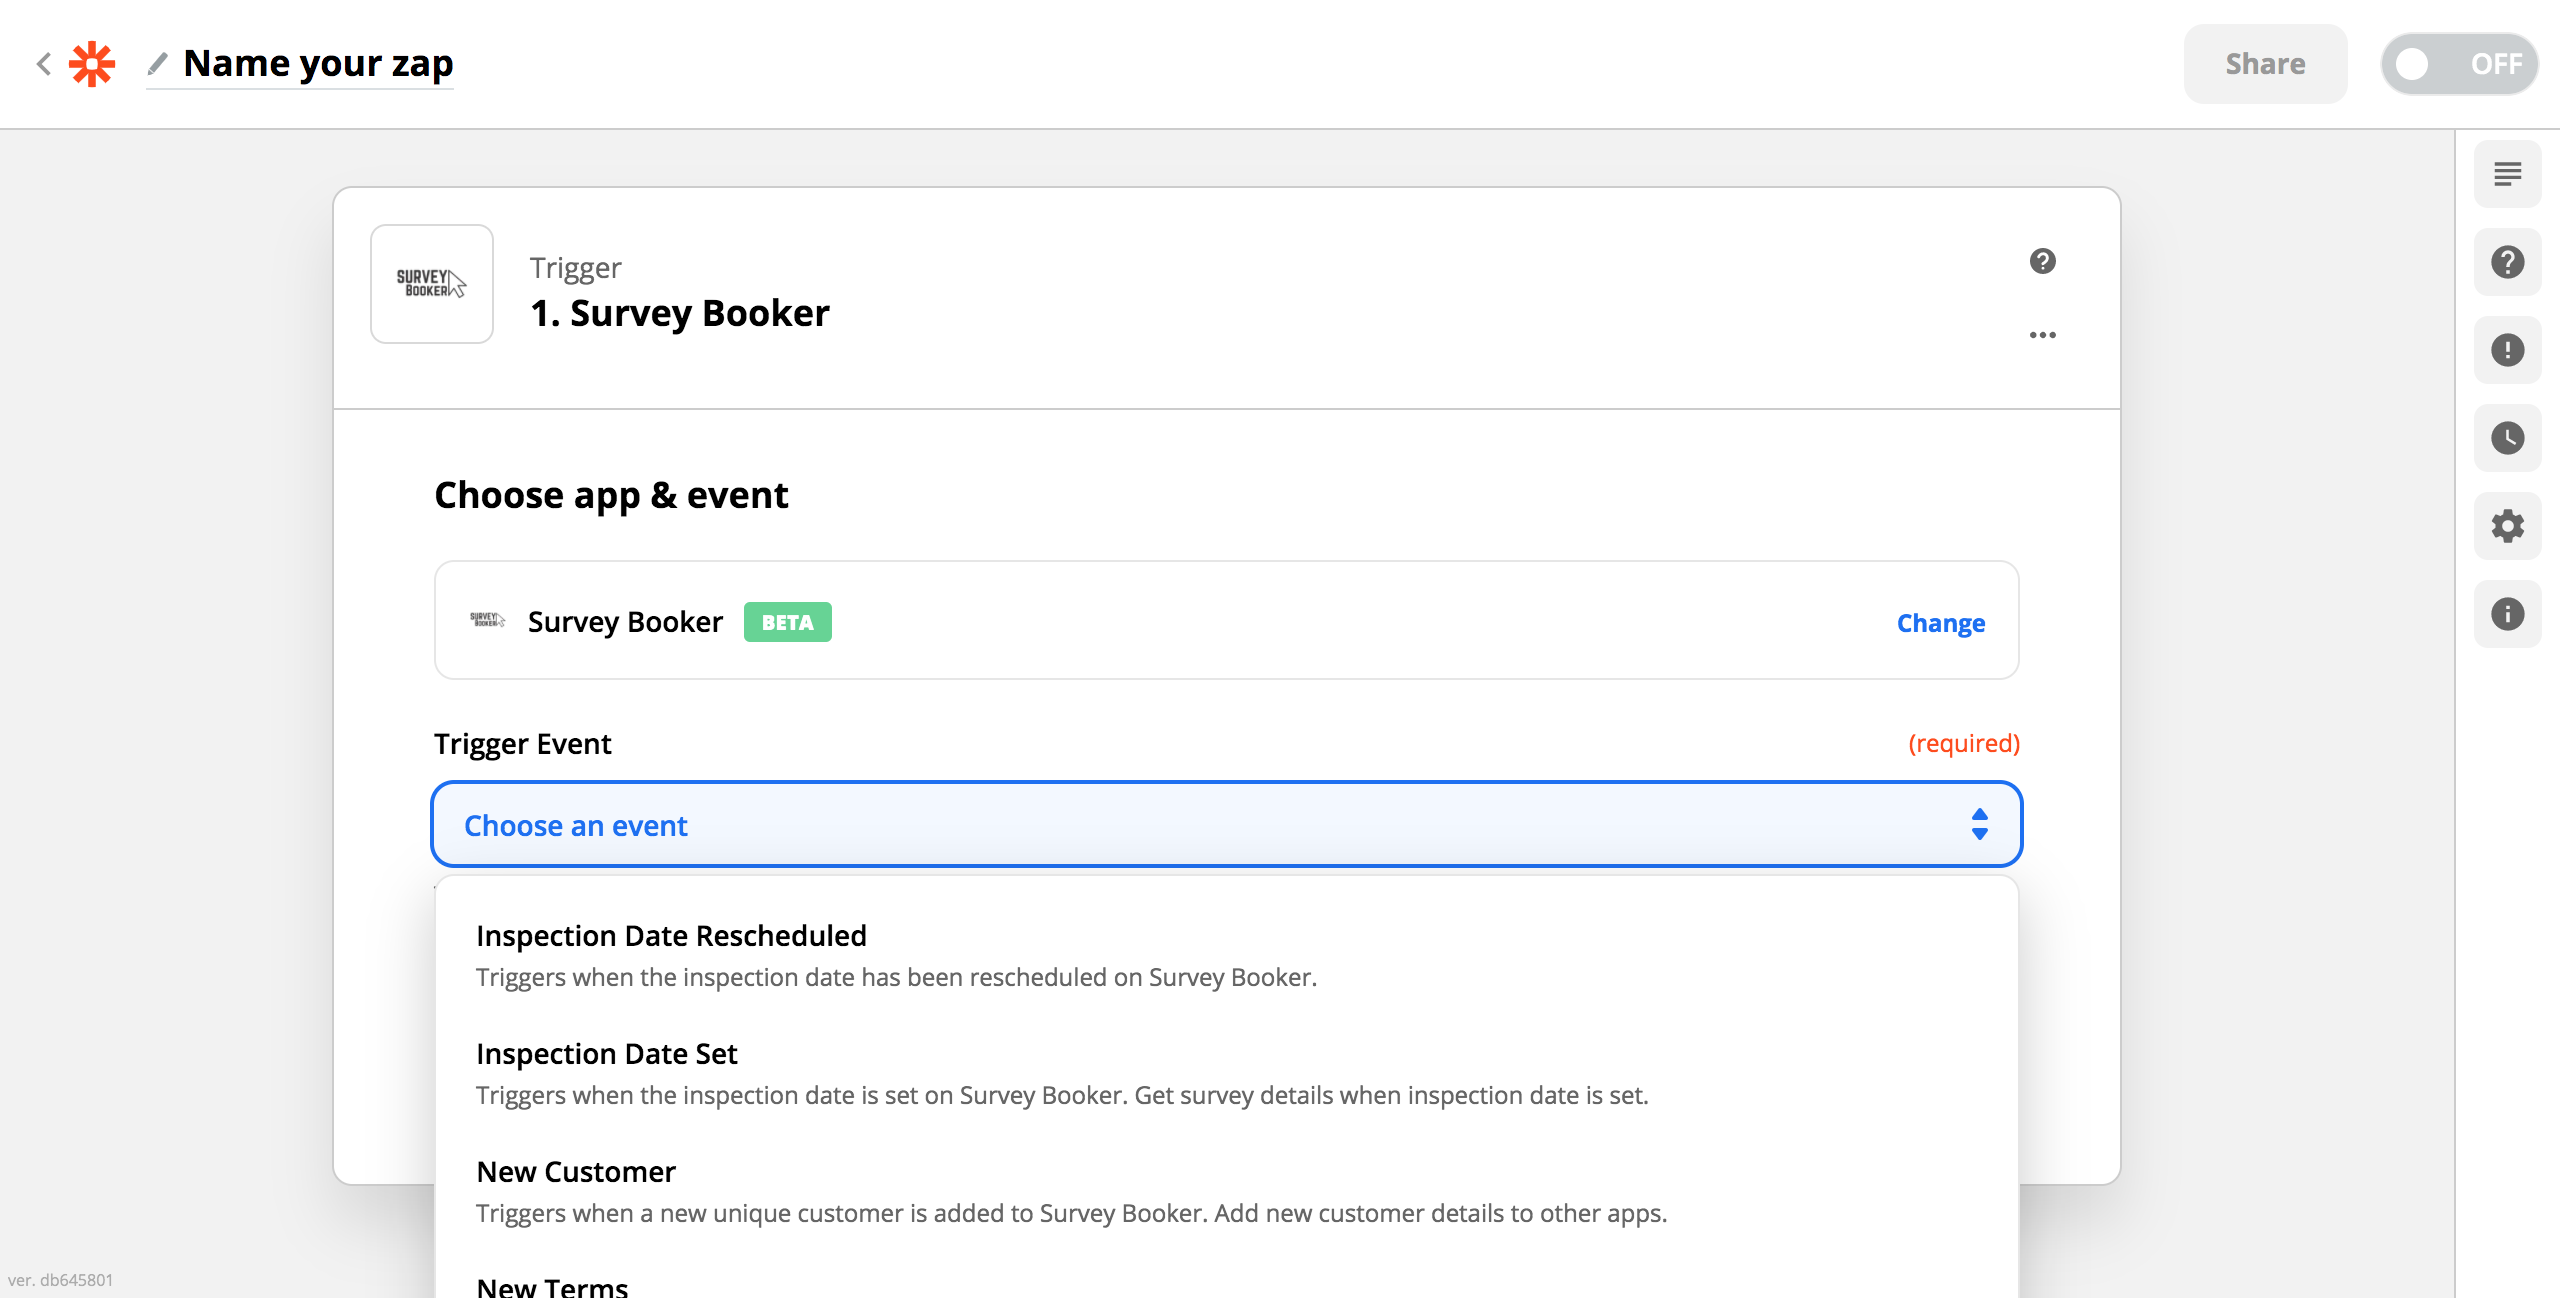
Select a Trigger from the list. Scroll through the list to explore all the possible triggers. There are plenty to choose from. We also have some unpublished triggers we can share with you if there are other actions you want to take.
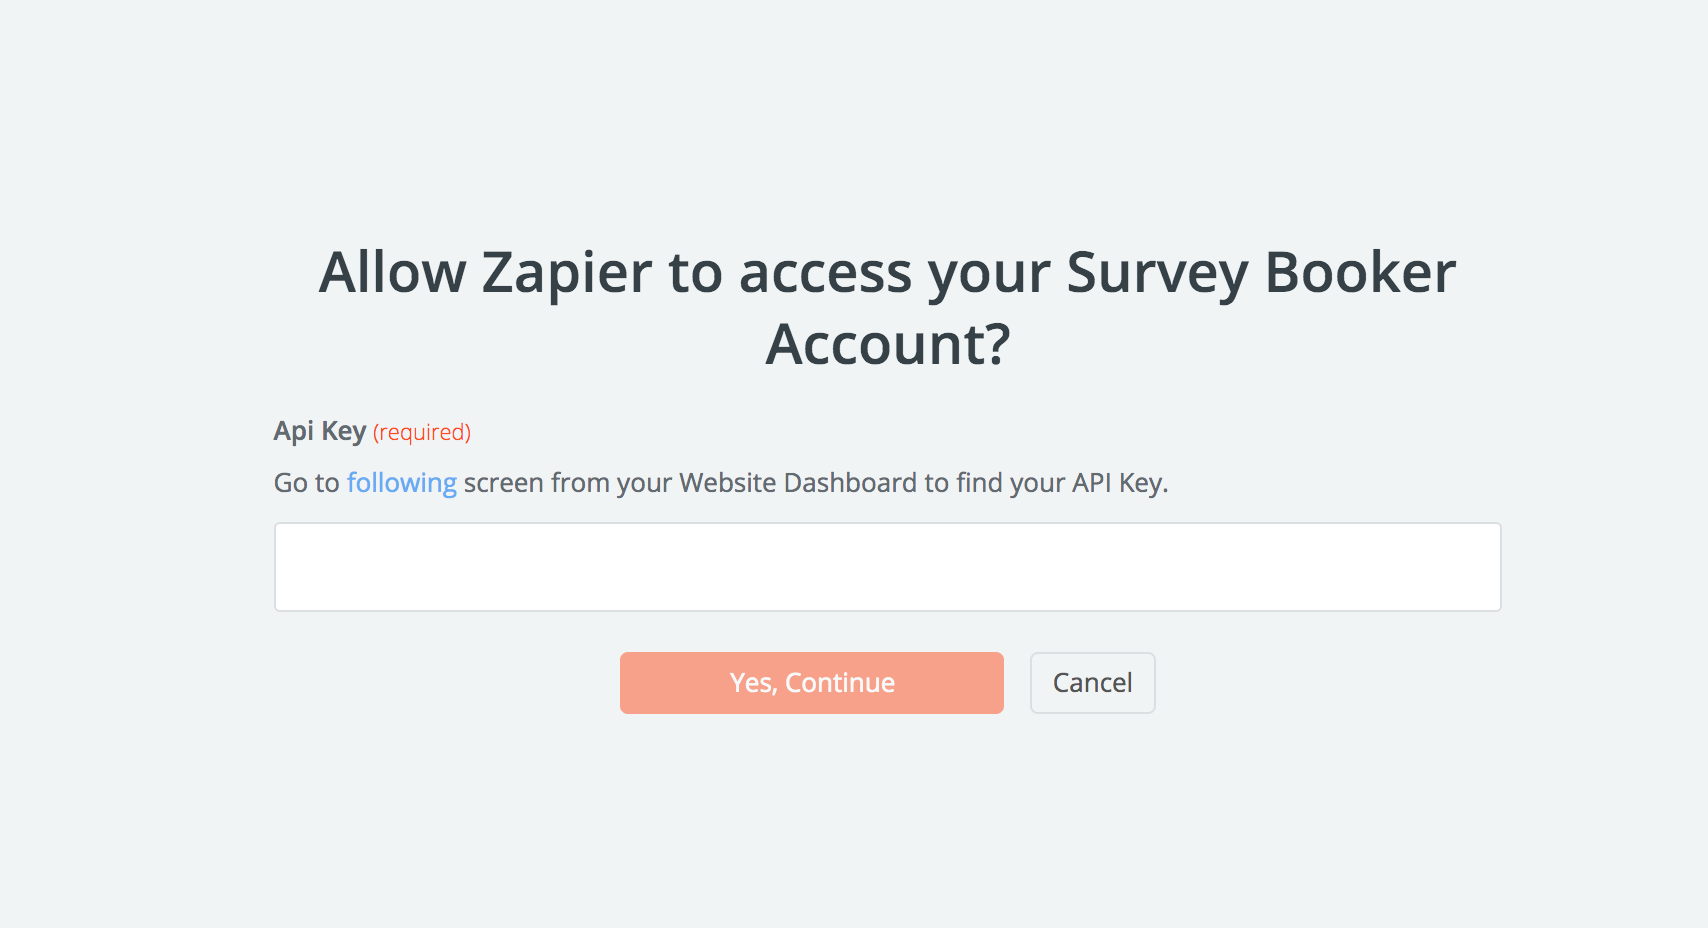
On the next step click “Connect an Account”.
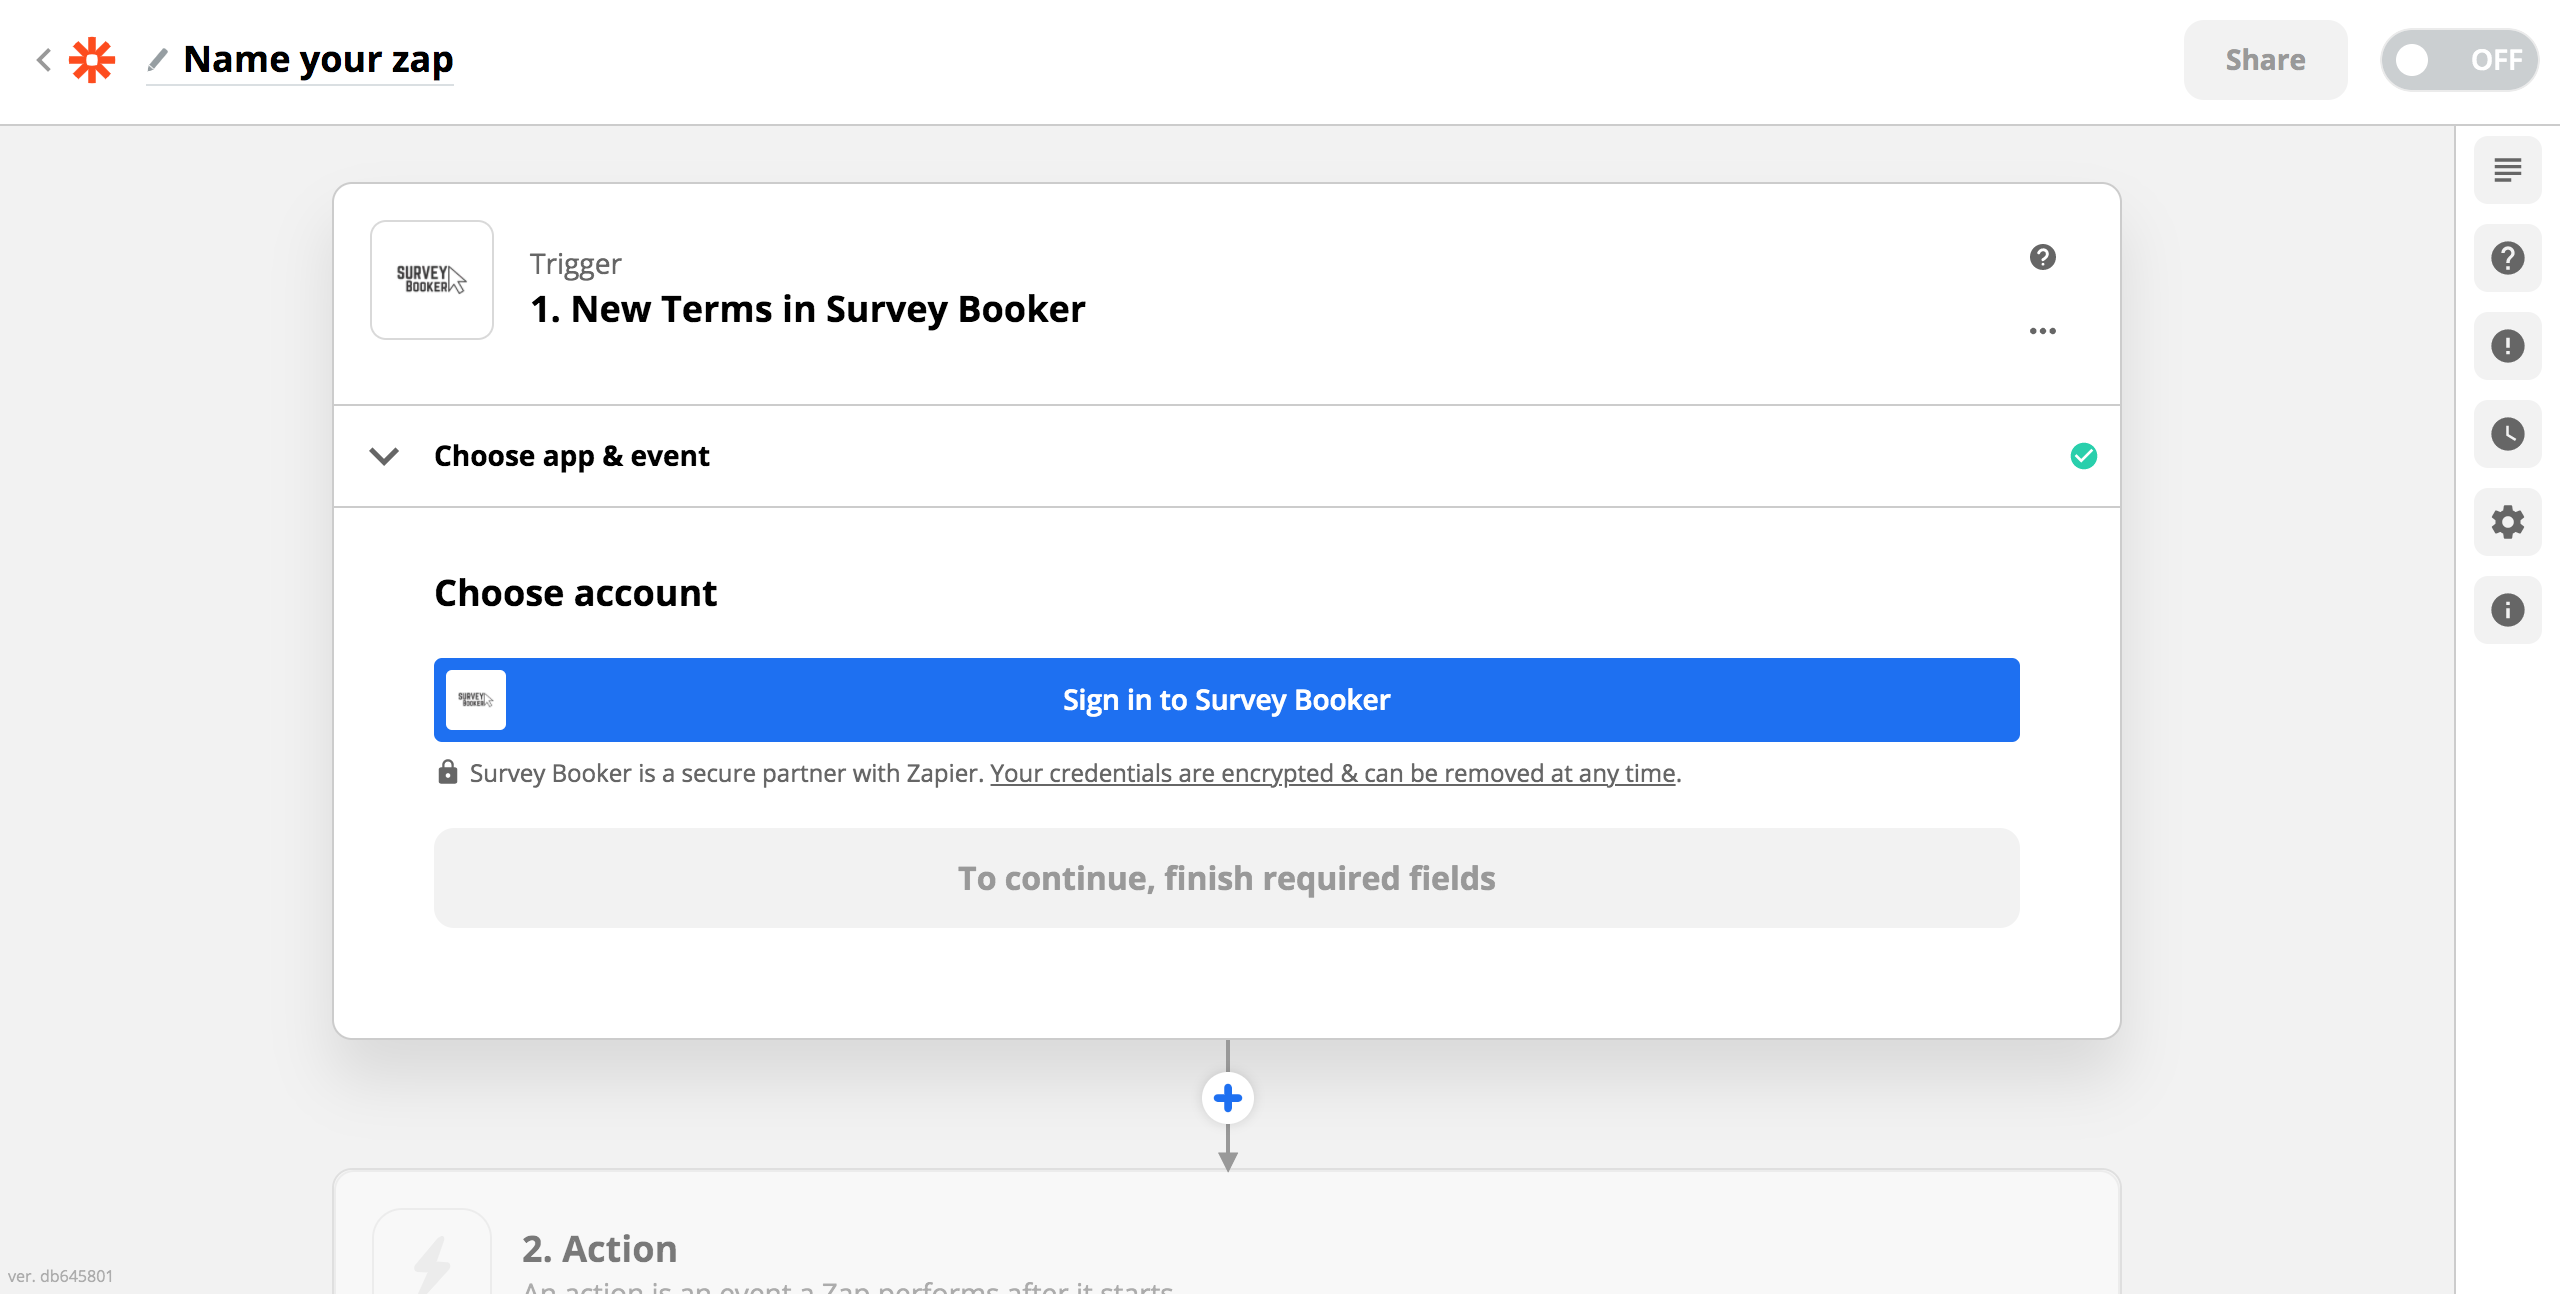
A pop up page will appear (make sure you don’t have an active pop-up blocker or you may not be able to view the page). It will ask you to enter your API key.
You can find this in your Survey Booker account under Settings > Zapier Sync Preferences (you’ll need a Pro level account or to add the Zapier feature as a bolt on to your Plus account to view the API key).
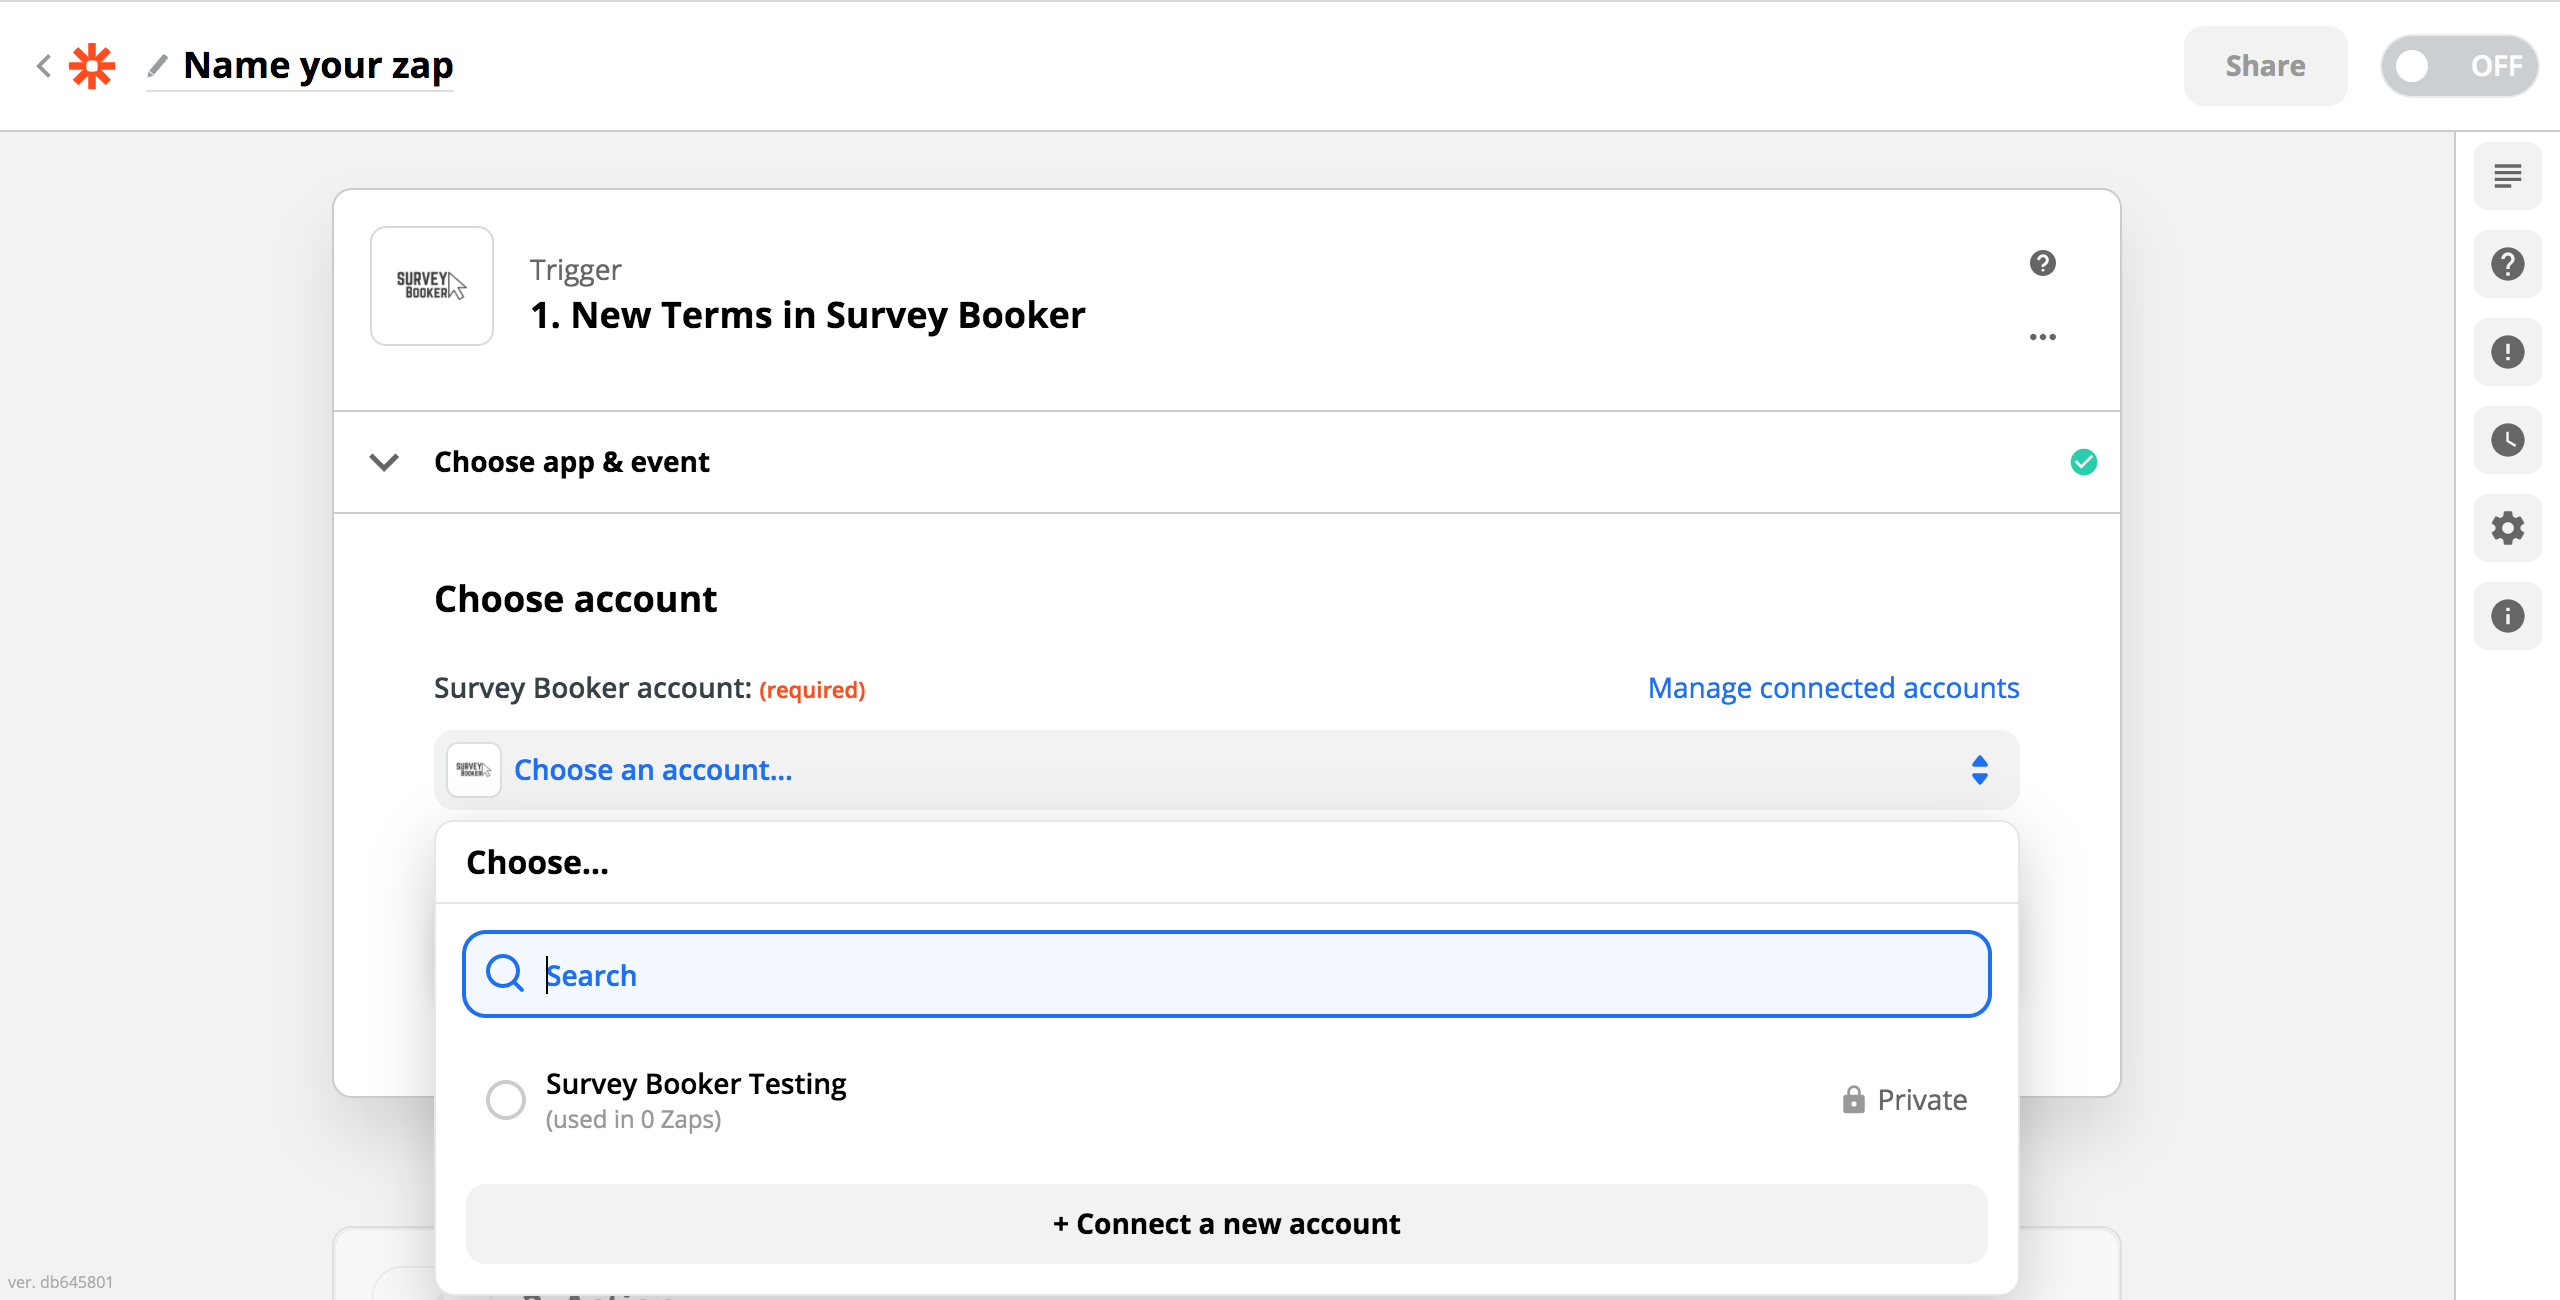
Once connected you will see a page like this:
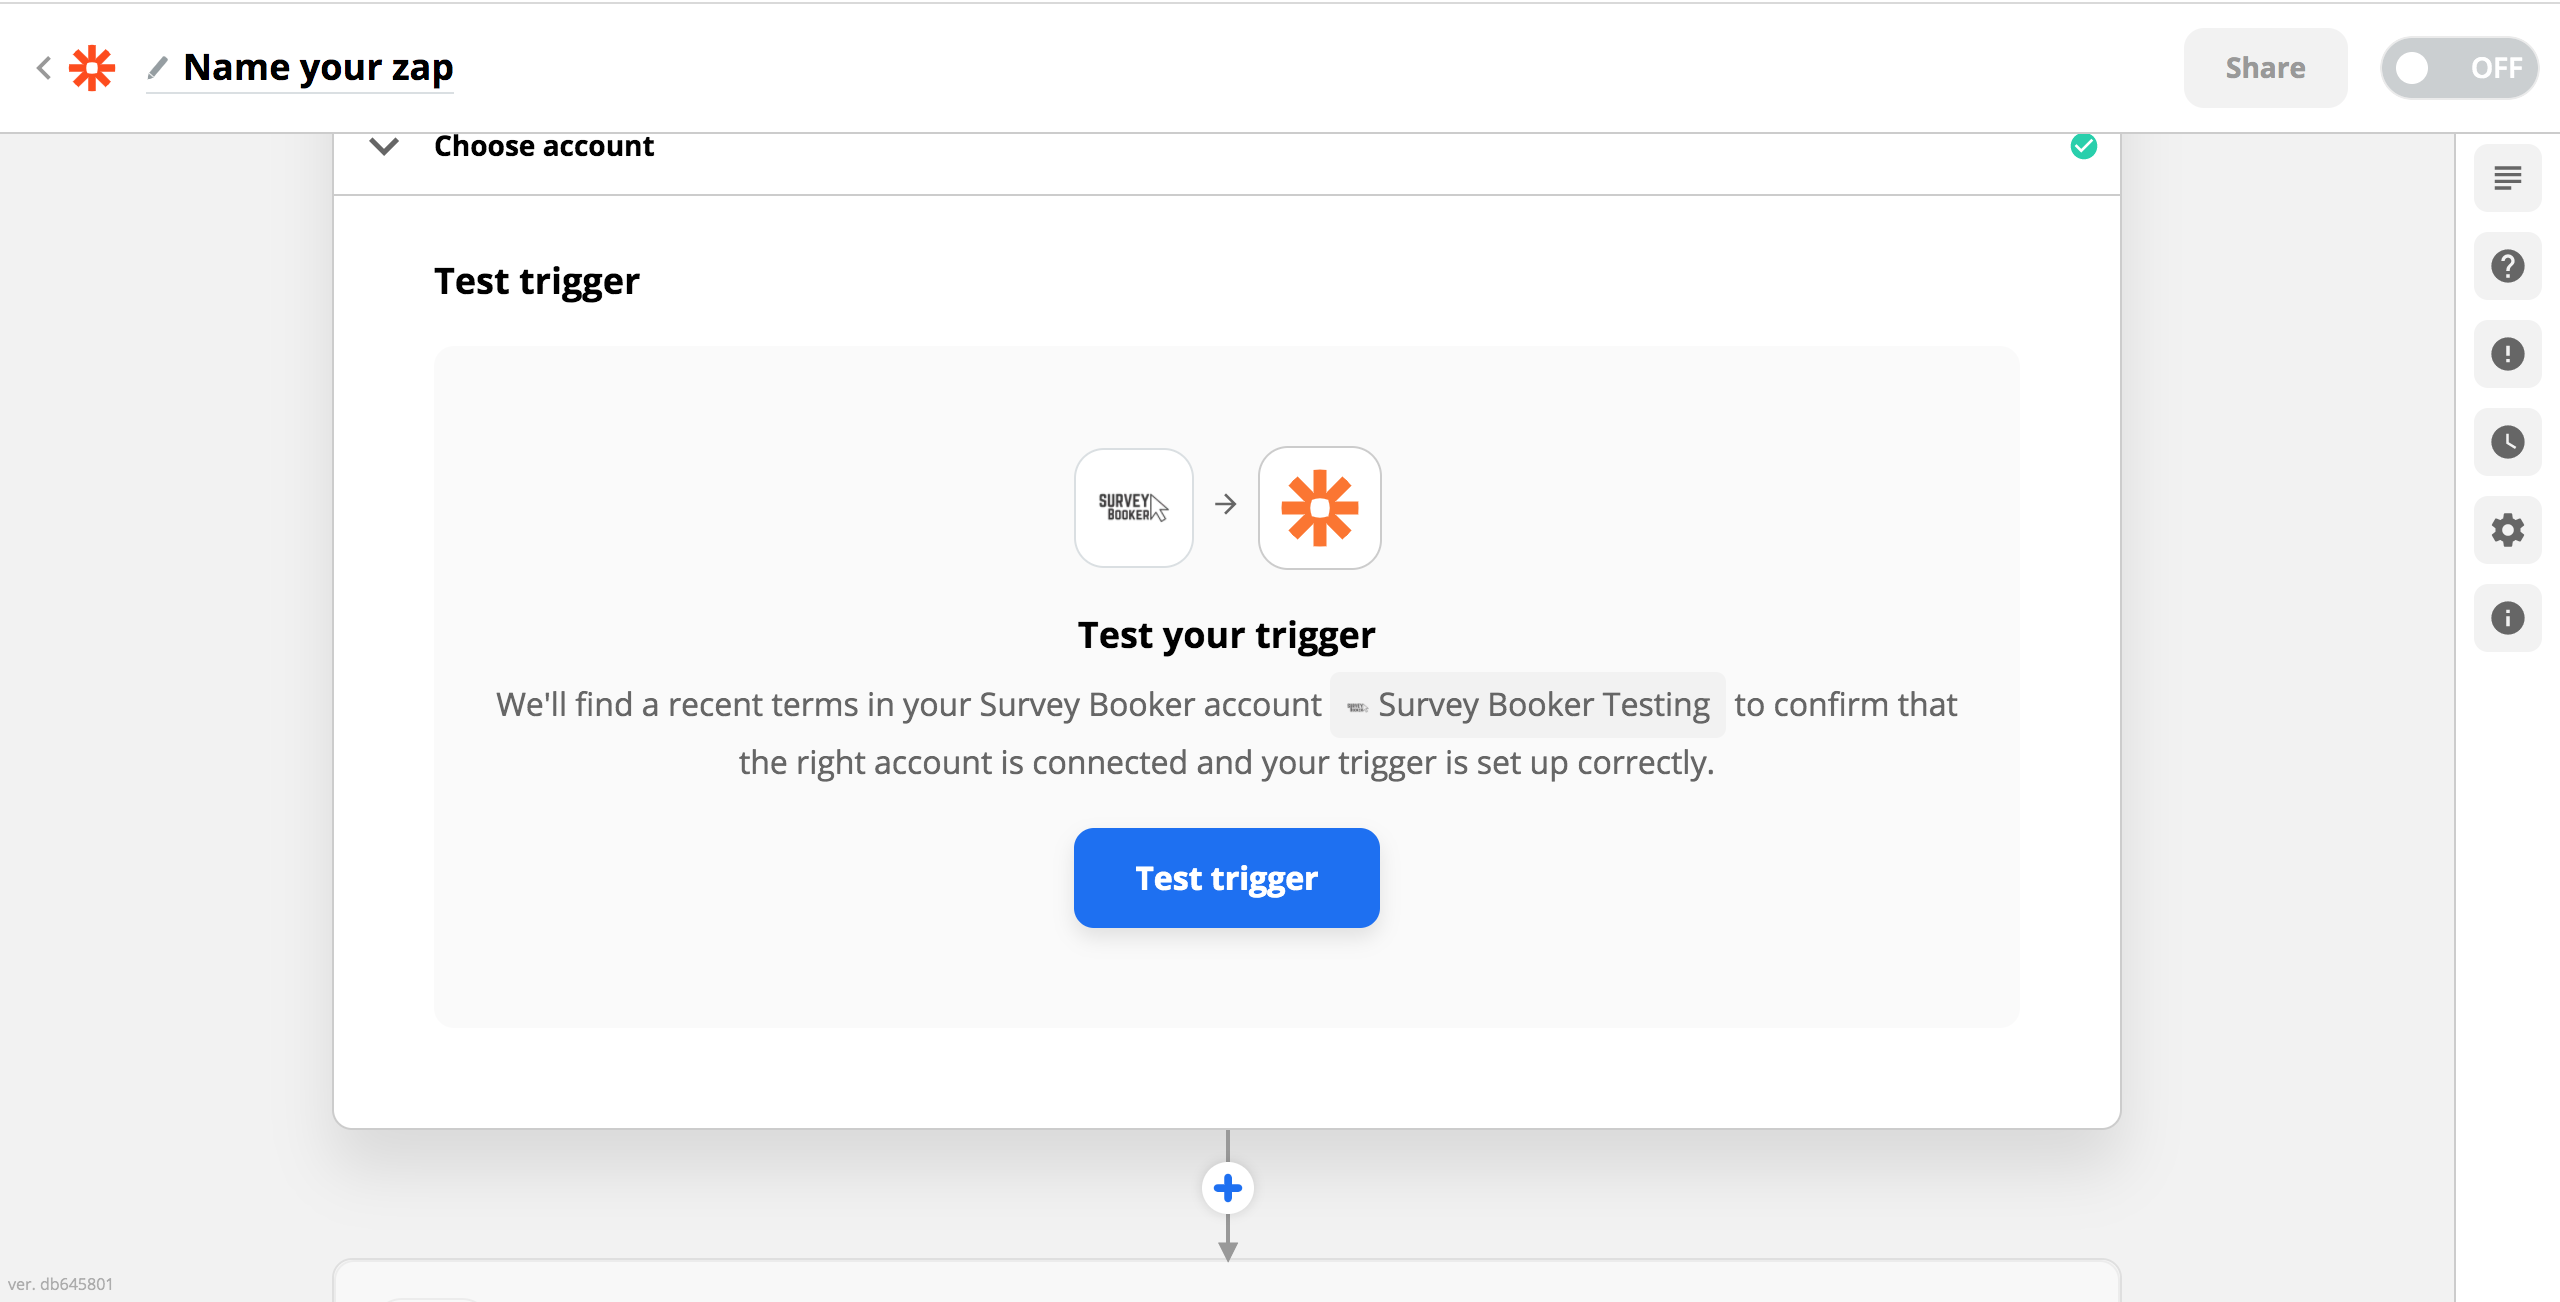
You can then test the connection and continue.
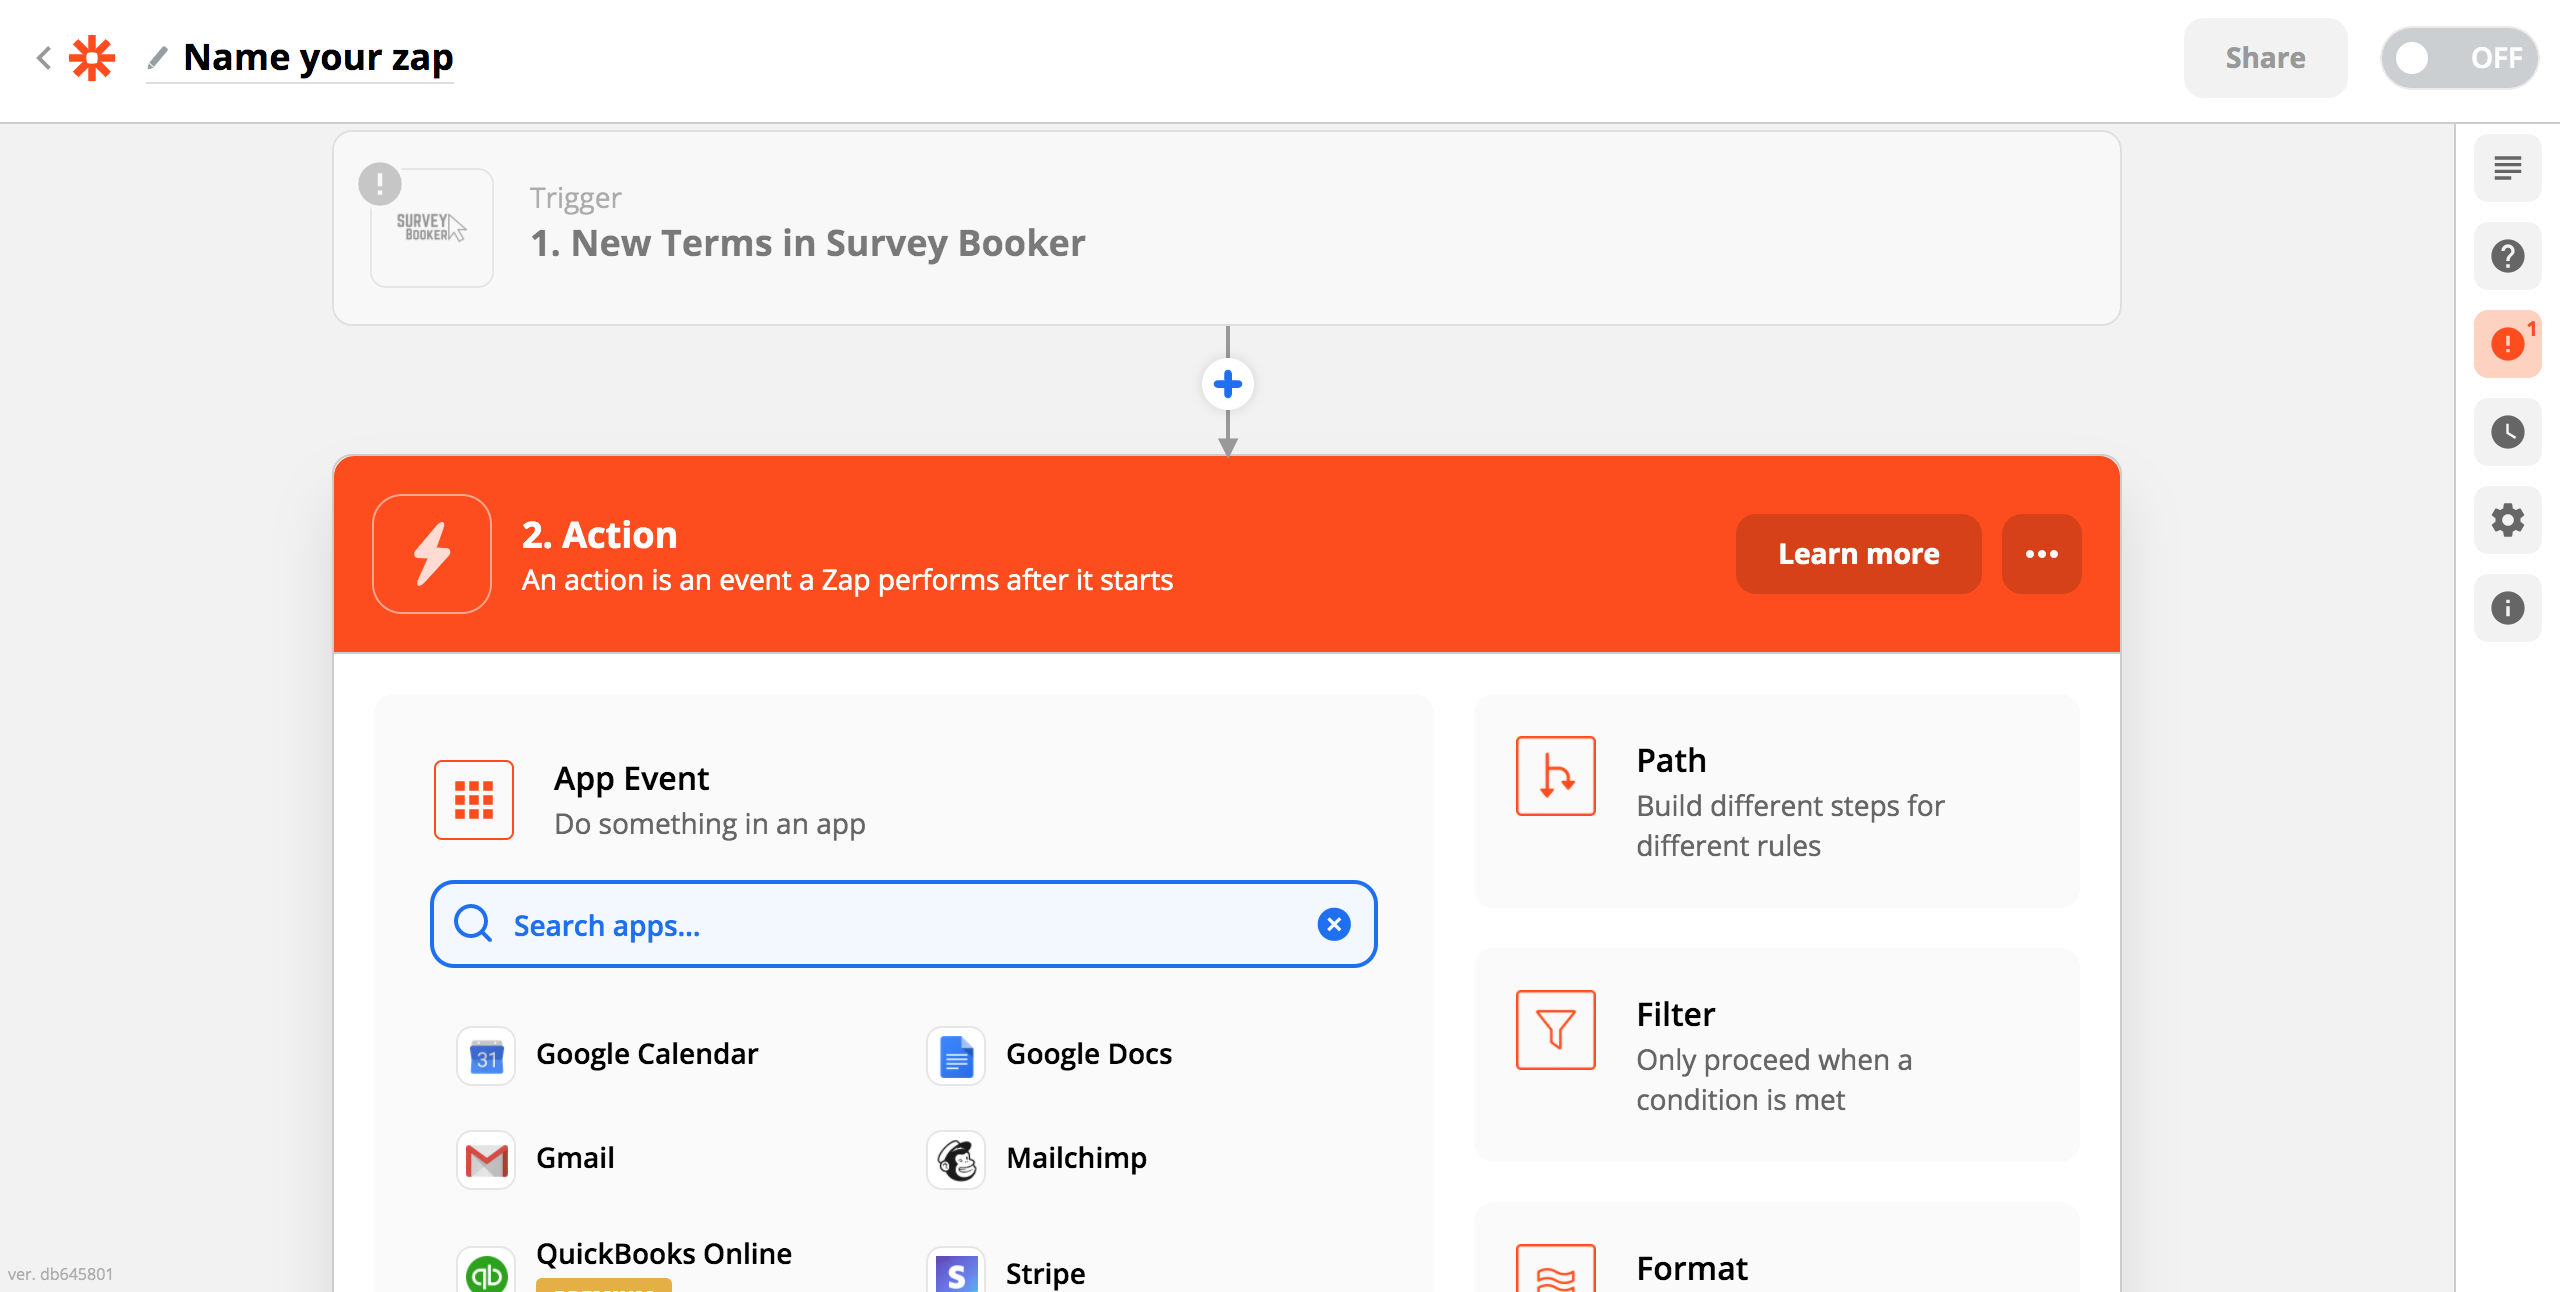
You can then continue to choose an Action by pressing the ‘+’ button. An action is what Zapier will do when something is triggered from your Survey Booker account.
Type in the name of the app you want to connect to and follow the steps to set up the action as you want it carried out.
Once you have finished following the steps, you can choose to turn on the Zap. That’s it! Each time your Zap is triggered your Action will run. That’s a bit less work for you to do each day!
You can view all of your zaps under ‘My Zaps’ in the left hand menu and turn them on or off at any time.
Get started with some of our templates below:

