
Setting up Conflict of Interest Checks on your jobs
This feature is designed to help you evidence what conflict of interest checks have been made, who by and when so you can show to auditors that you have ensured you are able to carry out the job. This guide will look at how to add this check to jobs where you are required to make this check and how you can use it to evidence the checks that you have made.
Select service settings
Navigate to Settings > Survey settings > Select services.
Click the pencil icon to edit the job you want to turn on the conflict check for.
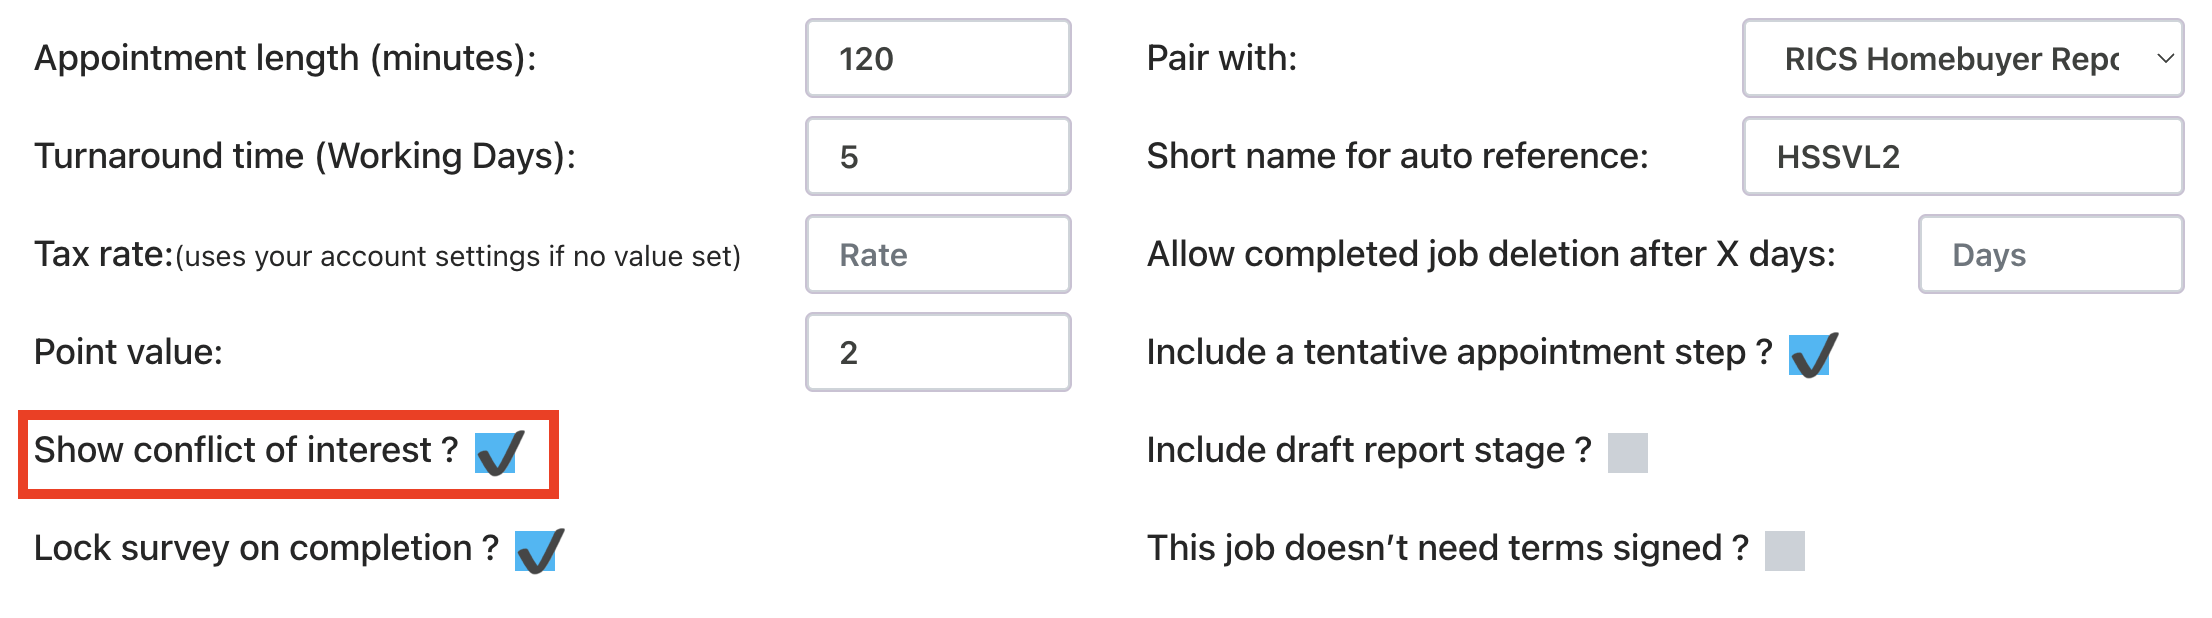
This is activated by job type – you’ll need to turn it on for each job type that you need it for.
Tick the checkbox and press the save button for that section.
Note: the Conflict check section will only appear on new jobs added to the system from the time you turn it on. If you would like it on an existing job, you would need to change the job type on your job record to another type and then switch it back. This will then load the new fields.
How it works
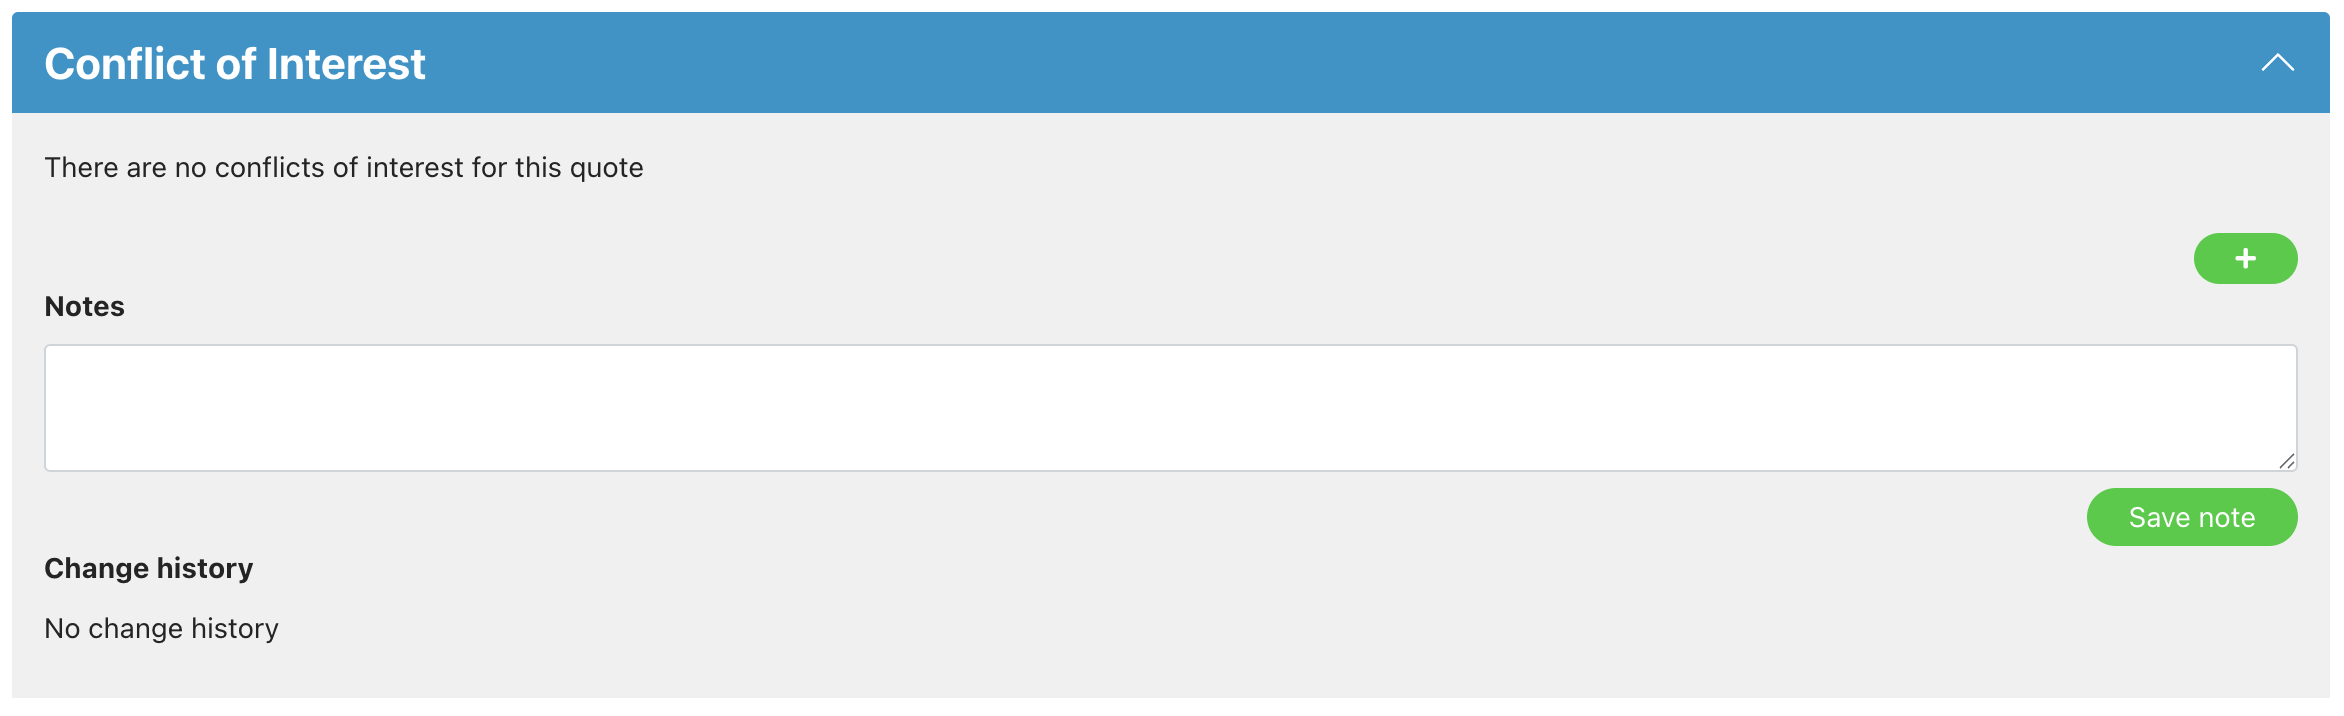
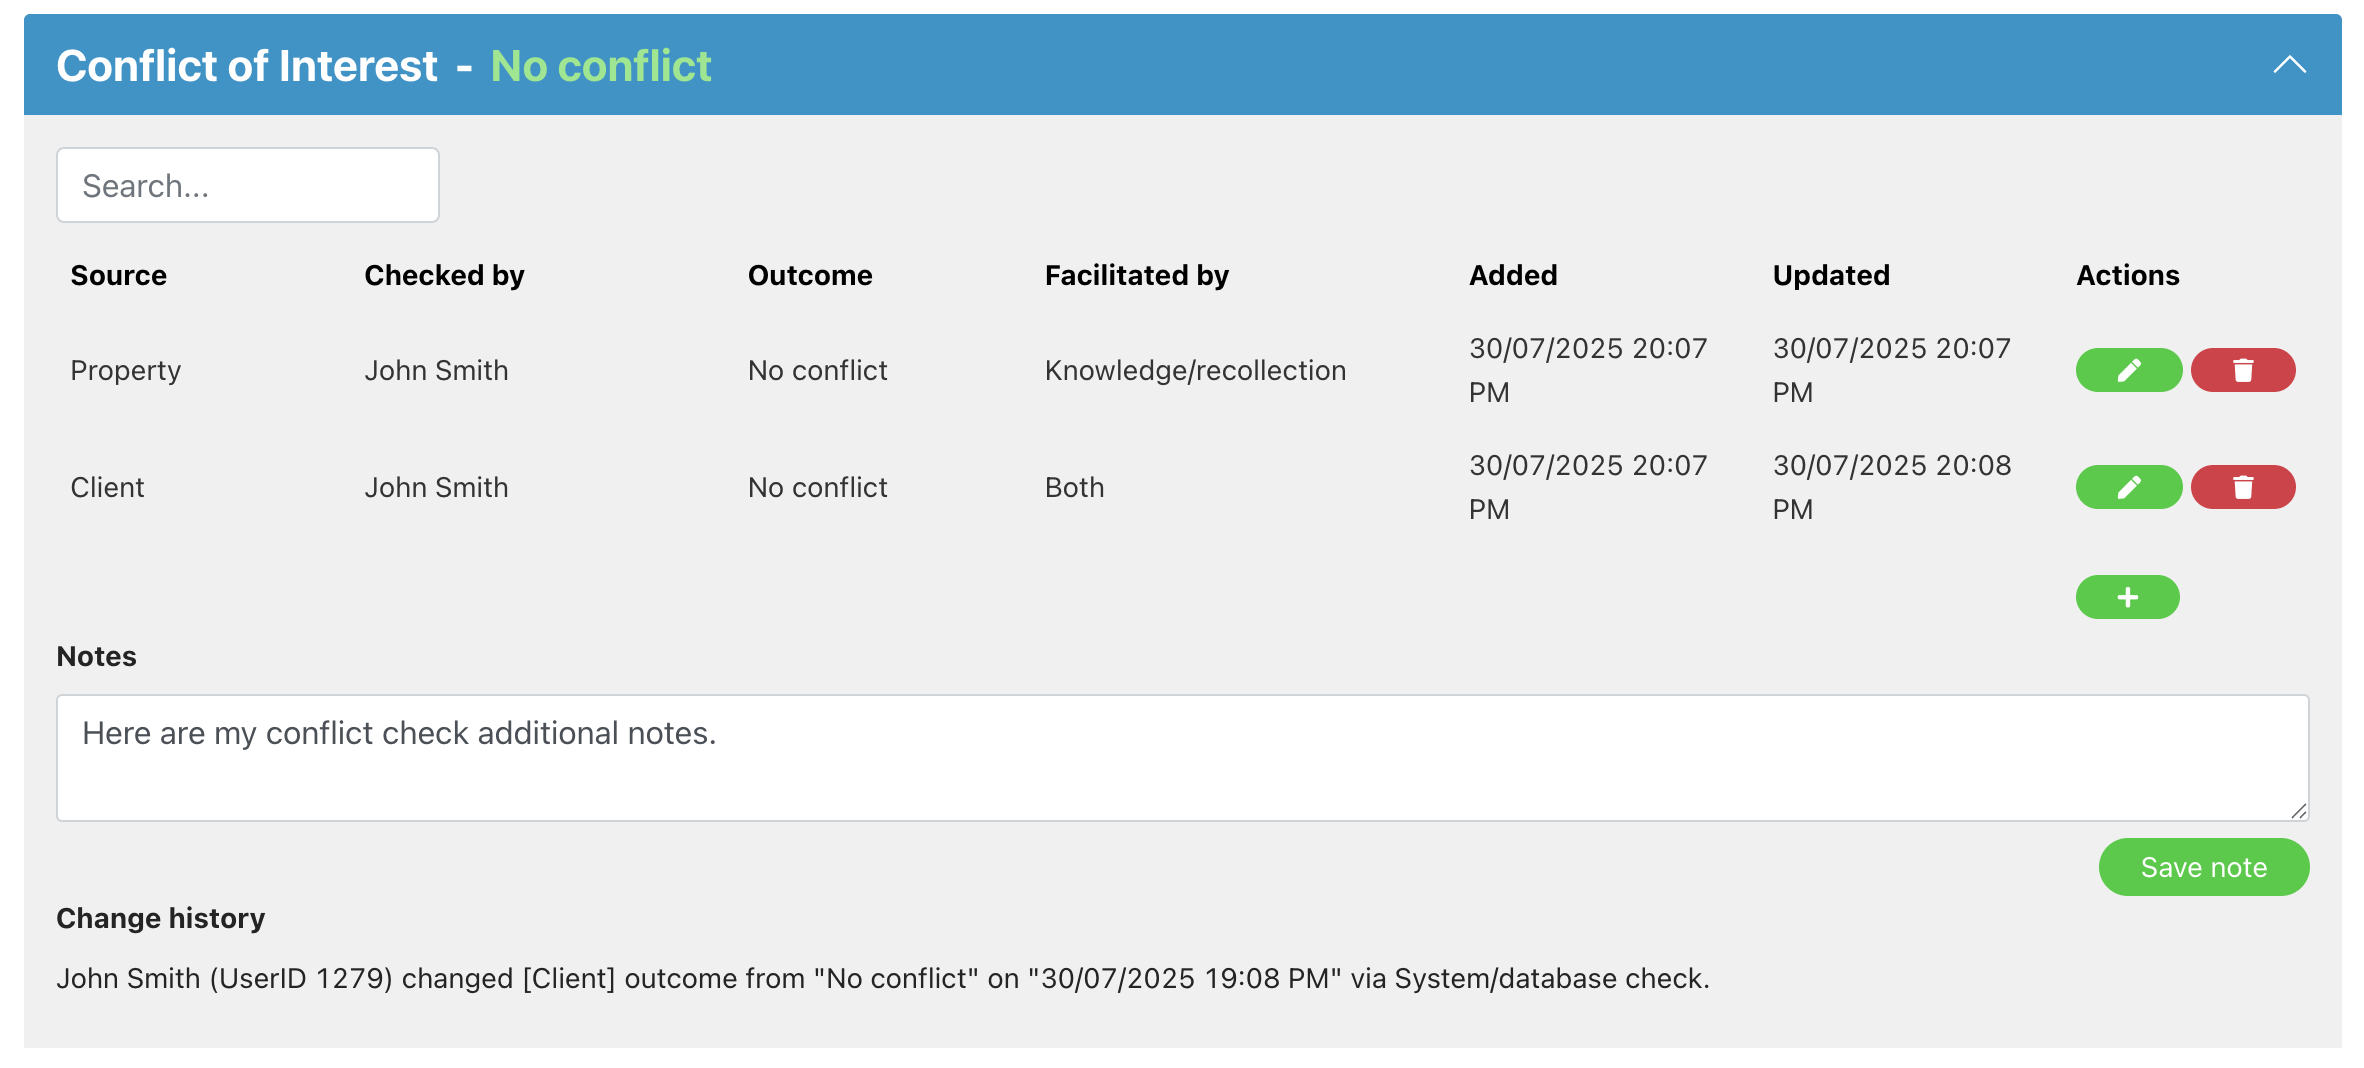
Expand the conflict check section to add what you’ve checked, who checked it (if no user is selected, it will automatically set the user who is adding the check) and what it was checked against.
On saving, the system will set the creation date and last updated time.
You can add multiple rows for each source you have checked (Property, Client, Agent etc).
The bar will show the ‘worst’ outcome – e.g. Conflict if any row added is set to Conflict.
Quotes/Jobs table
There is a Conflict column on the quotes/jobs table.
Using the table filter icon, you can set where the conflict column is positioned in your table (e.g. you could set it to display next to terms and payment).