

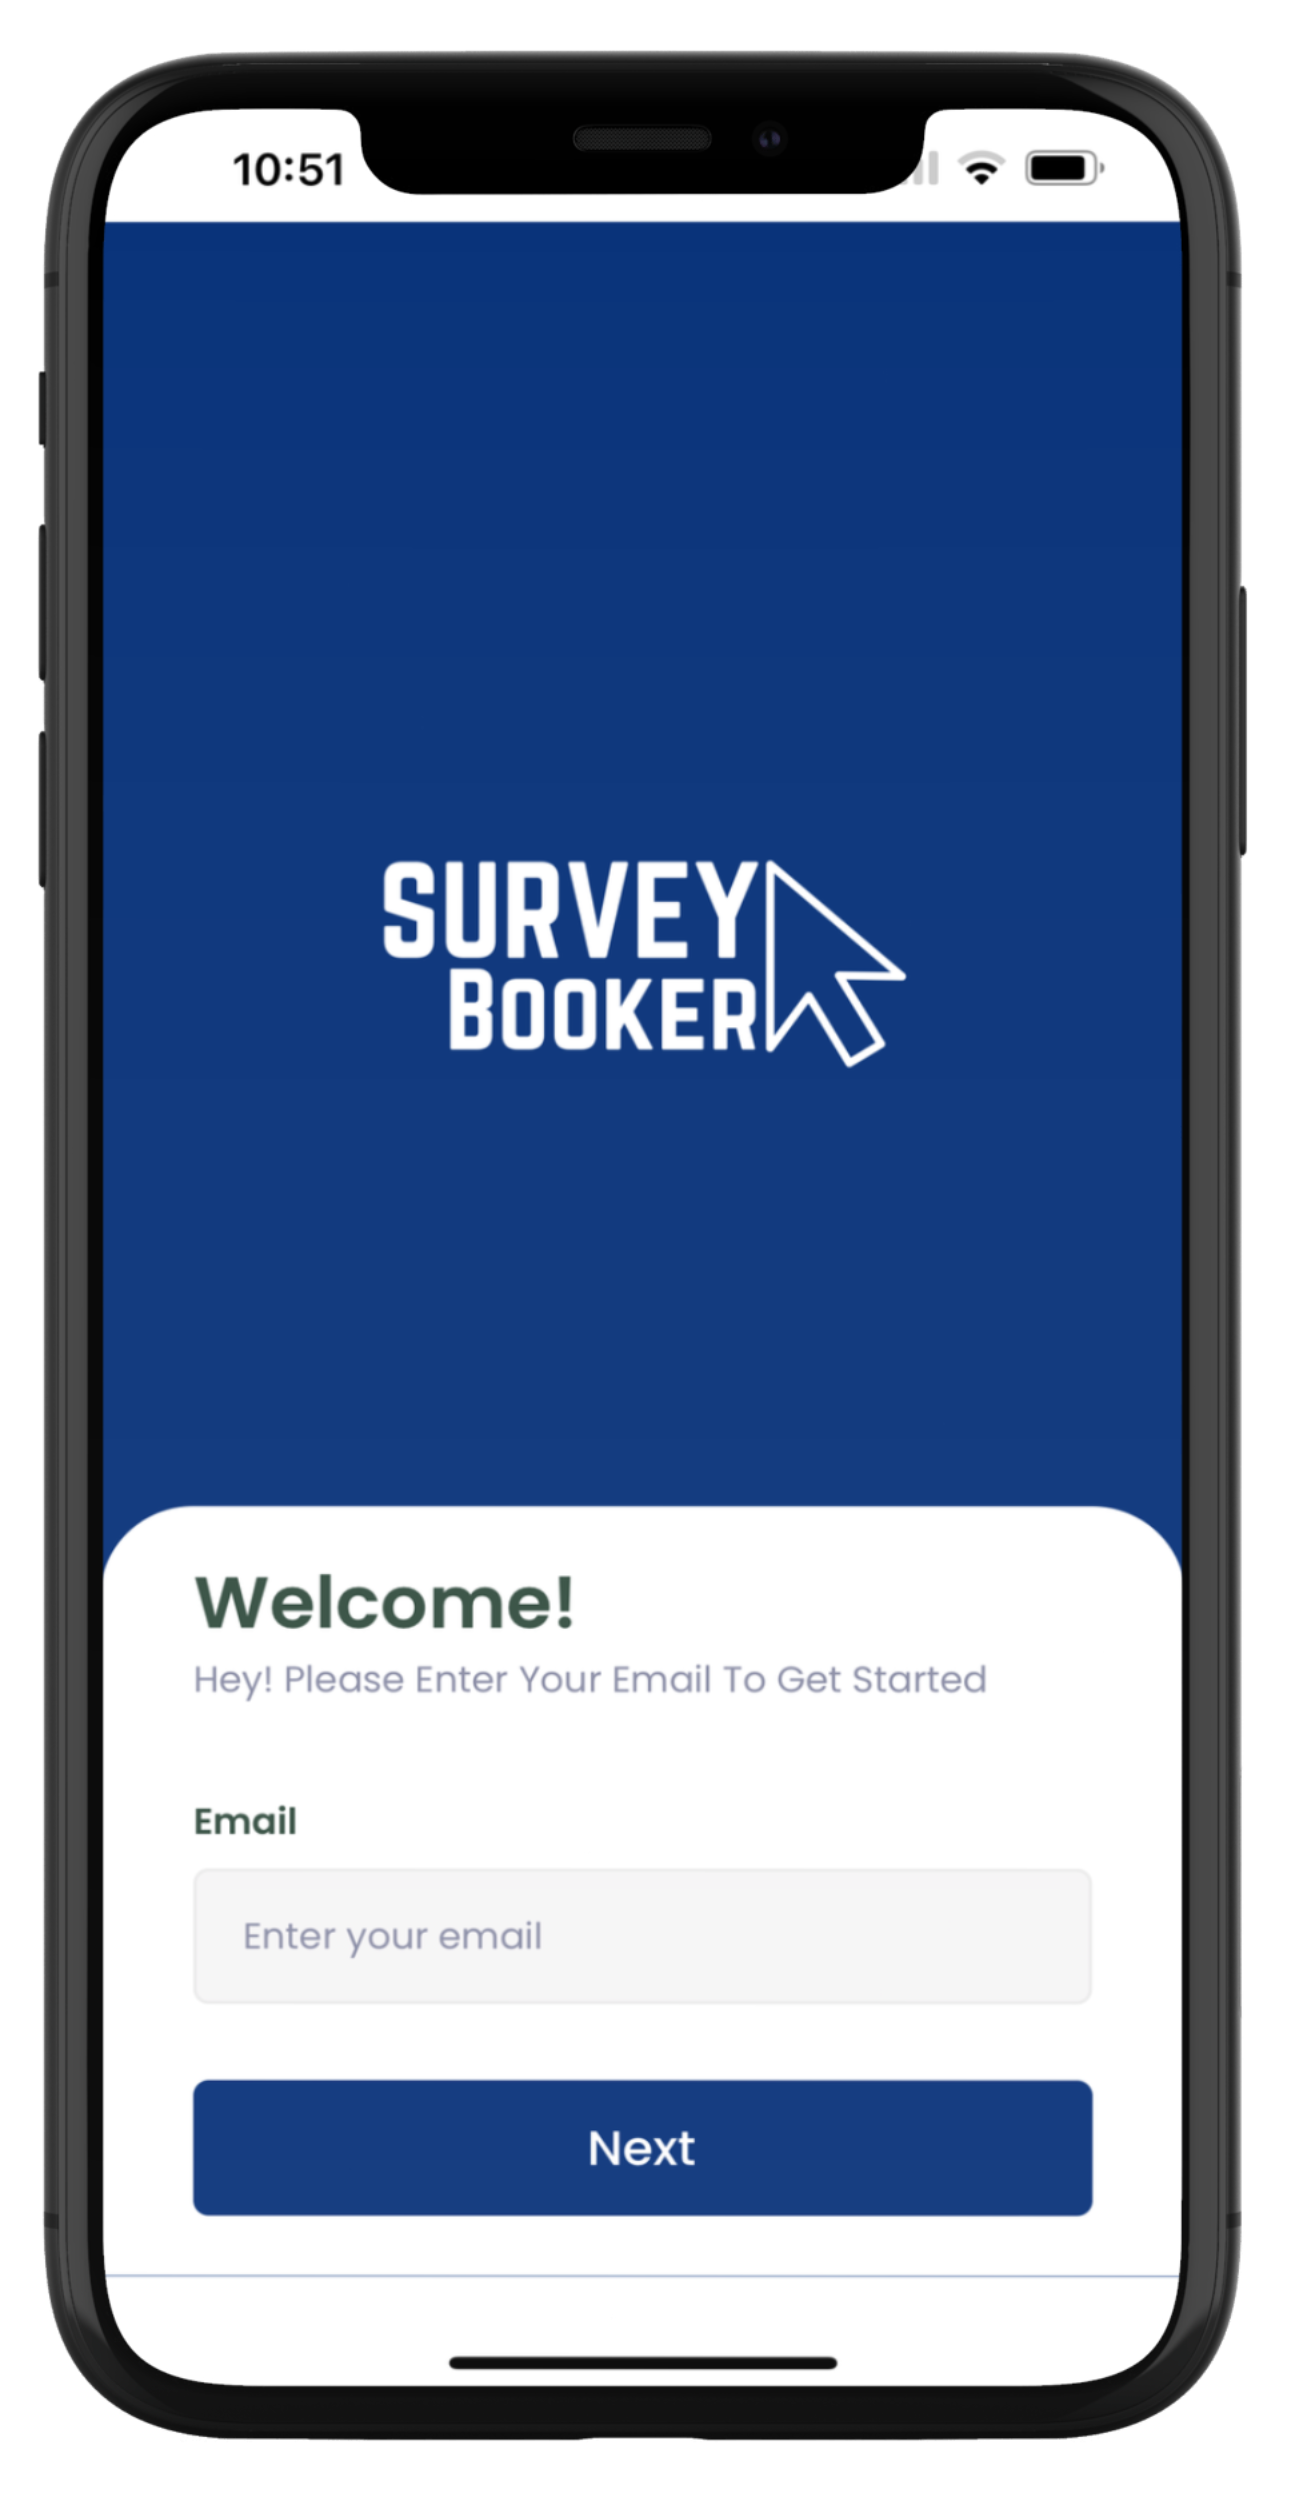
1. Enter your email
The referrer enters their login email on the first screen. The system will then either bring up any accounts they belong to so you can choose which account to login to or if you’ve not activated your account, advise you on the next steps to take.
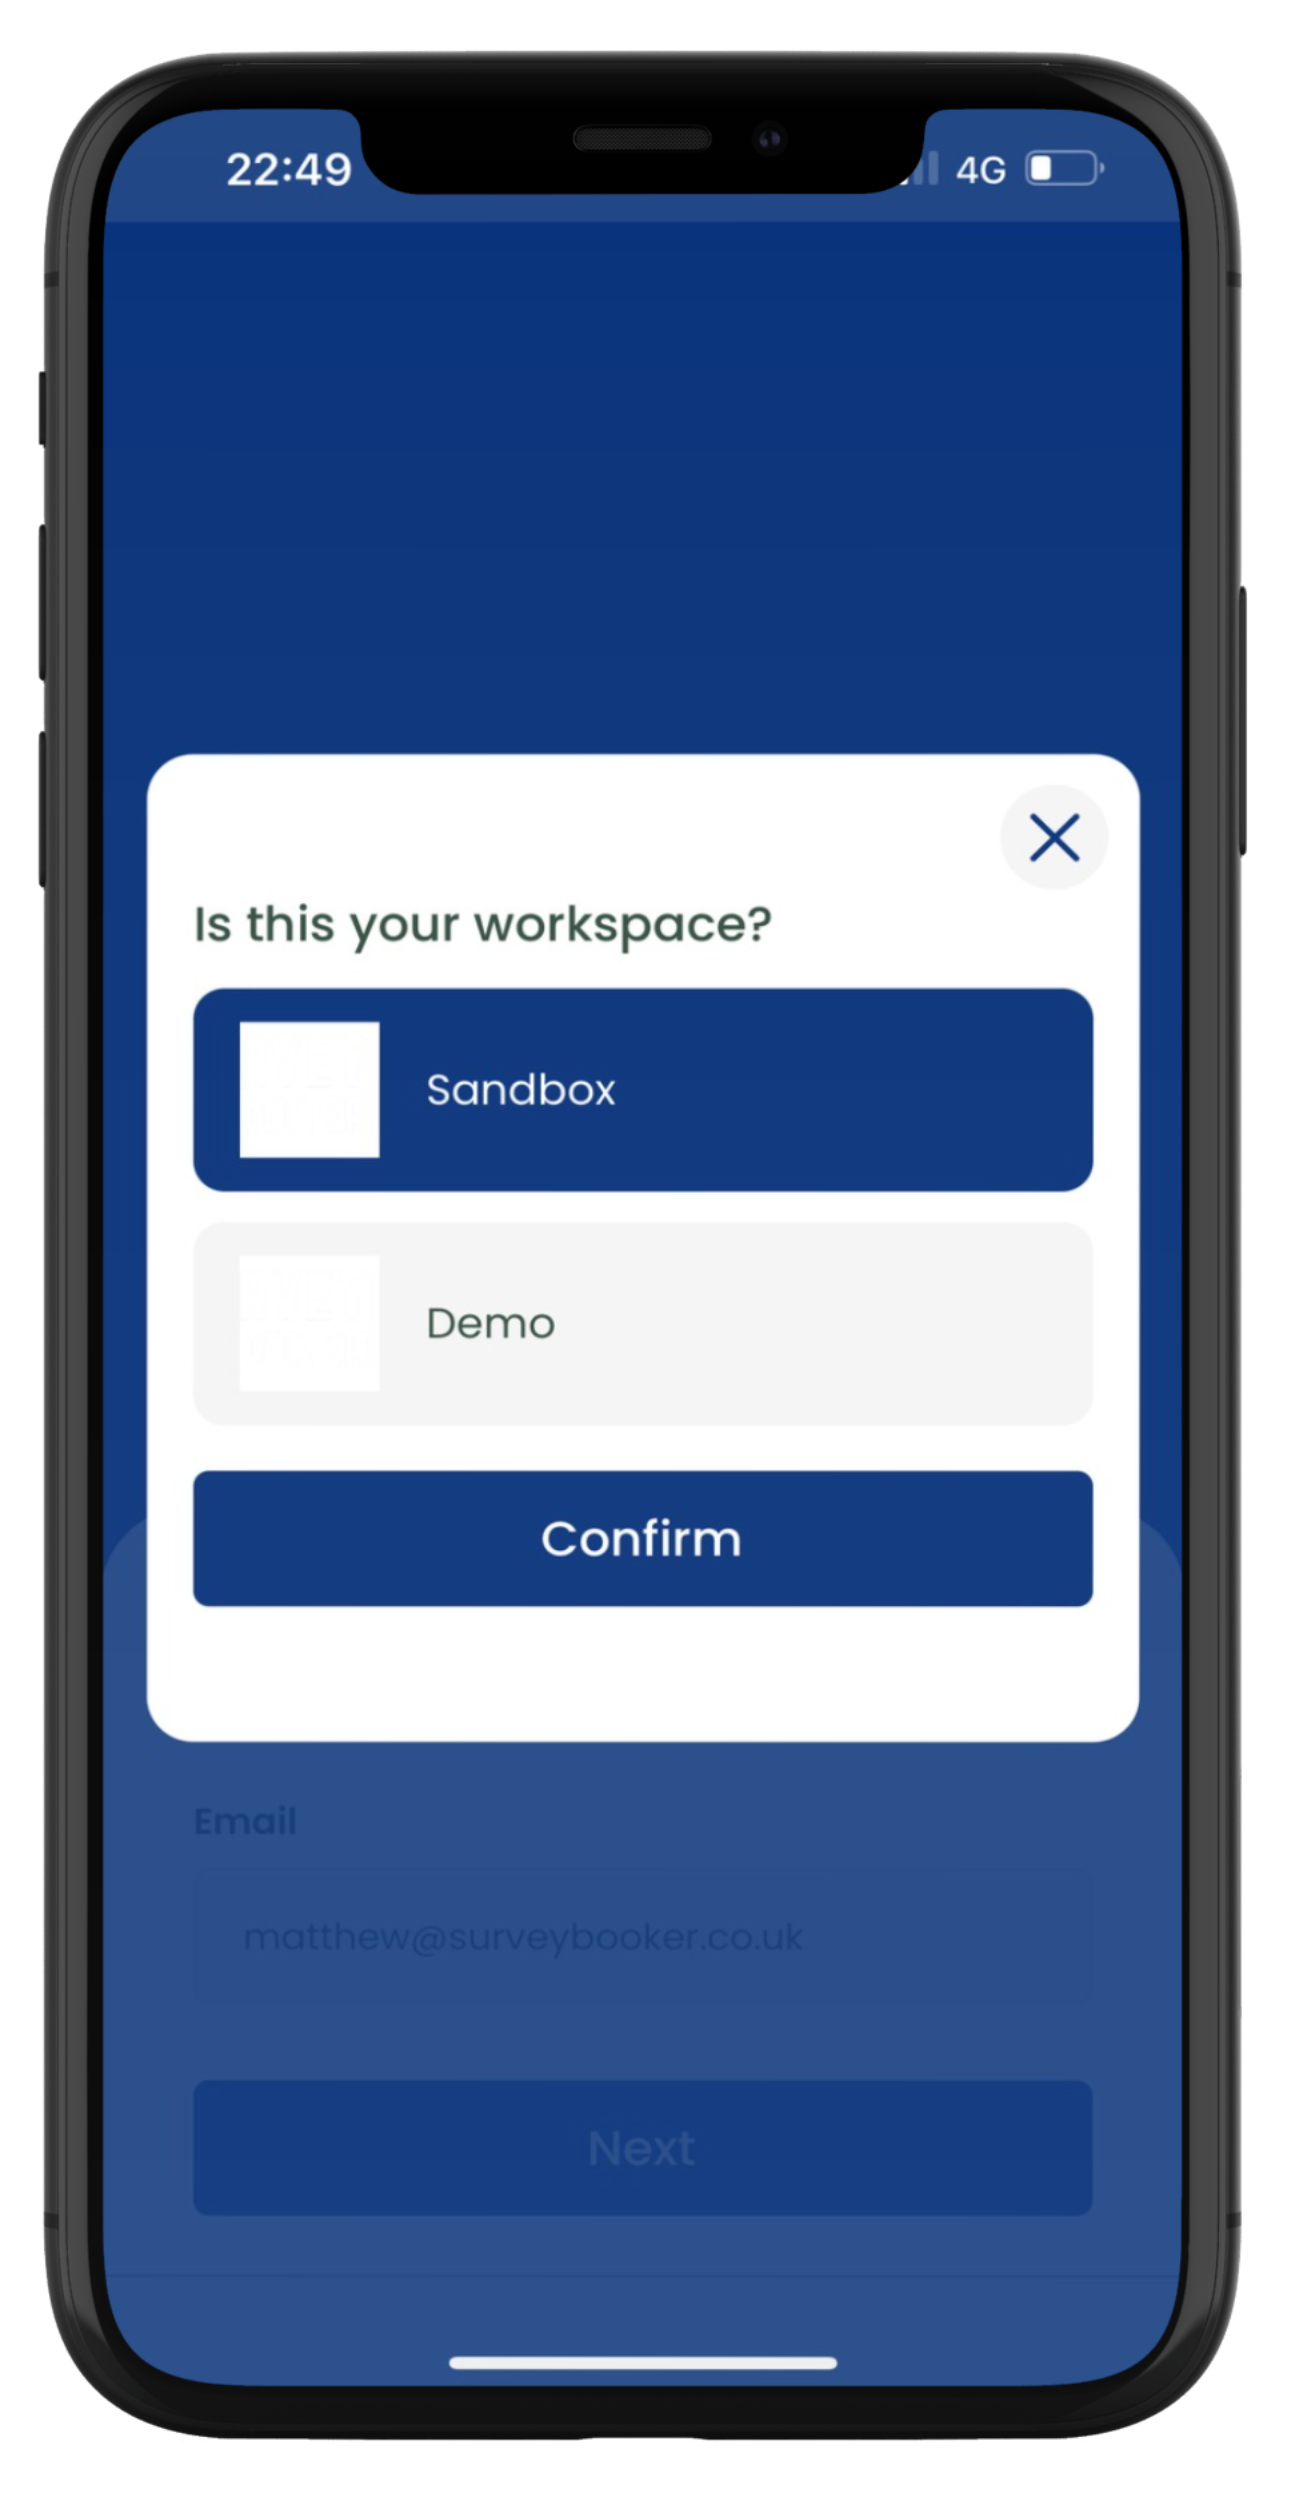
2. Confirm the account you want to login to
The pop up will ask the referrer to confirm which account you want to login to. Select and press confirm.
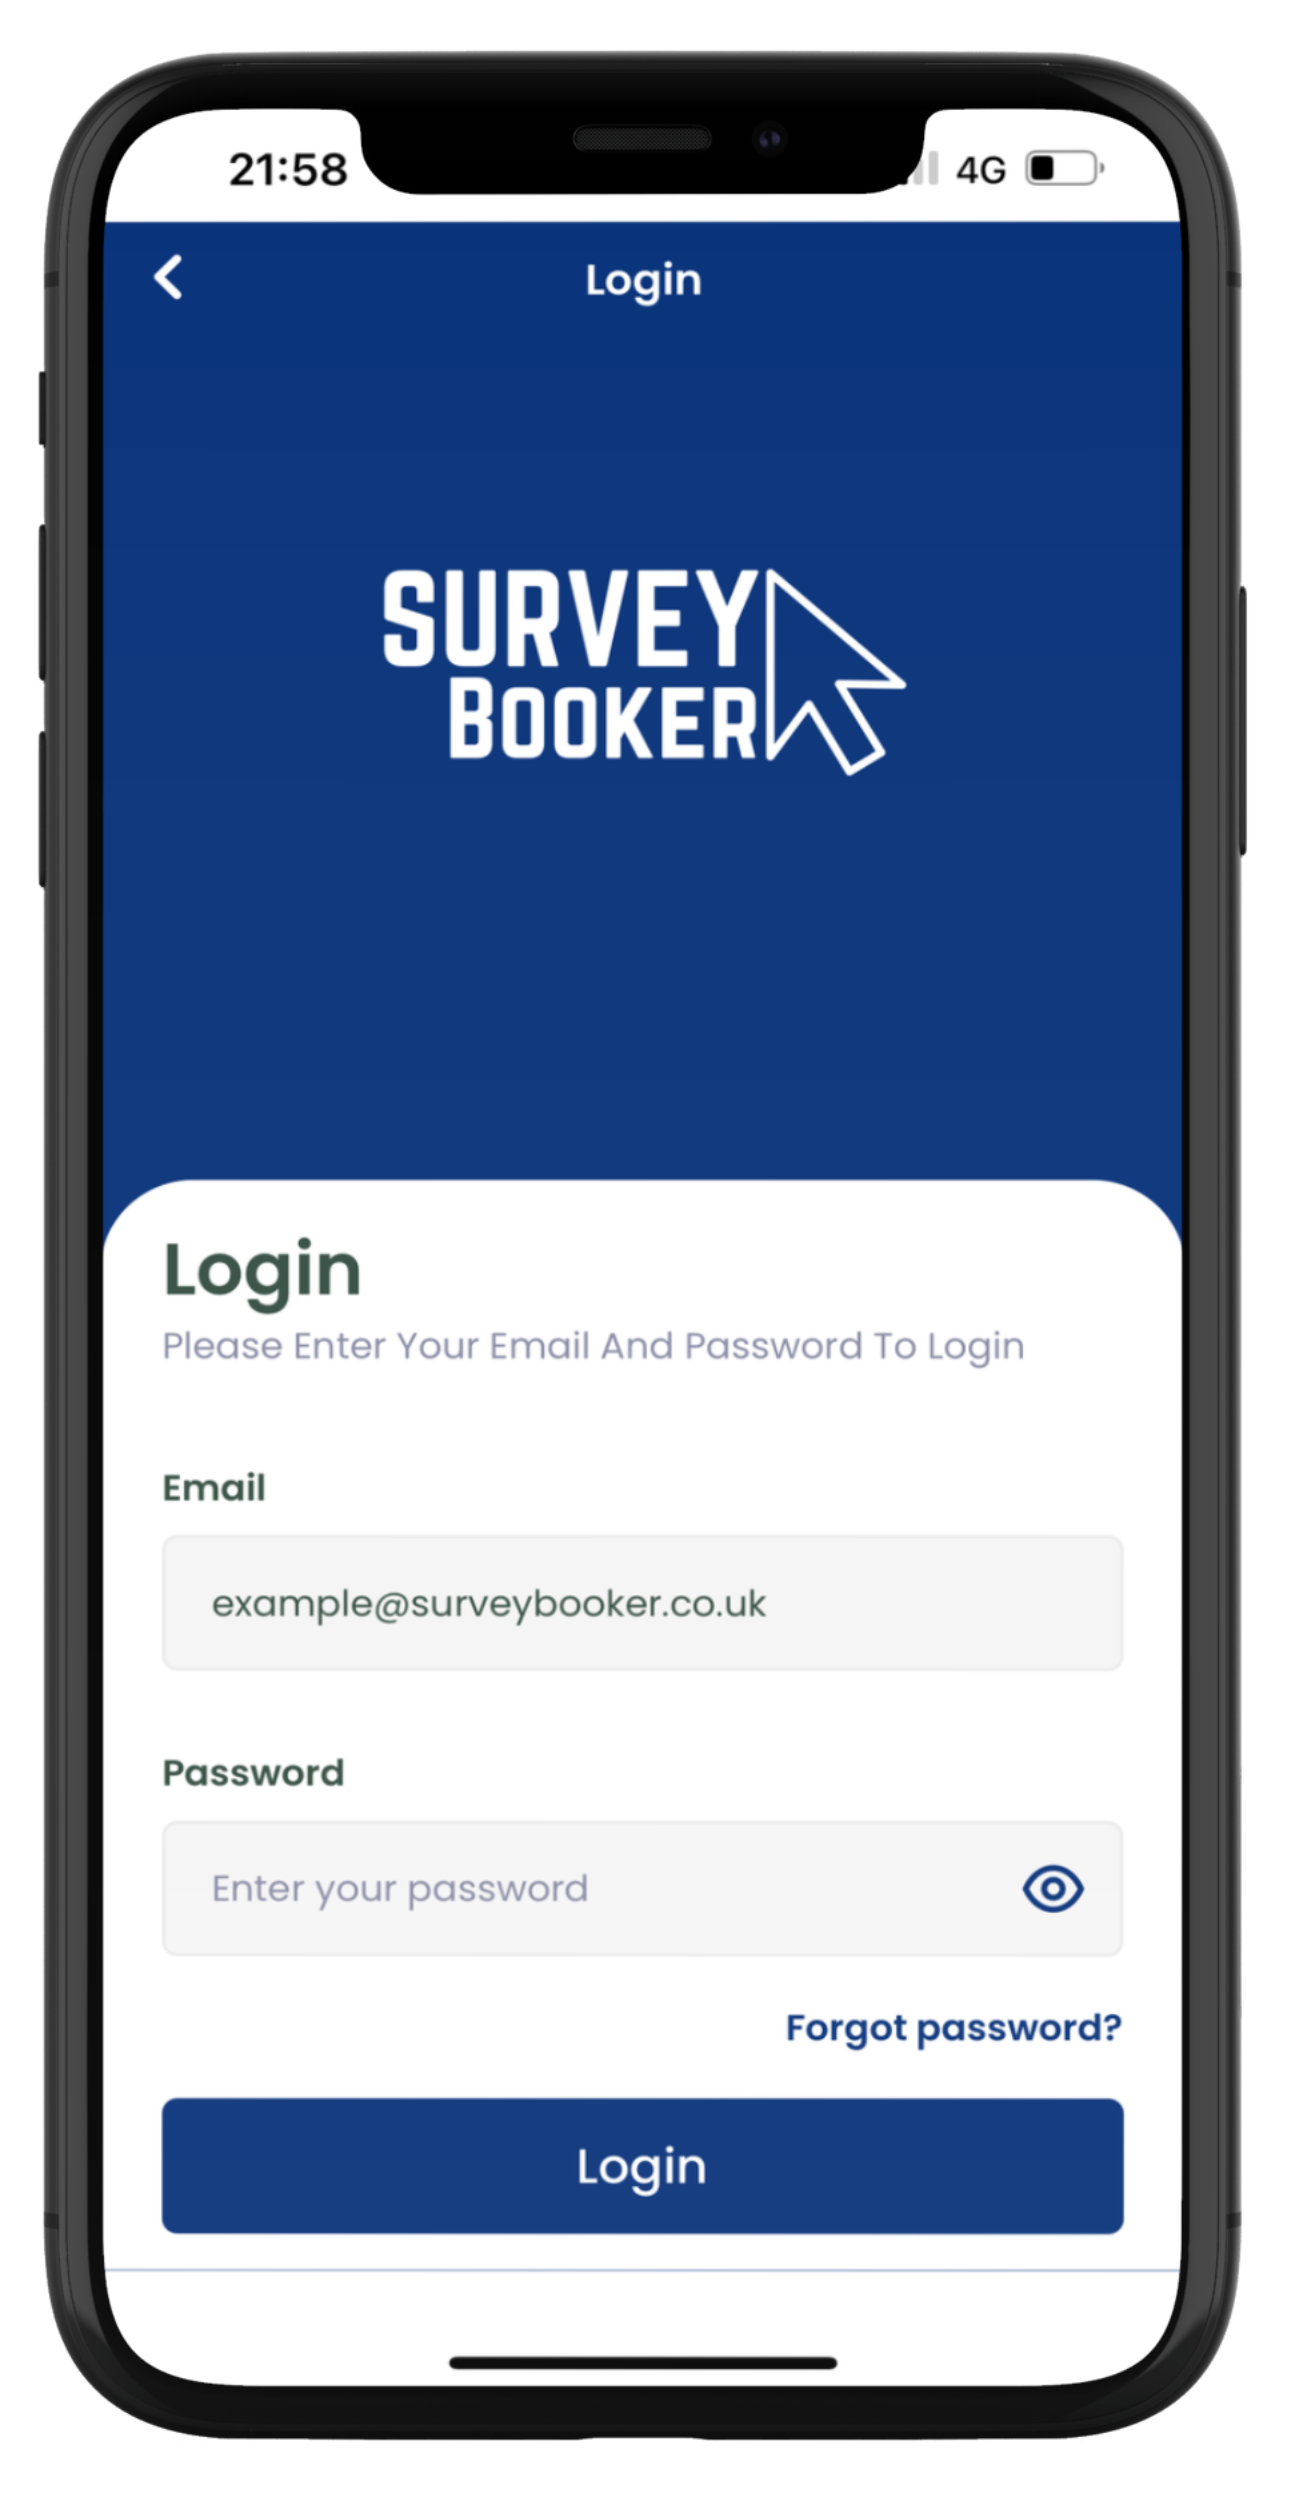
3. Enter your password
Enter their password and they can log in.
The login via the mobile app lasts for up to 30 days.
After this the user must login again to view data.
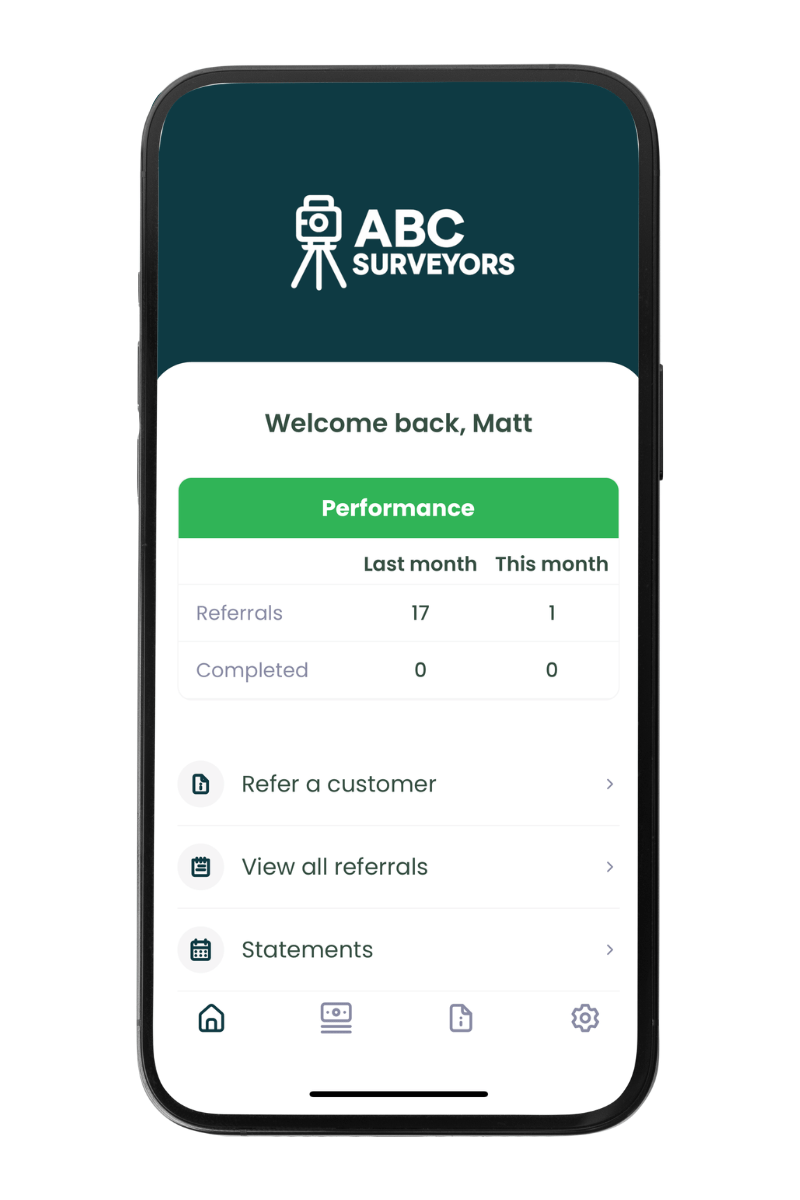
Dashboard
From here, referrers can view:
- Statistics – showing last months and this months total leads shared and jobs completed. Referral fees earned will show if allowed in the referrer settings.
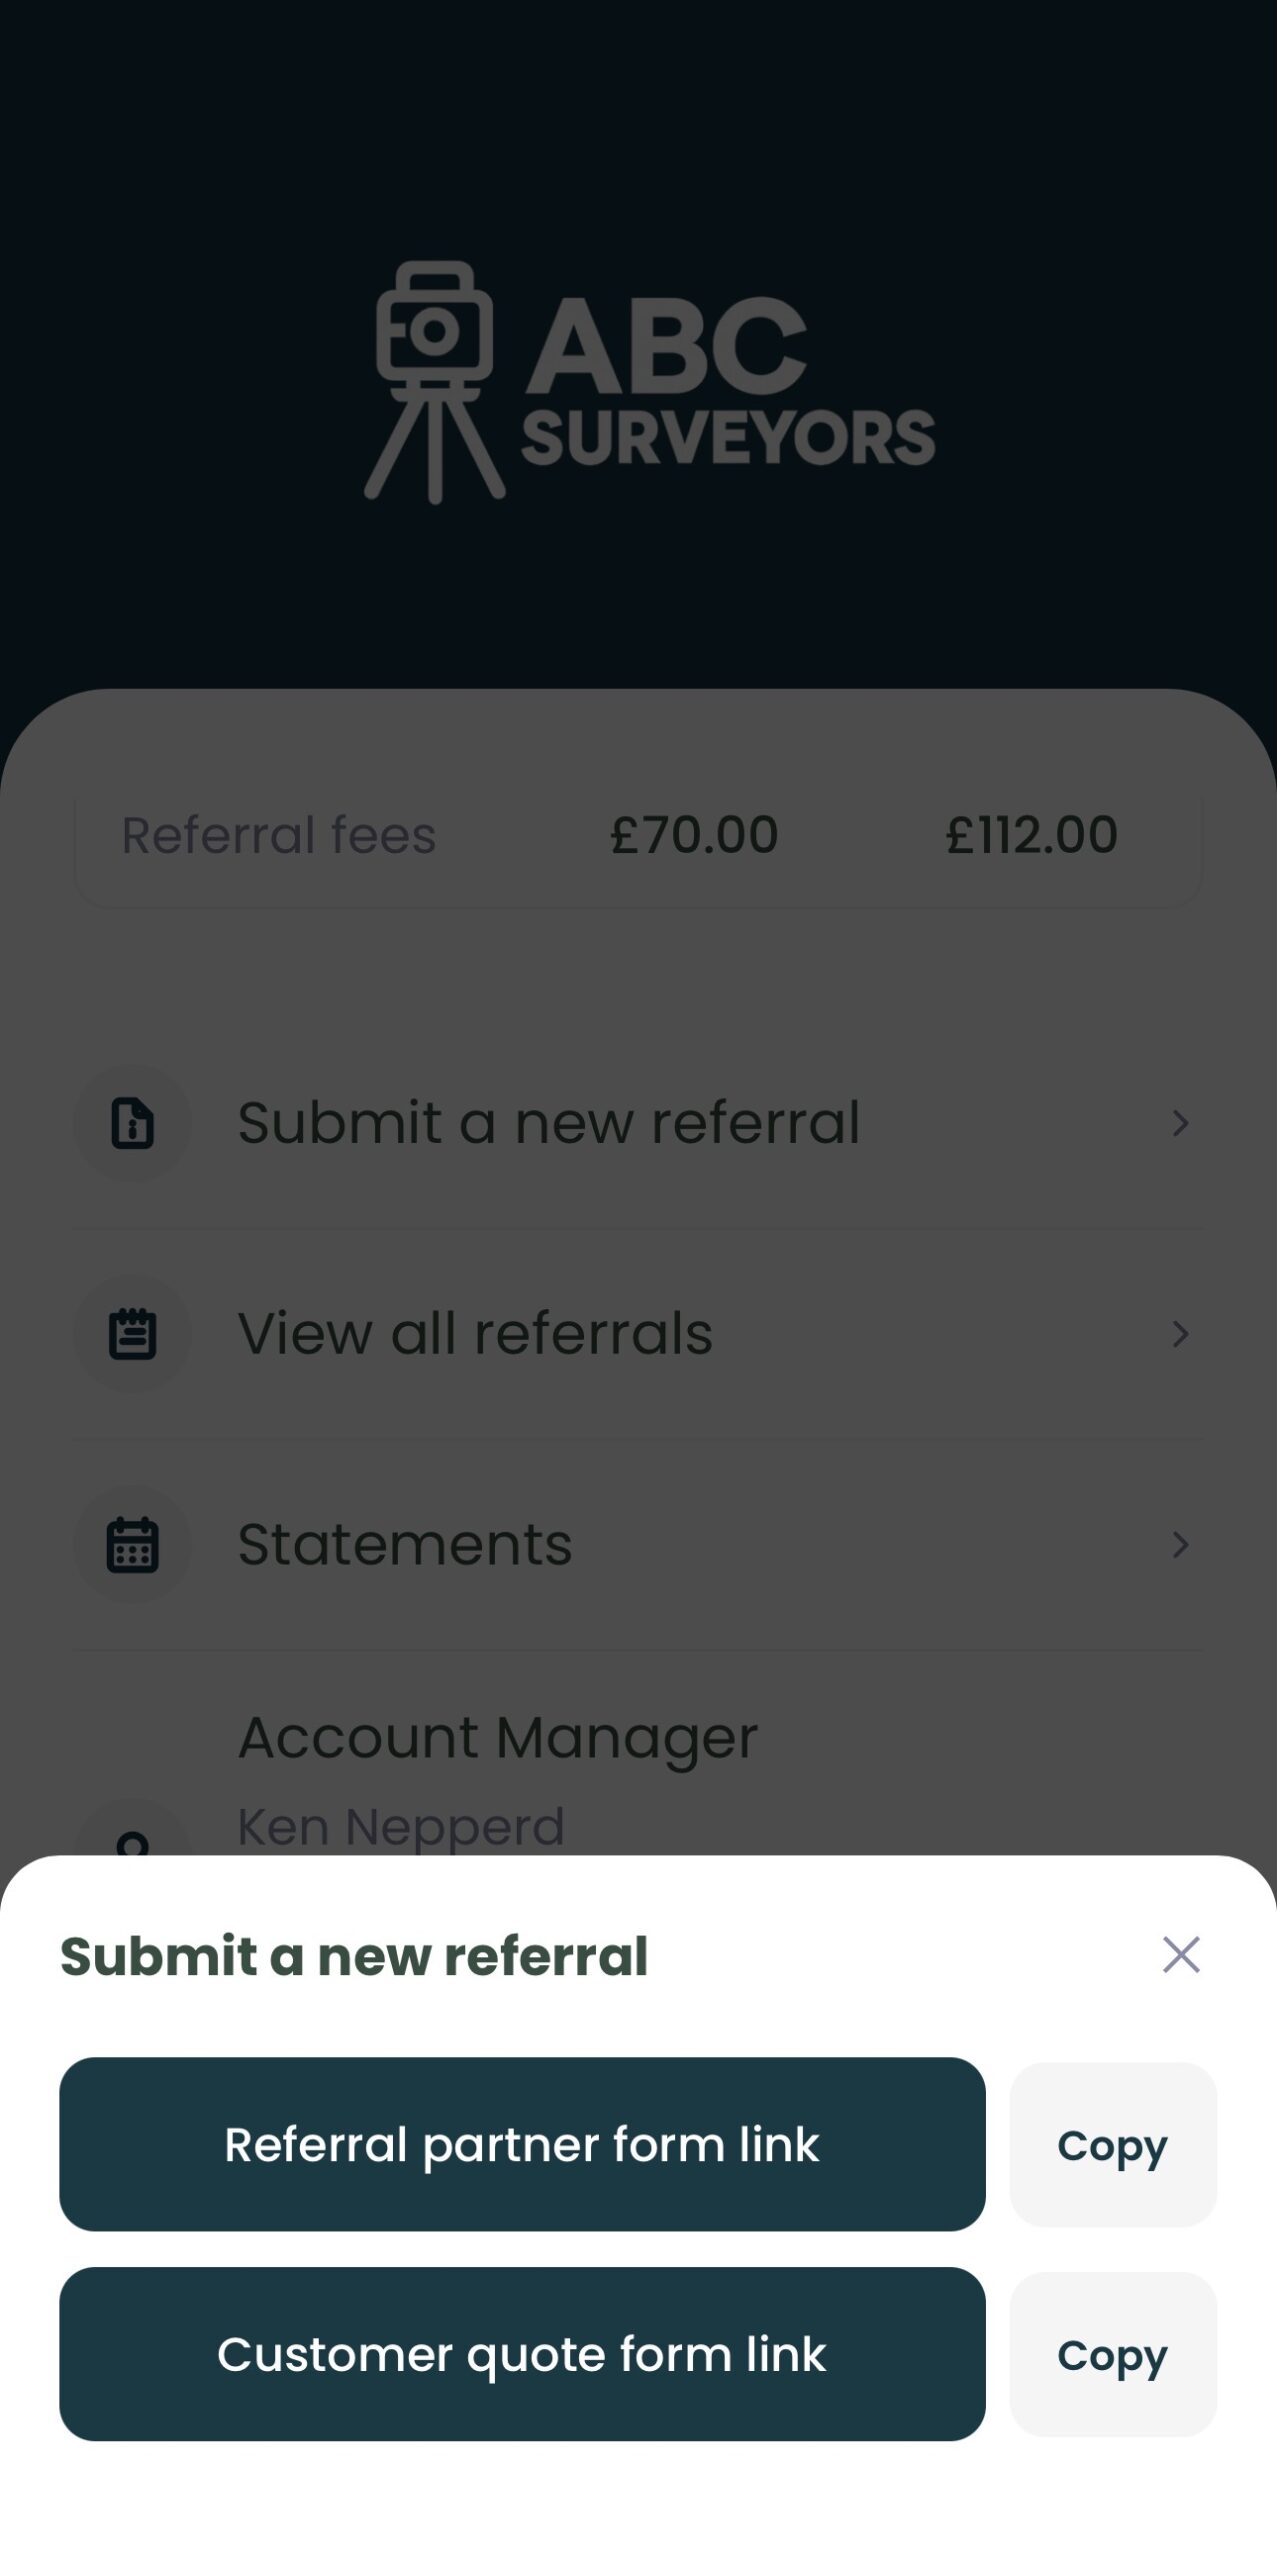
- Submit a referral – this displays the
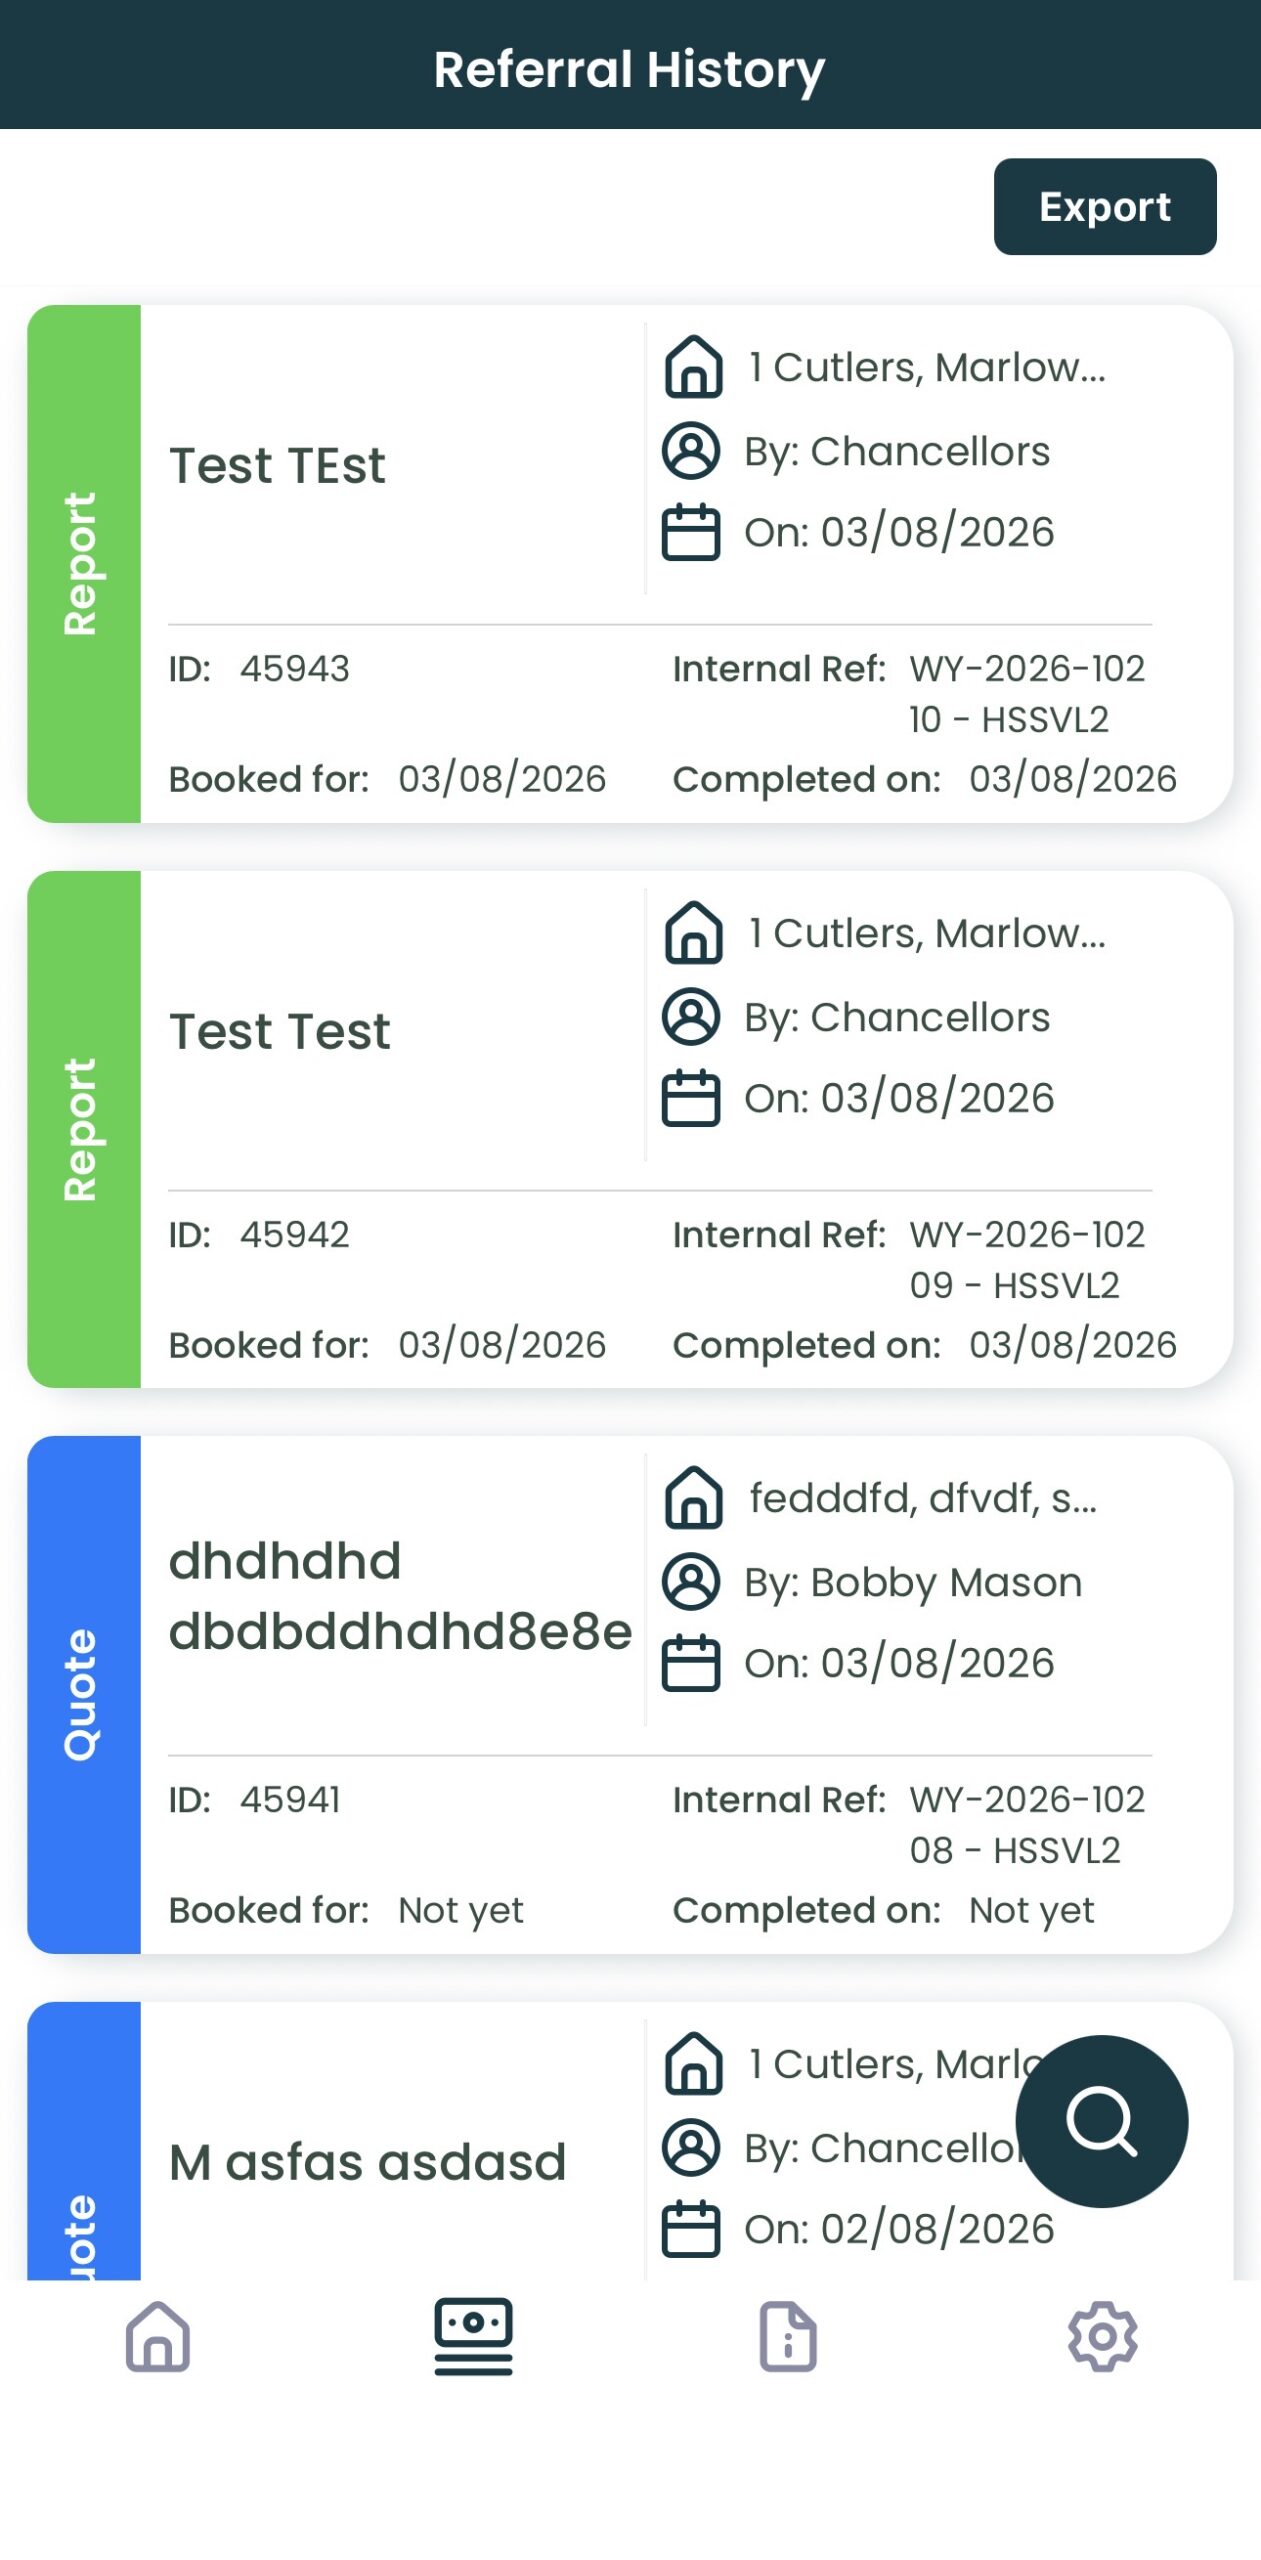
- All referrals – this provides a list of cards for all jobs needing a quote.
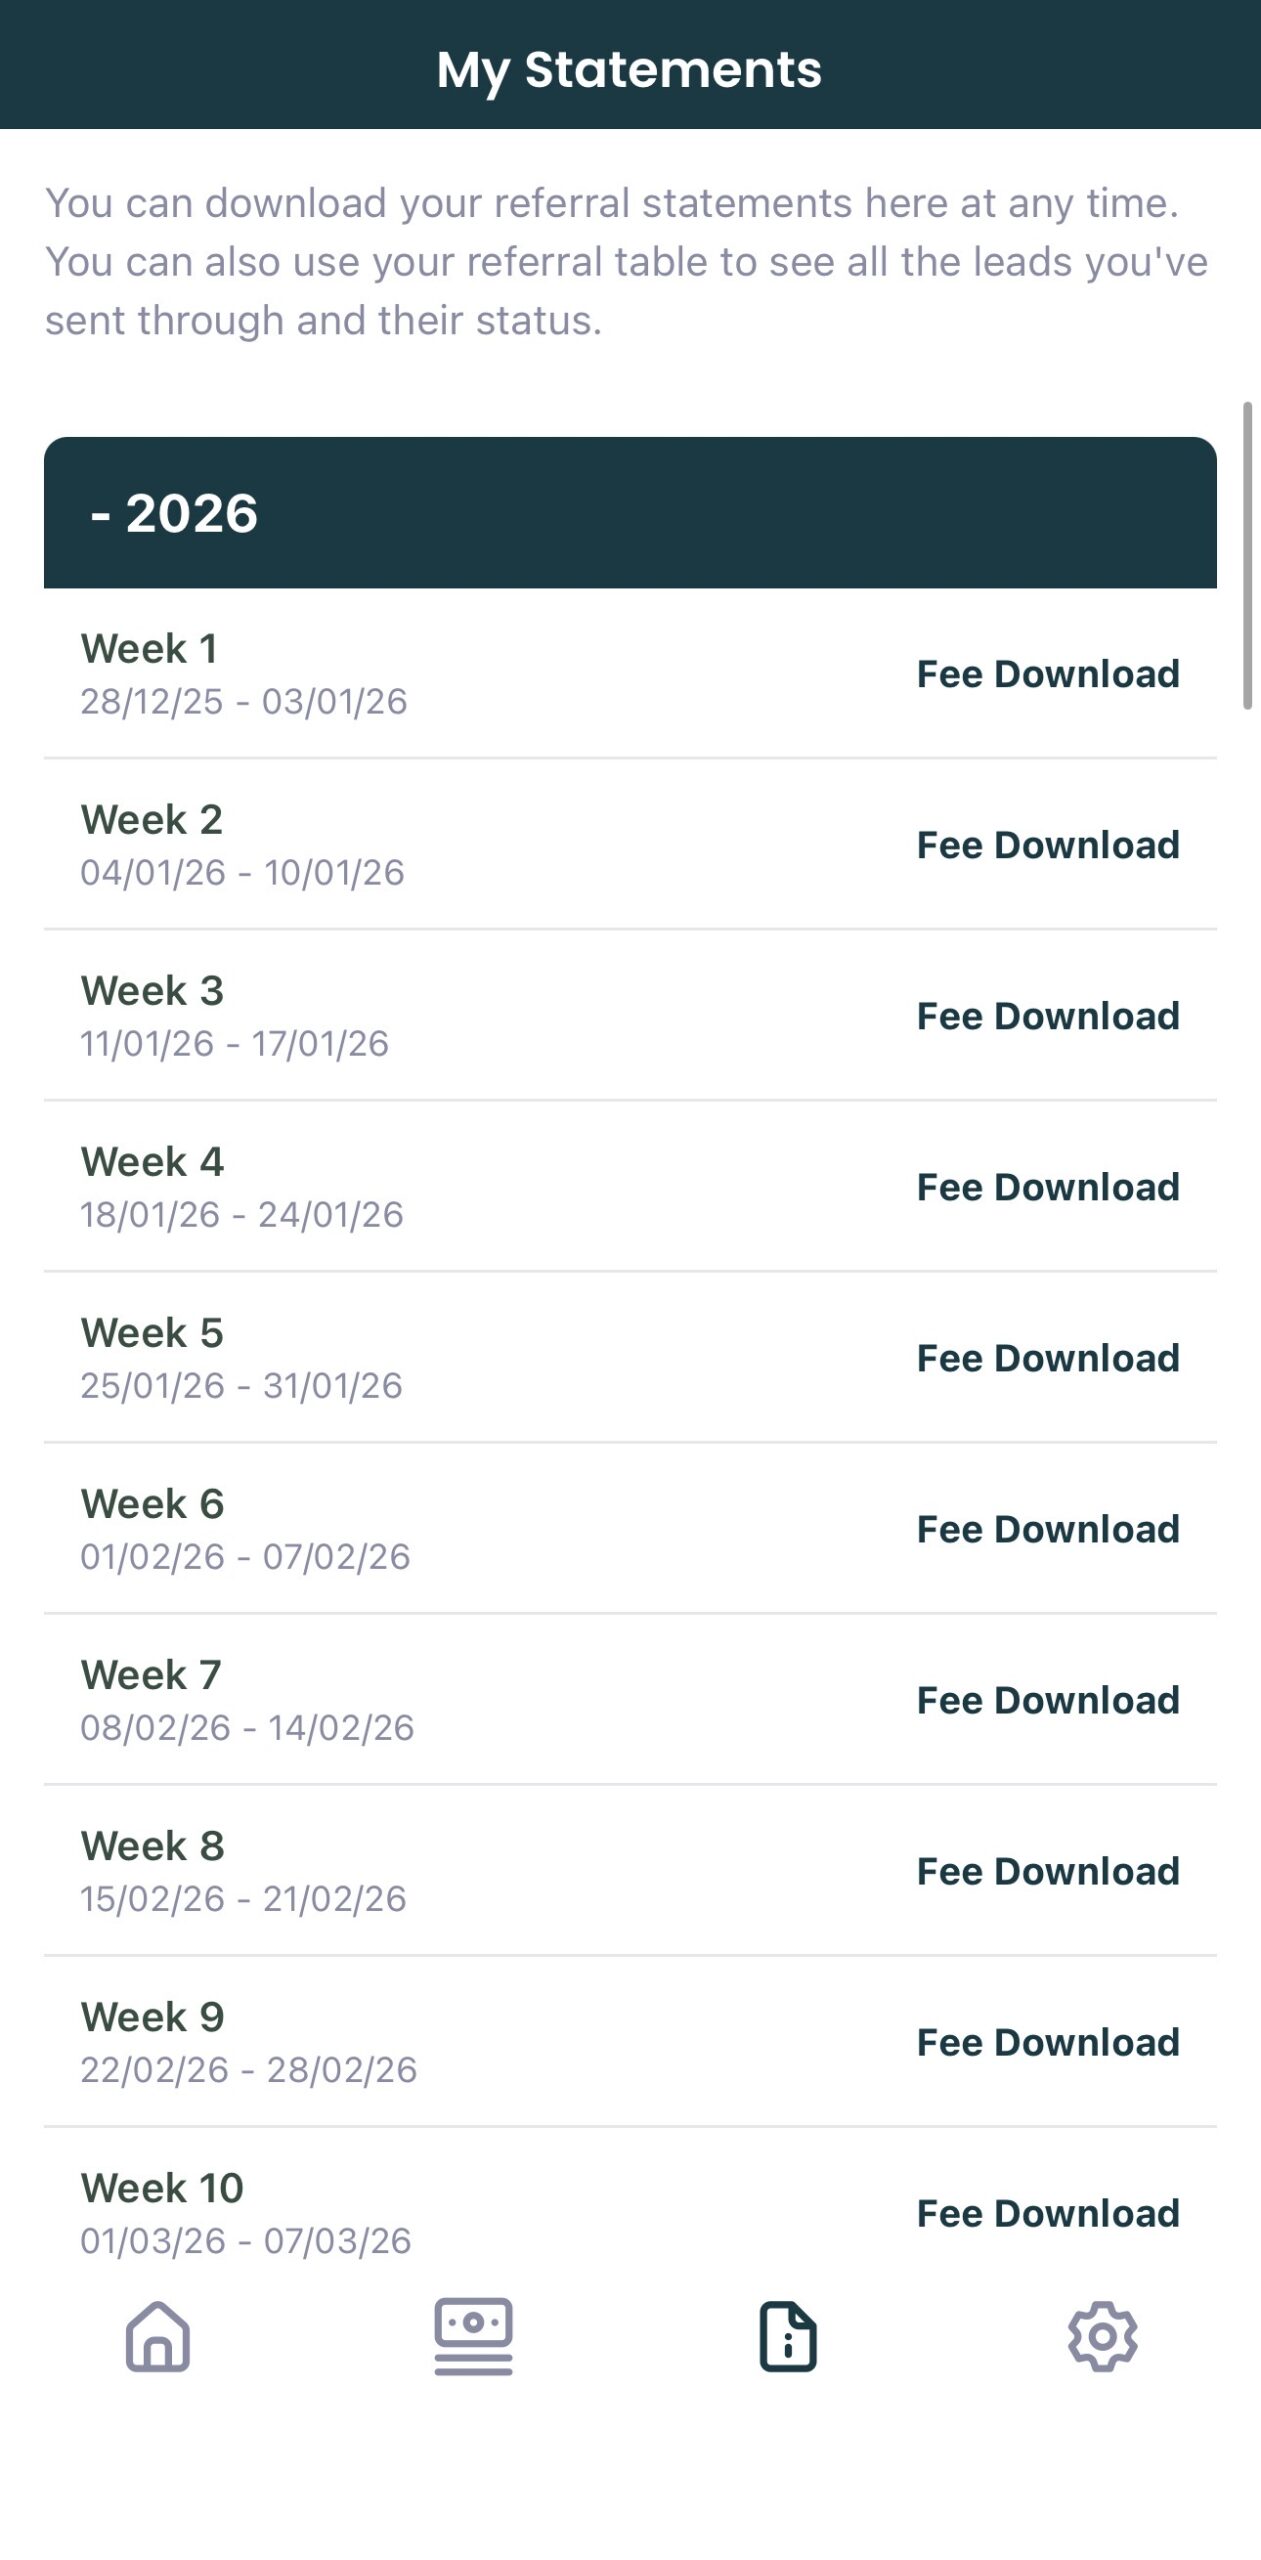
- Statements – the fee, activity or custom statements uploaded (if allowed in the settings)
- Account manager – the details of their assigned account manager or company details if not account manager is set
- Notifications/settings – a page where they can update their details, change password, and edit their push notification preferences.
Submit a referral
This provides the options allowed in your settings:
- Basic referral link
- Quote form link (links off to your form)
- Custom referral link
All referrals
This list shows all referrals made and can be filtered using the search icon.
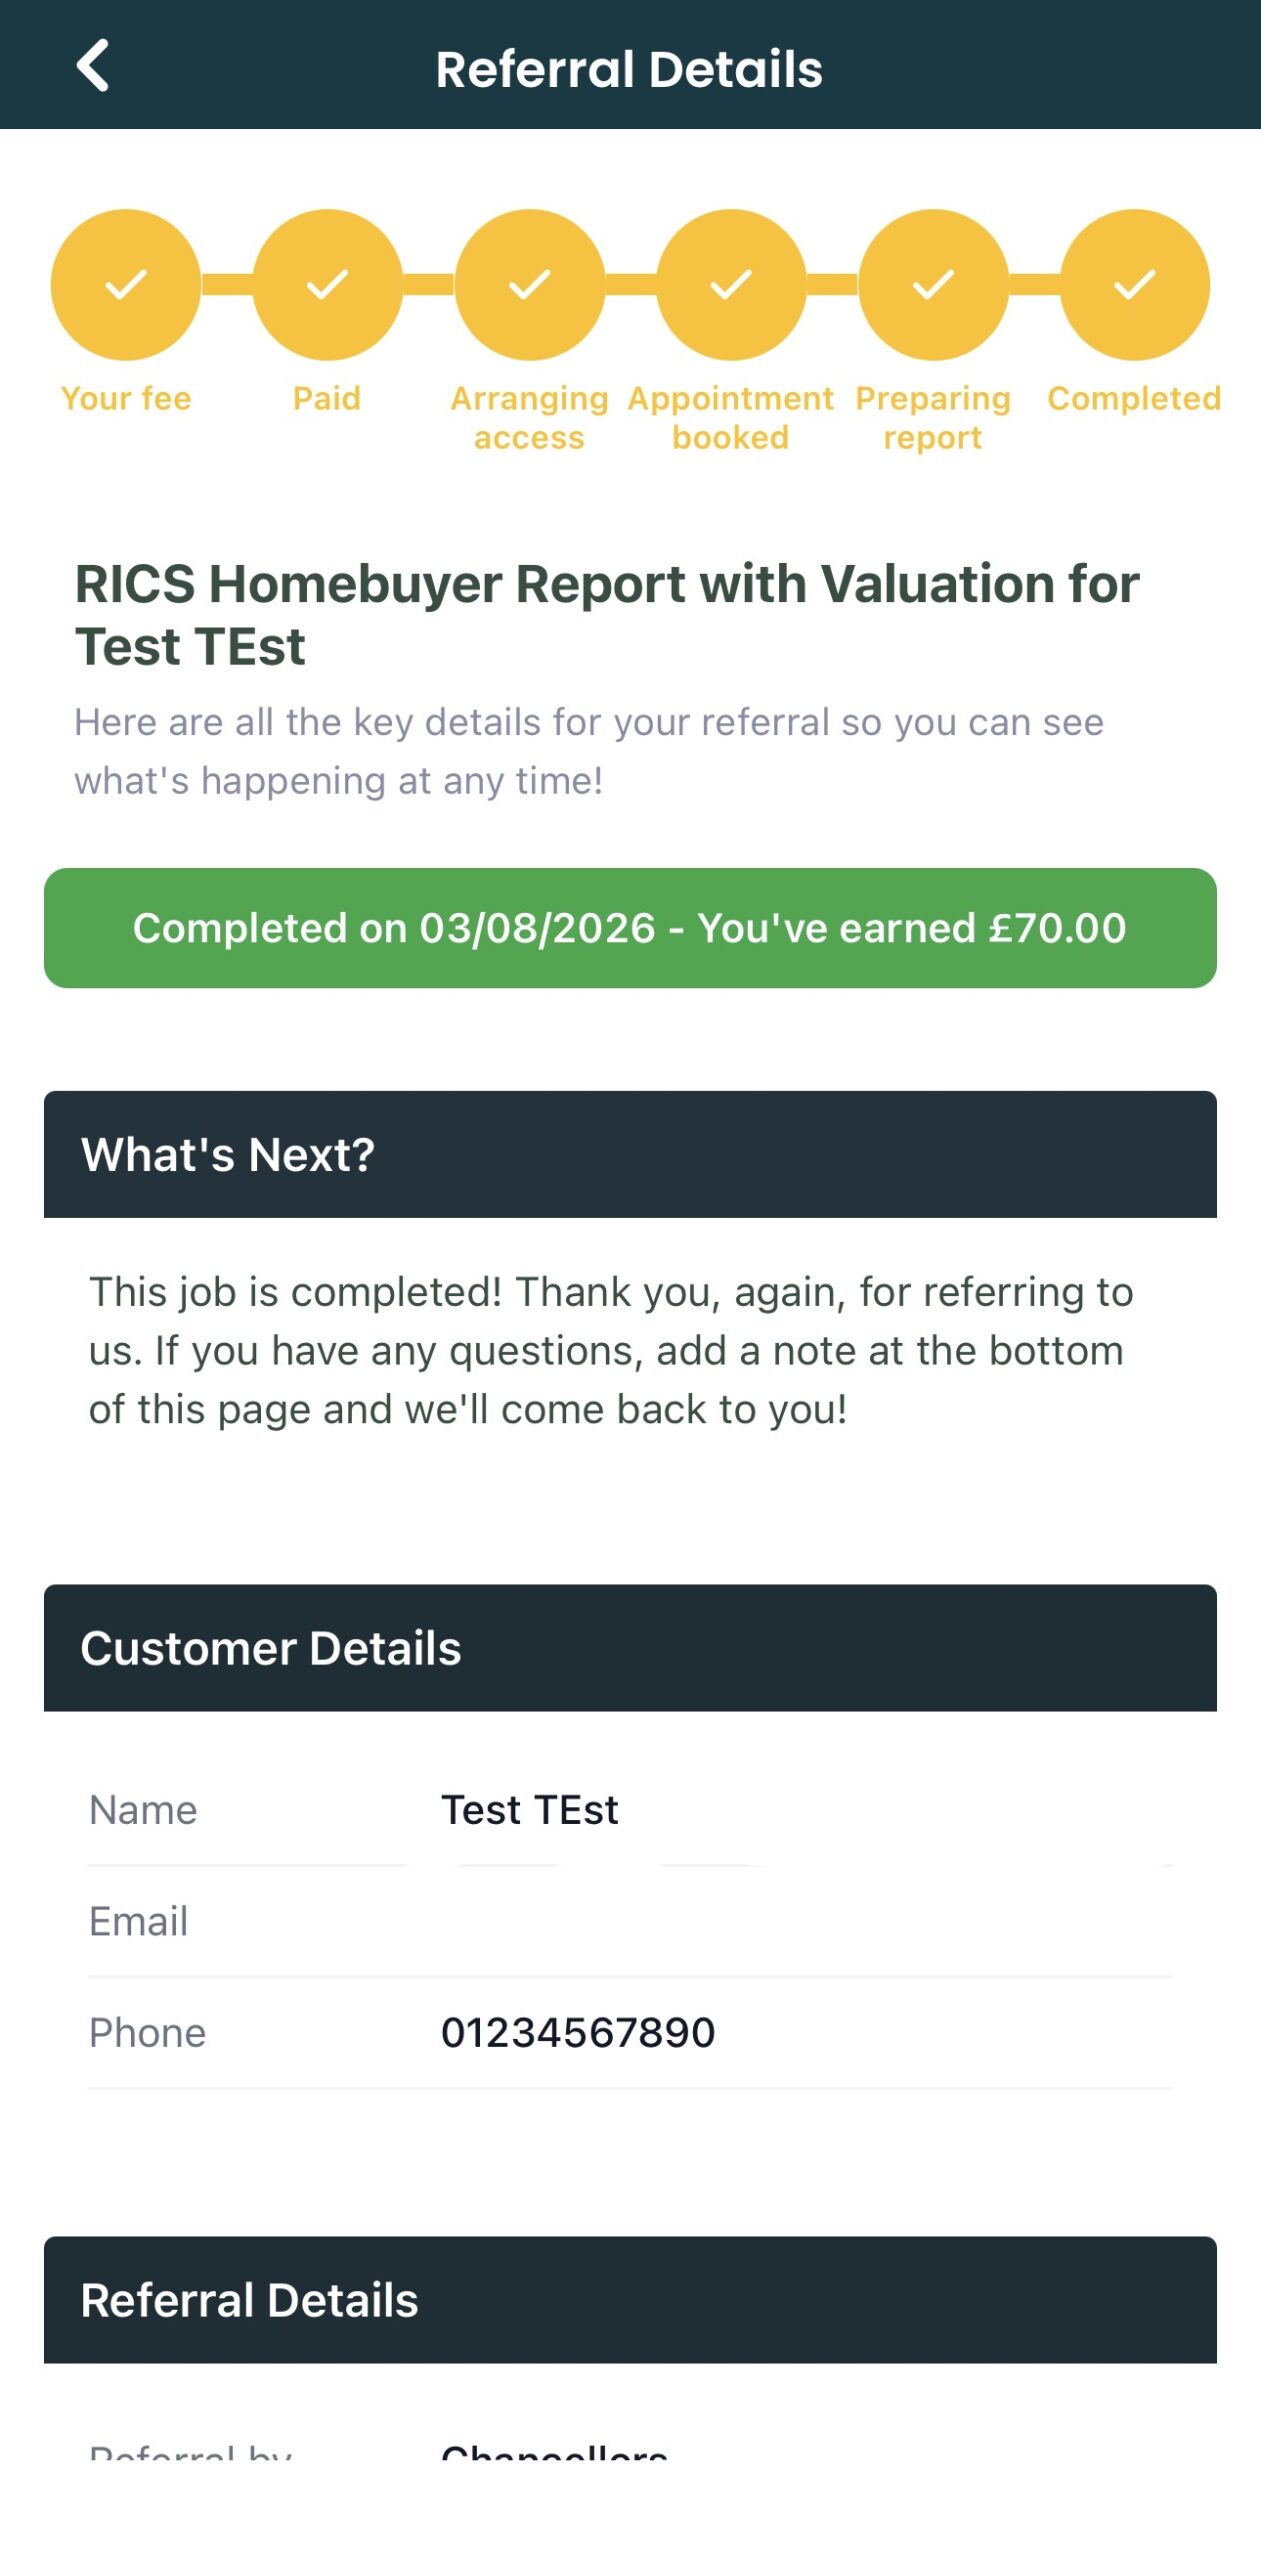
Jobs timeline
The job timeline is the same as the web app version.
Referrers can see:
- What’s next
- Referral details
- Customer details
- Job details
- Key documents (if allowed)
- Final report (if allowed)
- Notes
Statements
The referrer can upload custom statements (if allowed) and view any statements they are allowed to see.
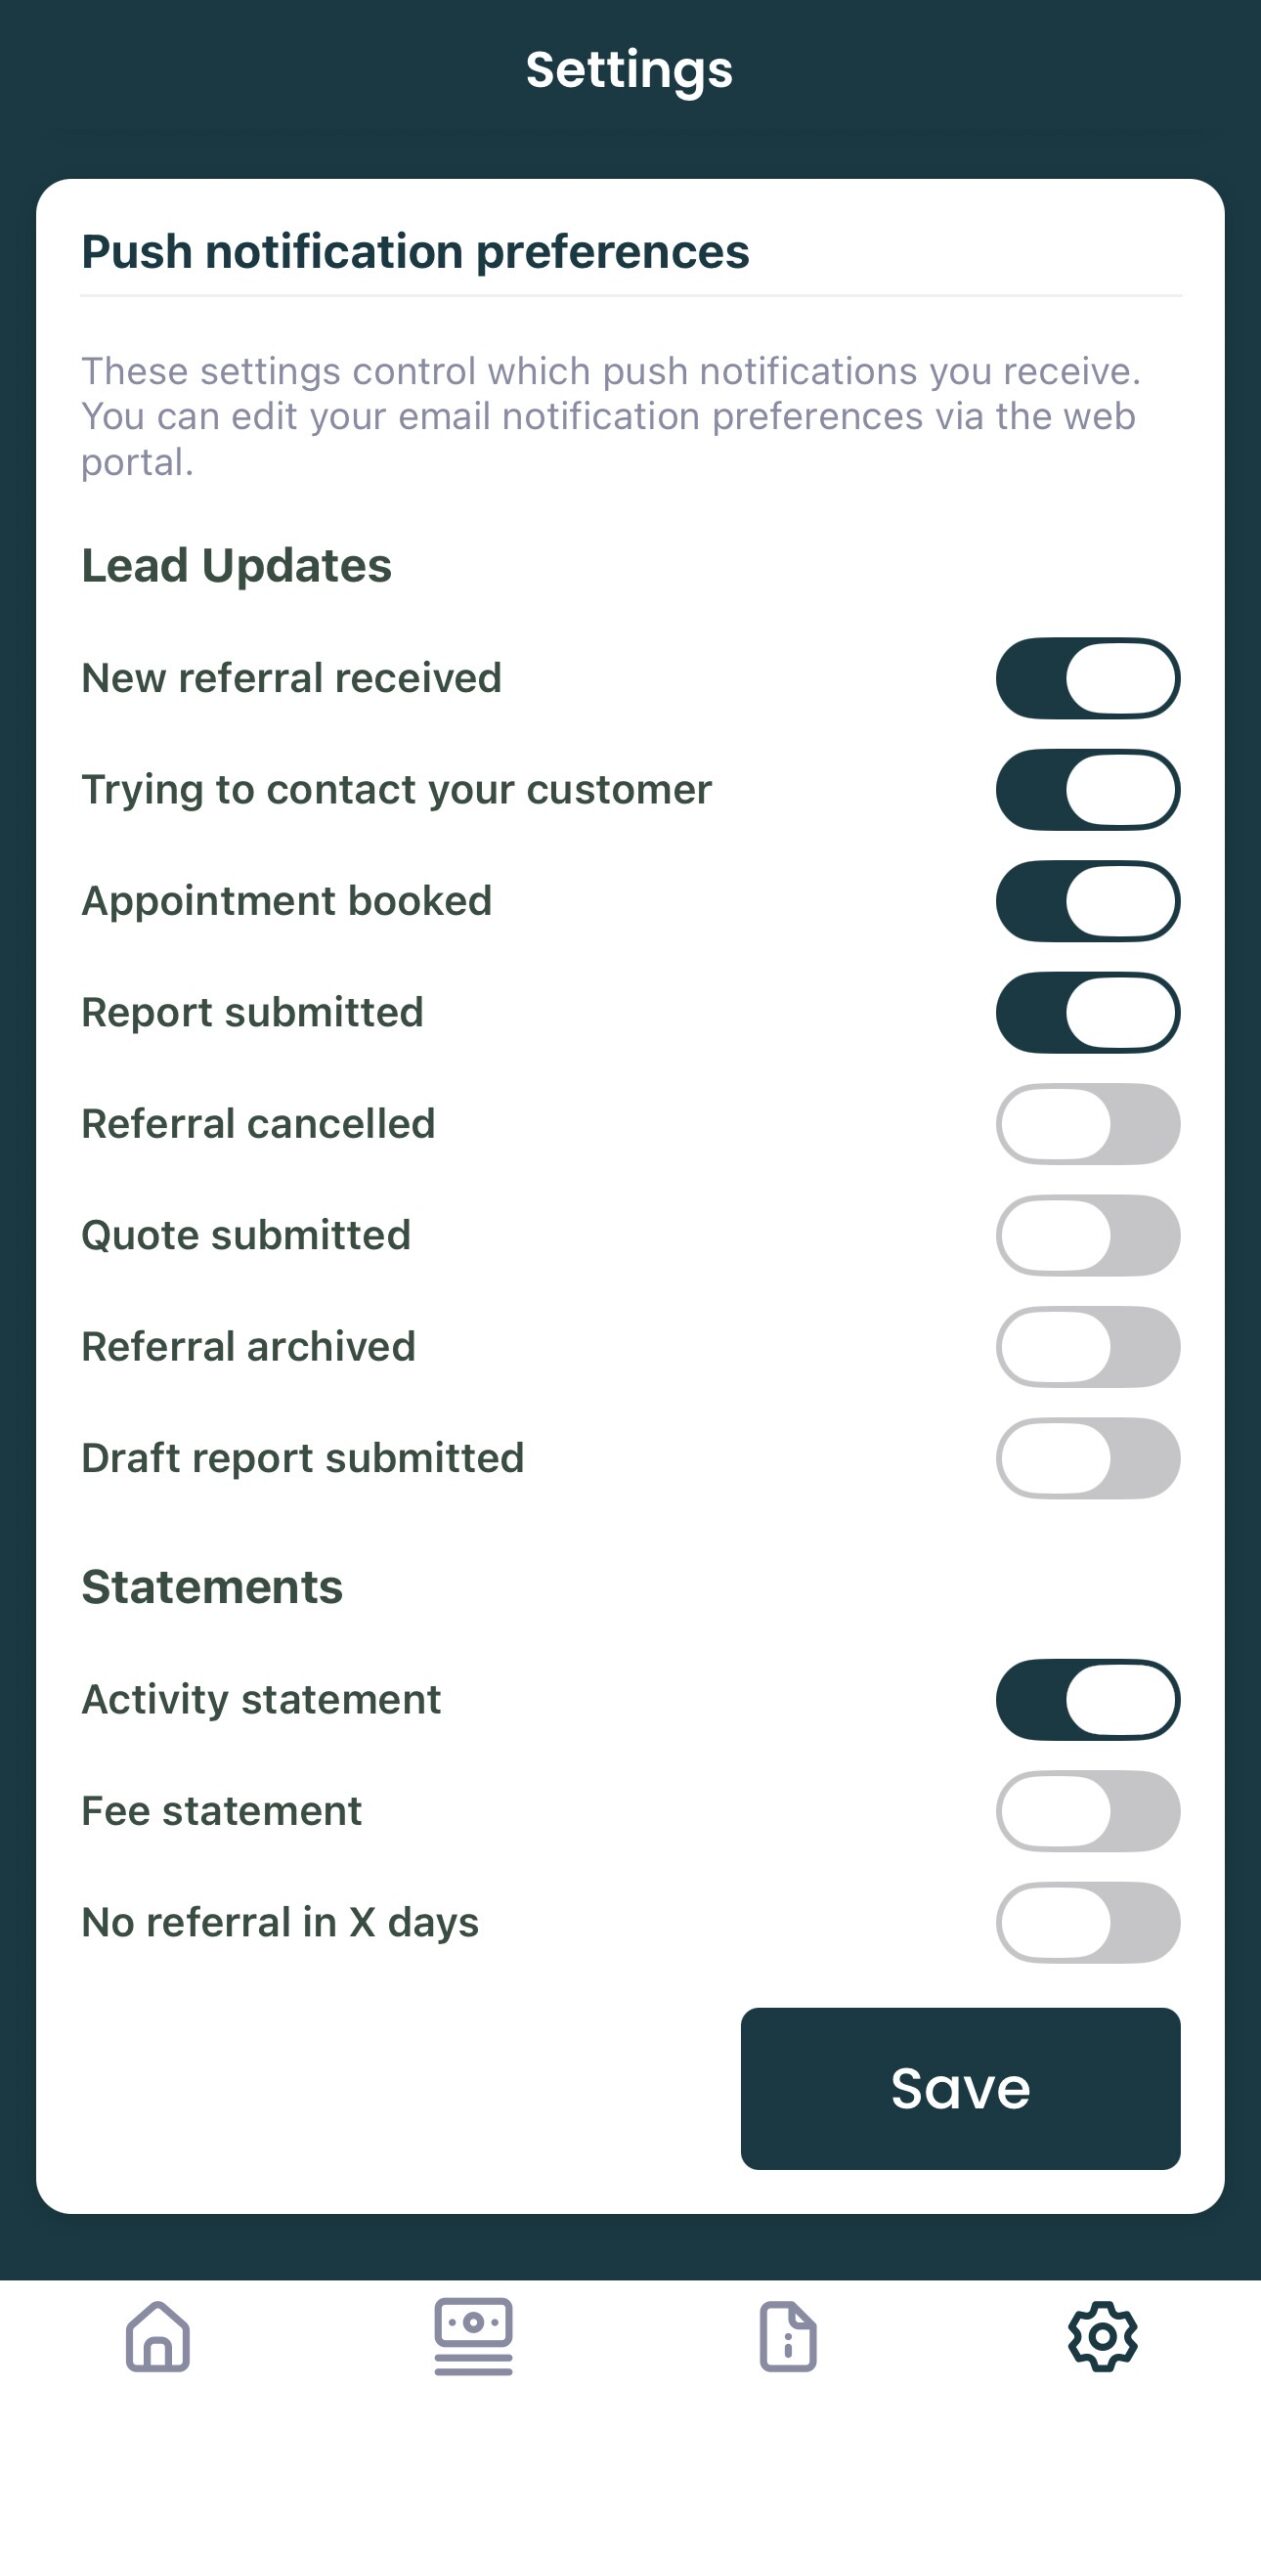
Notification preferences – push notifications
The referrer can control which push notifications are enabled for their user.
They can decide if they receive push notifications and email notifications at each stage, just push or just email.
Email preferences are controlled in their referrer web app.
Menu bar, button and text colours
The colour of the menu bar, menu bar text, buttons and button text are set in your Customer Portal Settings under the ‘Styling’ tab. You will need to set the colour preference you want to see if you do not like the colours that are appearing. This allows you to customise the colour scheme to suit your app and customer portal.
The following fields control the app colours:
- Menubar background colour – this sets the colour of the dashboard background, logout button background and any checkbox highlights
- Table header title colour – this sets the text colour on the top bar bar and the job page buttons
NOTE: if these are set to white (#FFFFFF), this could cause some visibility issues.
Please refer to this guide on setting the app colours under the settings tab. Note: changes made here will update the colours displayed in your customer portal. We recommend logging in as a customer using a test customer record to see how the changes adjust your customer portal. If you have any settings without a colour set, this could prevent the colours from updating for you in the mobile app. Please ensure all customer portal settings have a colour code set.
Note: You must log out of your account and back in to see the colour changes take affect on the mobile app.