What are post-booking questions?
Custom booking questions allow you to ask the customer more questions after they’ve instructed (after terms and payment) so you have the information you need to complete the job but without slowing the customer from instructing you. The benefits are:
- Time savings – you don’t need to enter data from emails into the system as the customer will enter it directly
- Data validation – you can set answer types so the customer provides the right information upfront reducing the need for back-and-forth questions
- Convenience – the customer can easily answer each question you have in clear sections instead of having to try and answer lengthy questions via email.
- Conversion rates – collect only the data you need for providing the quote to encourage enquiries and collect the full job data you need only when the customer needs to provide it
You can also ask custom quote form questions and custom booking questions.
Creating post booking questions (subject to plan)
Navigate to Settings > Customer portal settings > Account pages.
Create/edit Post Booking questions
- In the post booking questions section press “Add section”
- Set the section name (this is used in the customer portal)
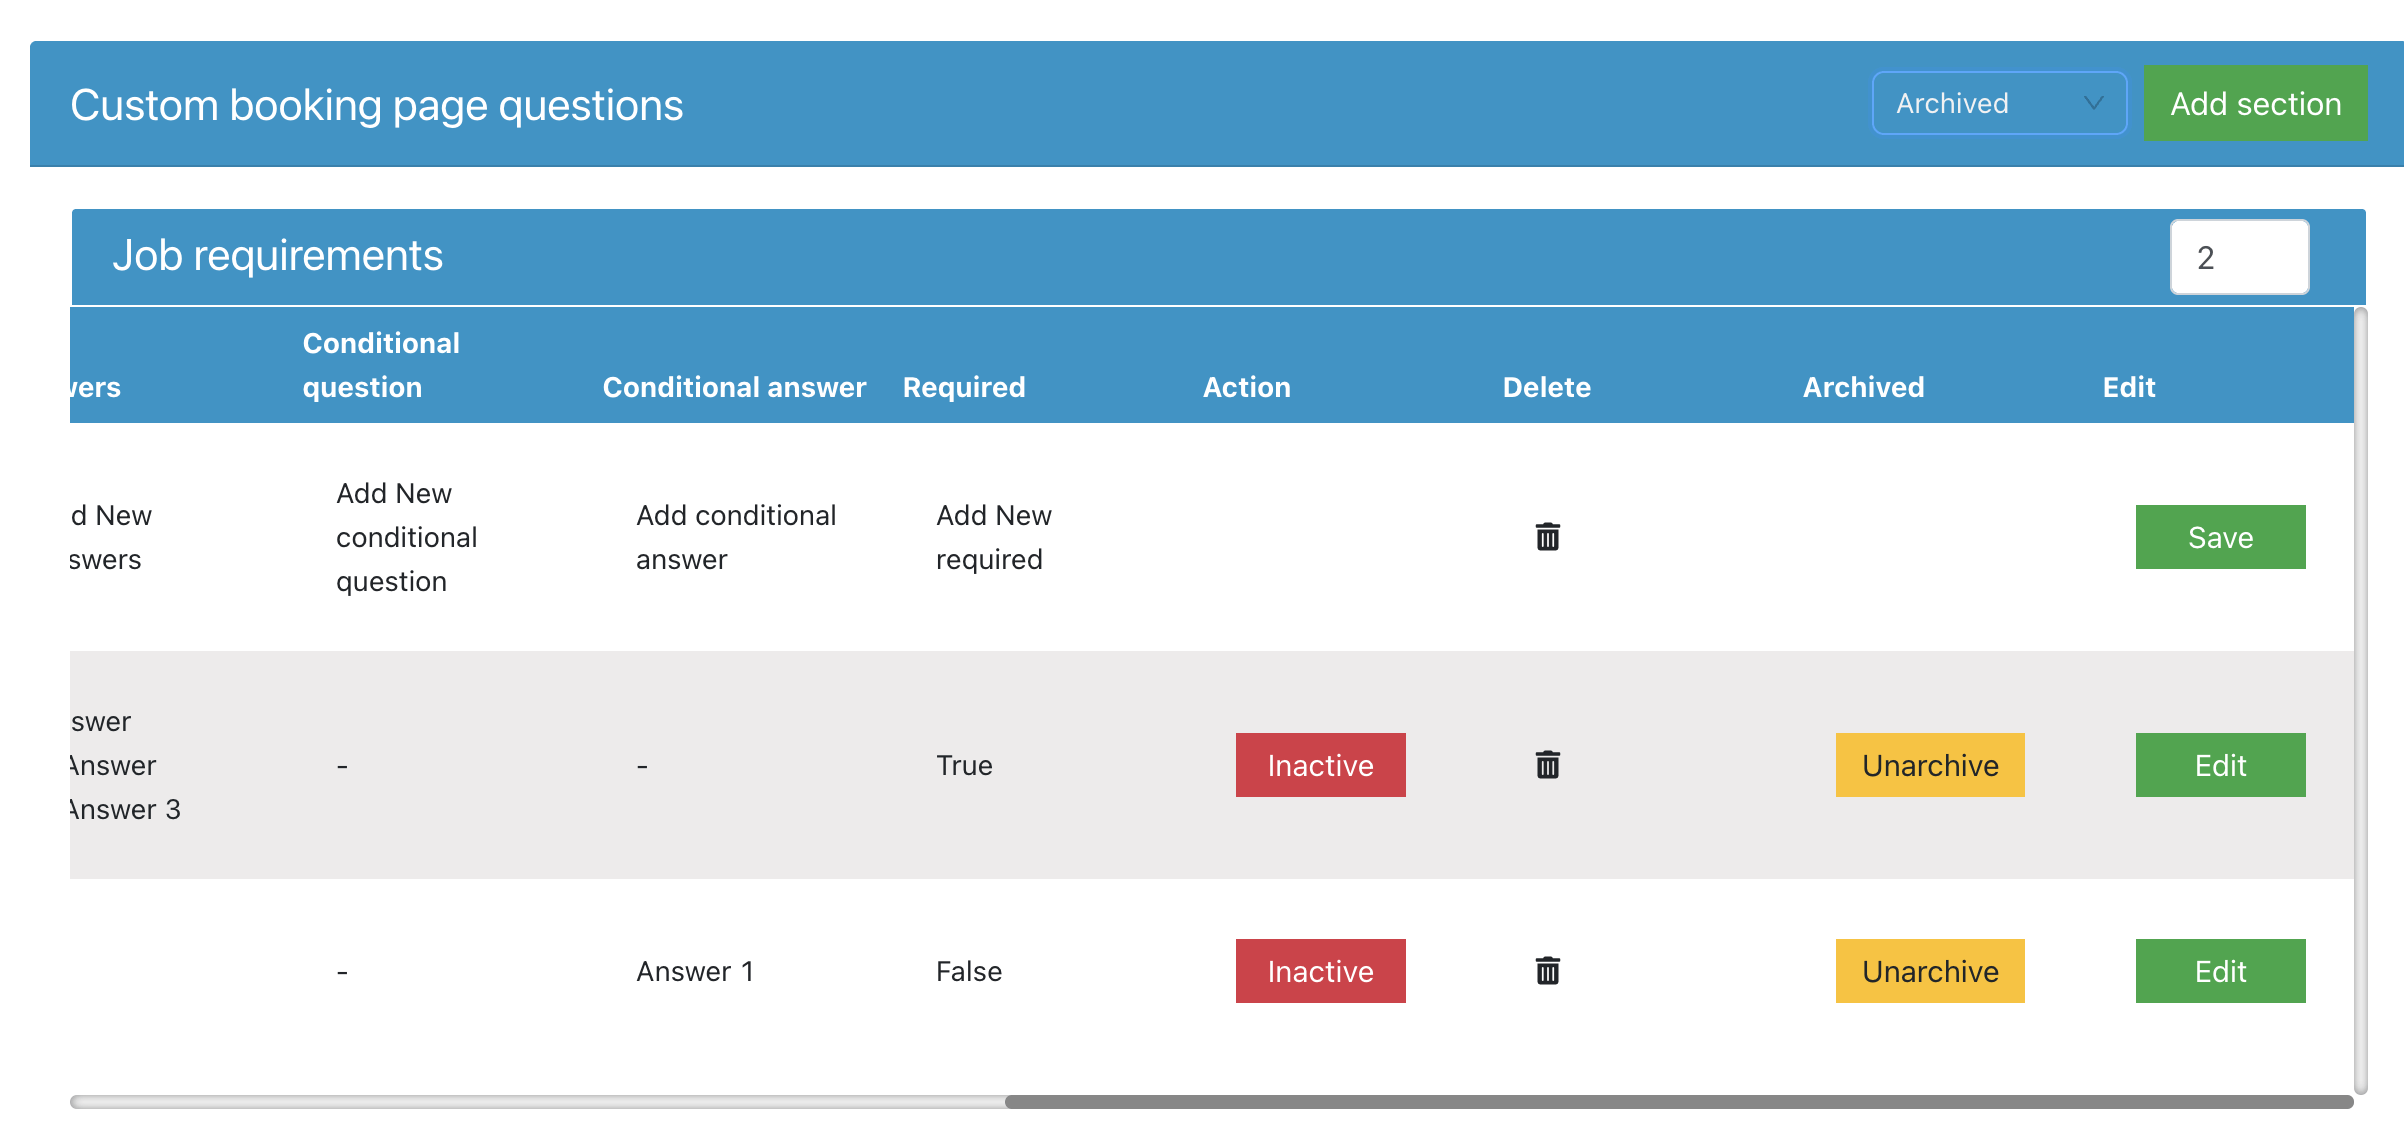
- You can then add questions setting the answer type, if the question is required or not and more.
- After saving a new question to the right of the table, press the Inactive button to activate the question so it appears on the customer portal.
- Conditional questions can only be set for questions where the answer was a dropdown selection.
- You can create multiple sections and questions.
- The layout, wording and questions set how it appears in the customer portal.
Changes created here will only take affect on new quote/job records created AFTER the new fields and layouts were saved. Existing records will remain unchanged. This is to prevent data loss on existing job/quote records if sections or fields were deleted from the settings.
You can also set the page title that appears on the post booking questions page by using the “page title” button. If no title is set, no title will appear on that page.
Set where the post booking fields should appear on your job record
By default, any questions created will appear in a section on your job timeline called “Additional details”. However, you can set your own layout using the “Custom timeline fields” settings. This allows you to create new sections similar to the customer portal or to add fields to existing sections where you have other internal only data it is relevant to.
Navigate to Settings > Survey settings > Custom fields > Custom timeline fields.
- Press Add Section to create a new section on the job record (or use an existing section you have created before)
- Press Add Row to create a new row in an existing section. Set if it should be 1, 2 or 3 columns. You can then select which fields appear in which columns.
- Conditional questions will automatically appear after the main question selected (you don’t need to select them)
- If you add a field to the wrong section, save the changes. You can then click on that field again and use the deselect option in the dropdown to remove it.
Changes will only take affect on new quote/job records created AFTER the new fields and layouts were saved. Existing records will remain unchanged. This is to prevent data loss on existing job/quote records if sections or fields were deleted from the settings.
How does it display in the customer portal
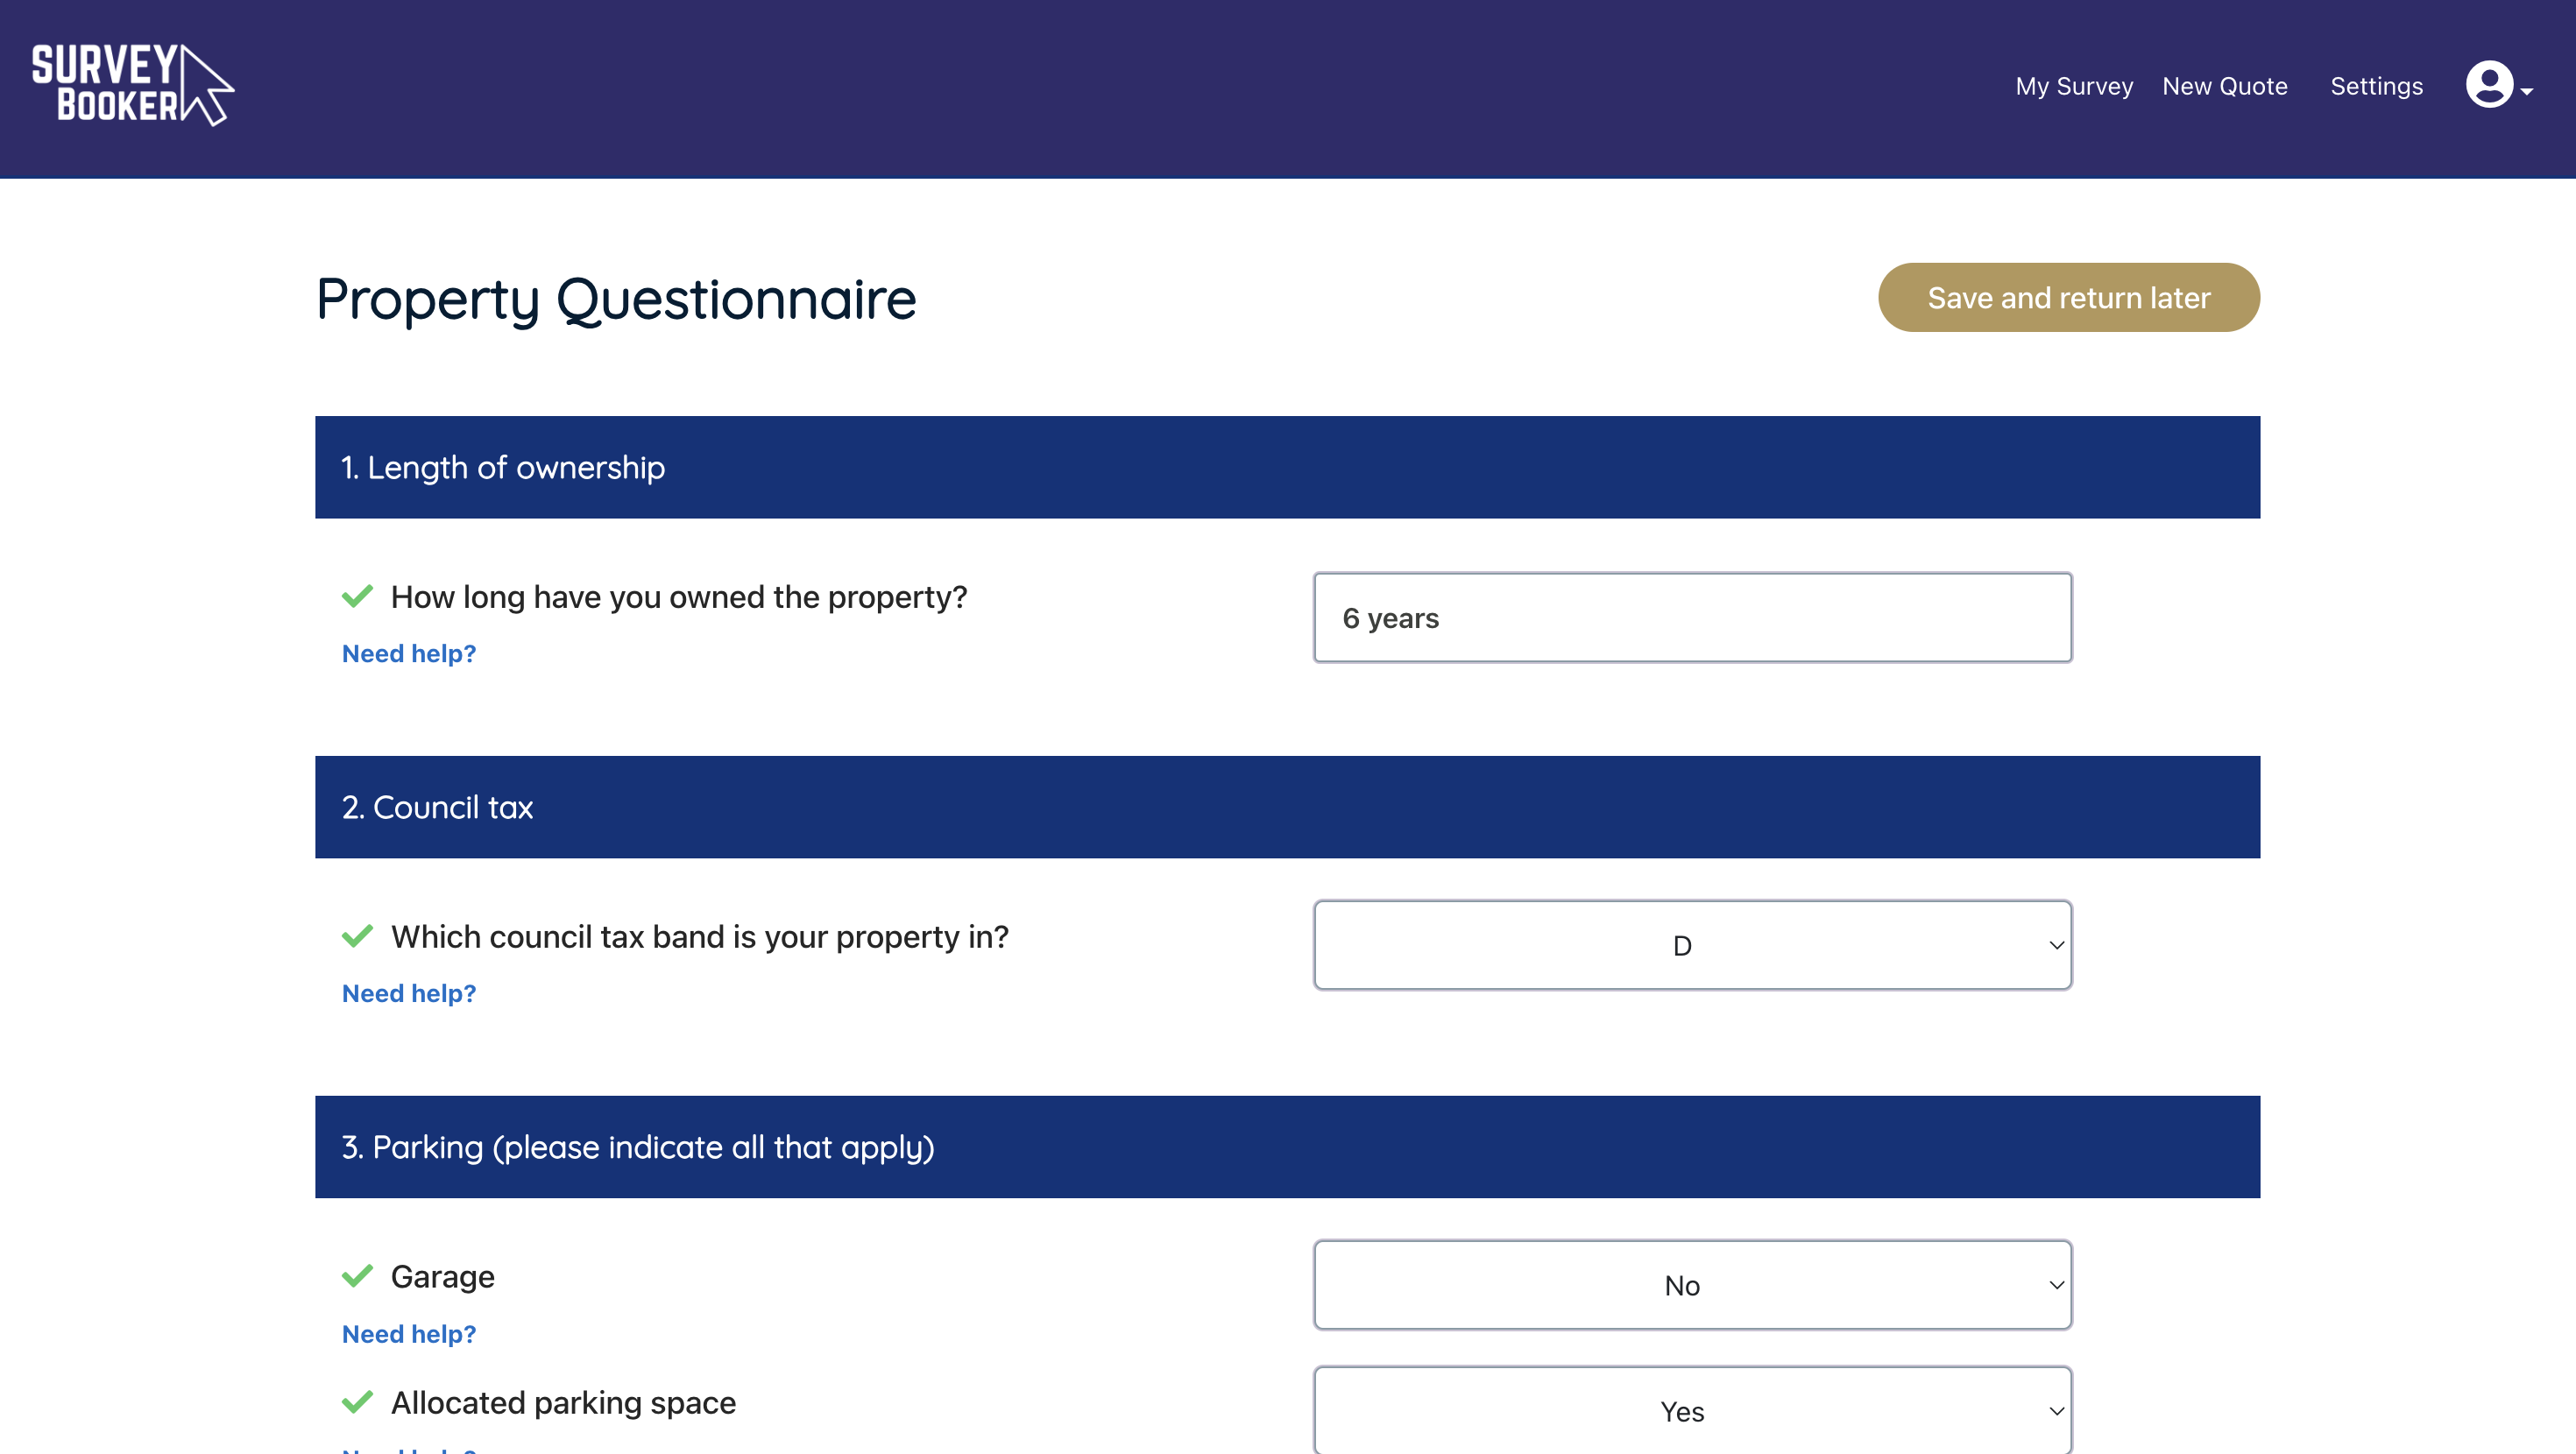
The sections and questions appear exactly as you’ve set them on the booking portal. The wording used in the custom booking questions settings is what customer will see. Customers do not see custom timeline fields you have created – these are internal only. The customer will only see custom booking questions you have set up.
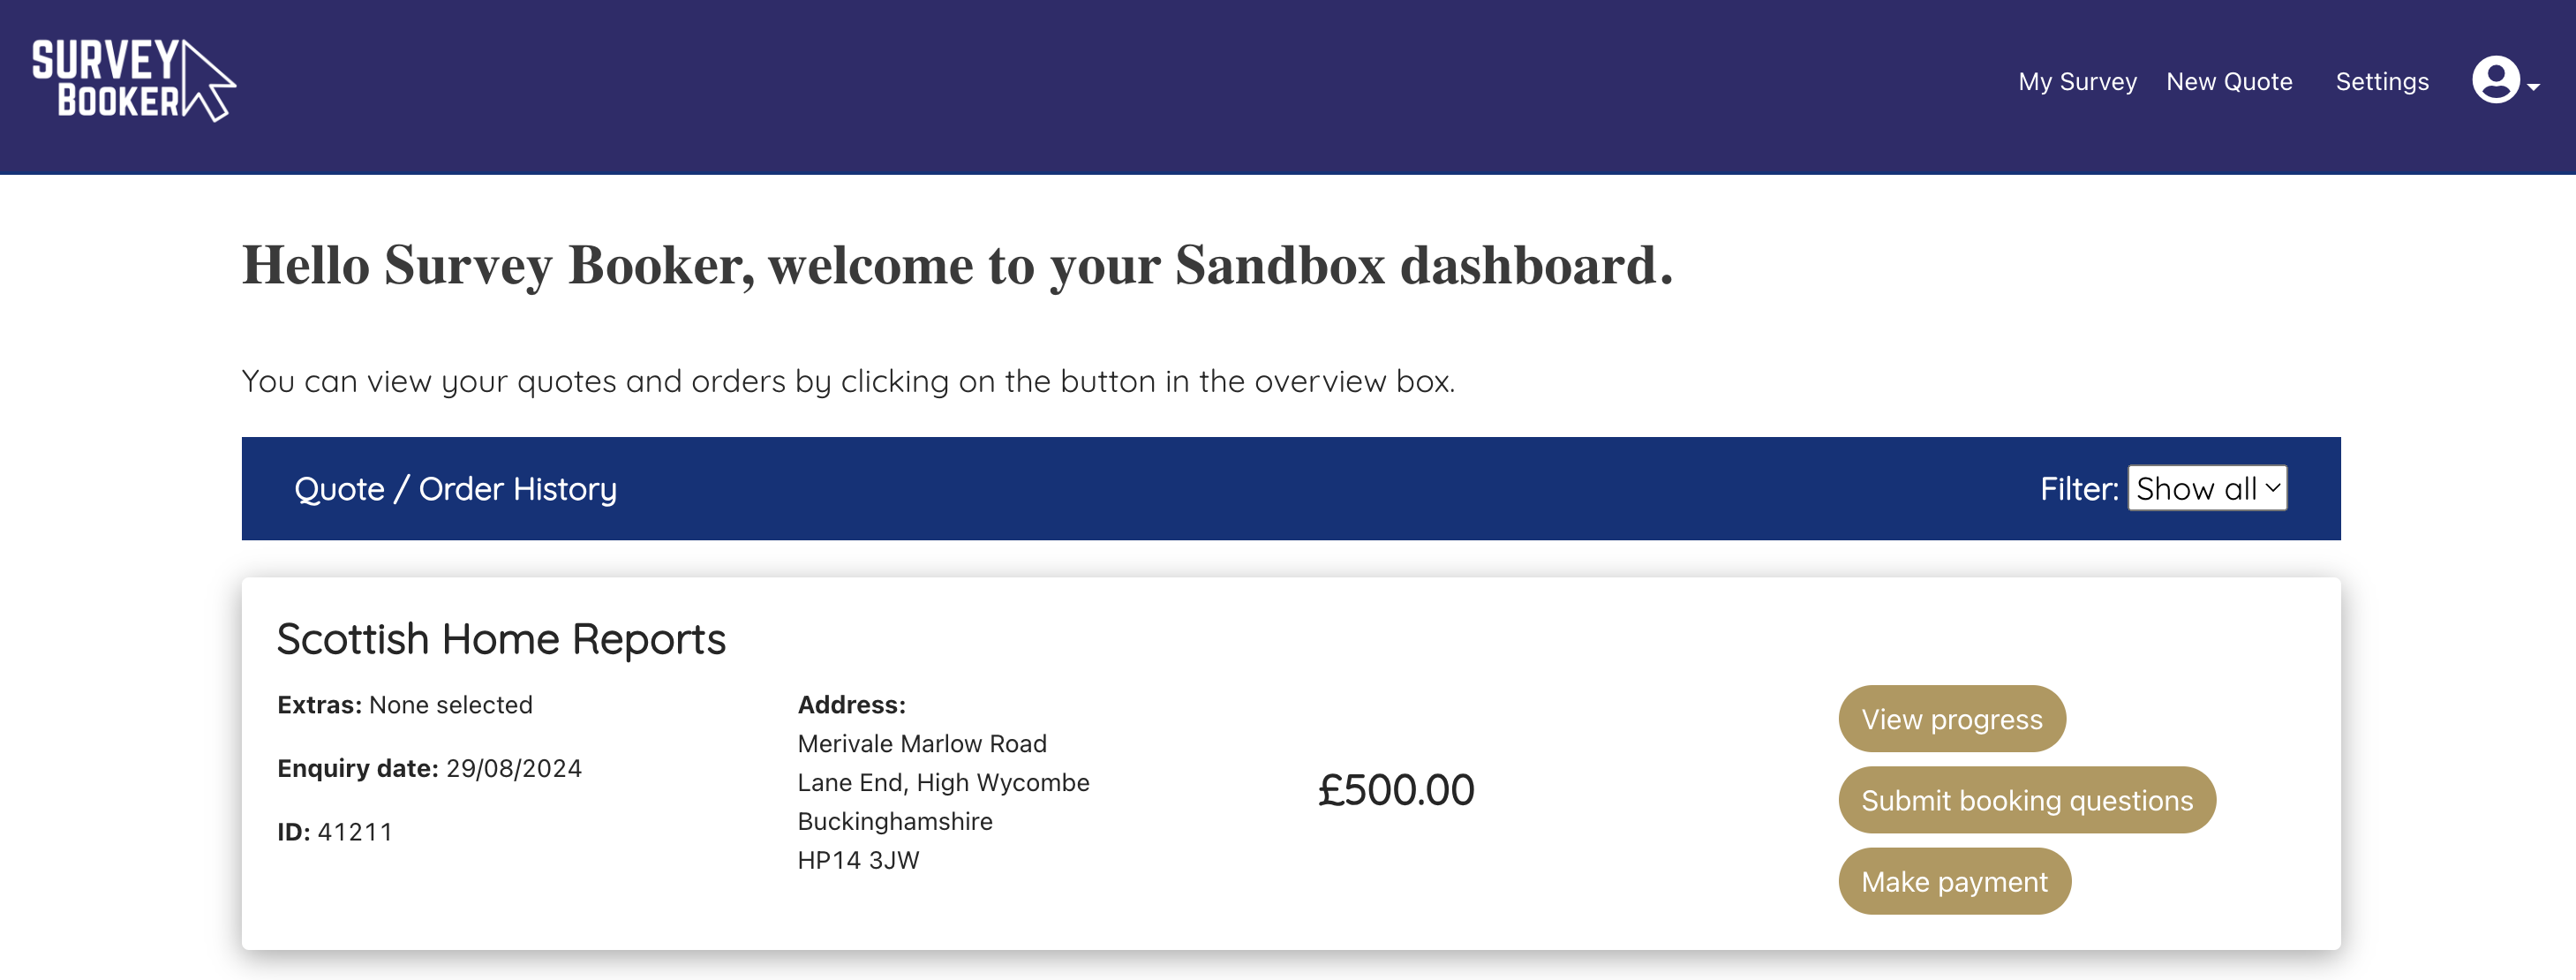
The post booking questions appear once payment is made or skipped and they can see the job tracker. On the dashboard and job tracker they will see the booking questions button.
The customer can save and return at any time. Once the answers have been submitted, the customer cannot access them again but they can be viewed on your job timeline and edited if required.


Filling data into a job sheet (subject to plan)
The data submitted (and any other data on your job page) can be set to fill into a job sheet template automatically on completion of the questions. To do this, see our guide on setting up a job sheet. You can then simply download the document from the Documents tab with all the data included.
If using the multi-document report feature, you can set the job sheet to automatically upload to a report field when produced.
Archiving fields
You can press the “Archive” button next to a field you no longer need to hide it from the day-to-day view.
Once archived it will not appear on your job records.
To view and unarchive the record, click on the “Unarchived” dropdown at the top right of the page and select “Archived”.
Press “Unarchive” to reactivate the field.


